Common Pain Points With Solar Panels Vs DIY In Alameda (And Fixes)
| Decision | Why it matters | Quick check |
|---|---|---|
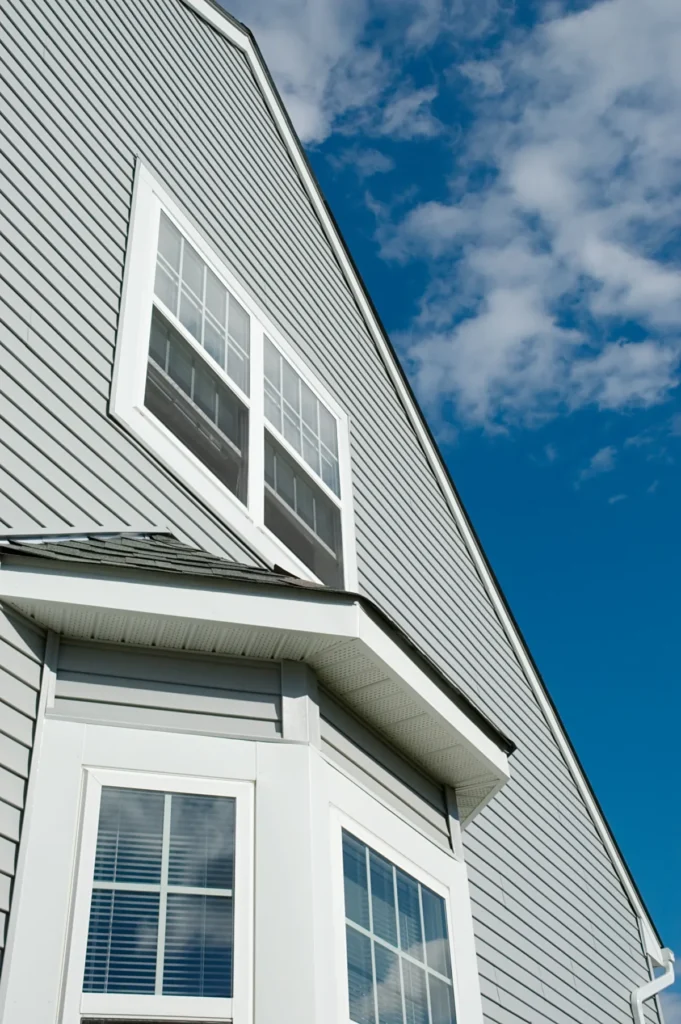
| Roof condition | Installing over an aging roof risks rework later. | Inspect first and plan reroof timing if needed. |
| System size | Determines cost and energy offset. | Size from real kWh usage and shading. |
| Inverter type | Affects monitoring and shade performance. | Compare microinverters vs string + optimizers. |
| Permits & interconnection | Approvals can drive the schedule. | Ask who handles permits/utility and expected timelines. |
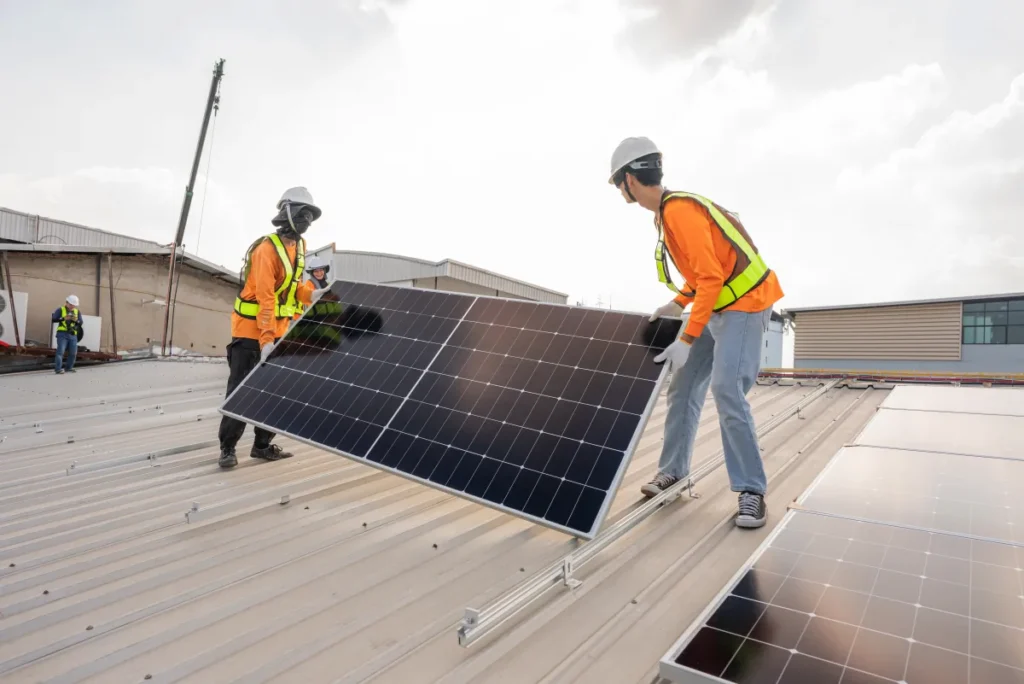
DIY solar sounds straightforward until you hit the parts that aren’t in the box: roof layout constraints, electrical limitations, and paperwork that has to match how the work is actually installed. As a result, In Alameda, the fastest projects are the ones planned with permitting and inspections in mind from day one.
Where DIY Typically Gets Stuck
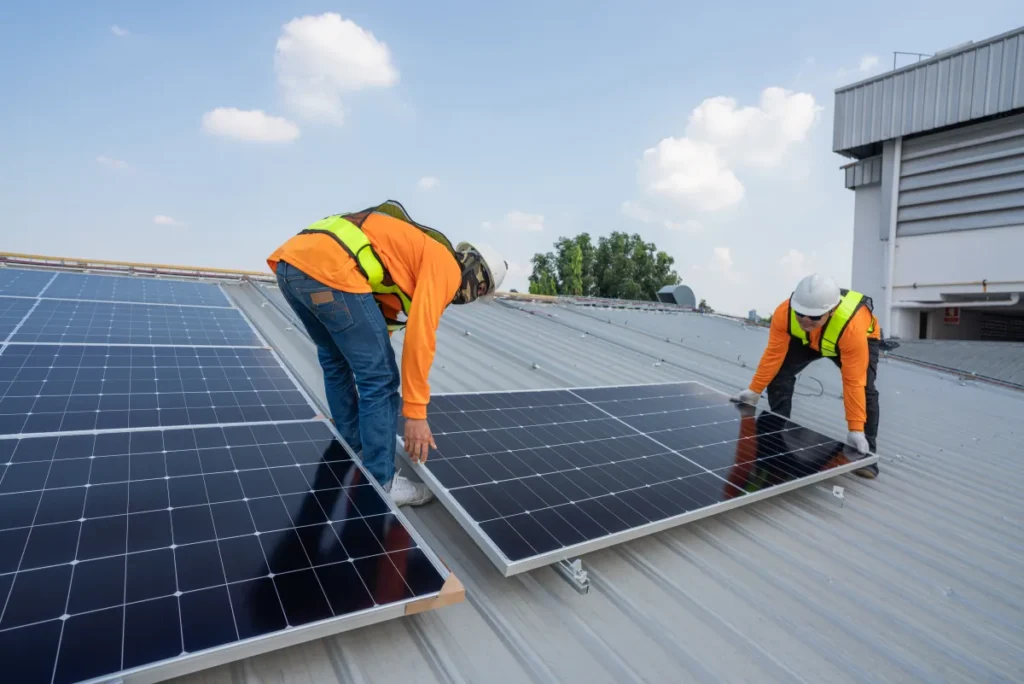
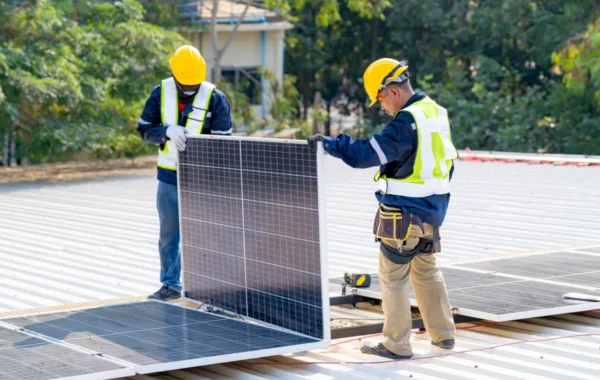
- Roof penetrations and leak risk: Racking needs reliable waterproofing. Overall, A pro plans penetrations, uses roof-appropriate flashing, and documents the work so future roof service doesn’t become a guessing game.
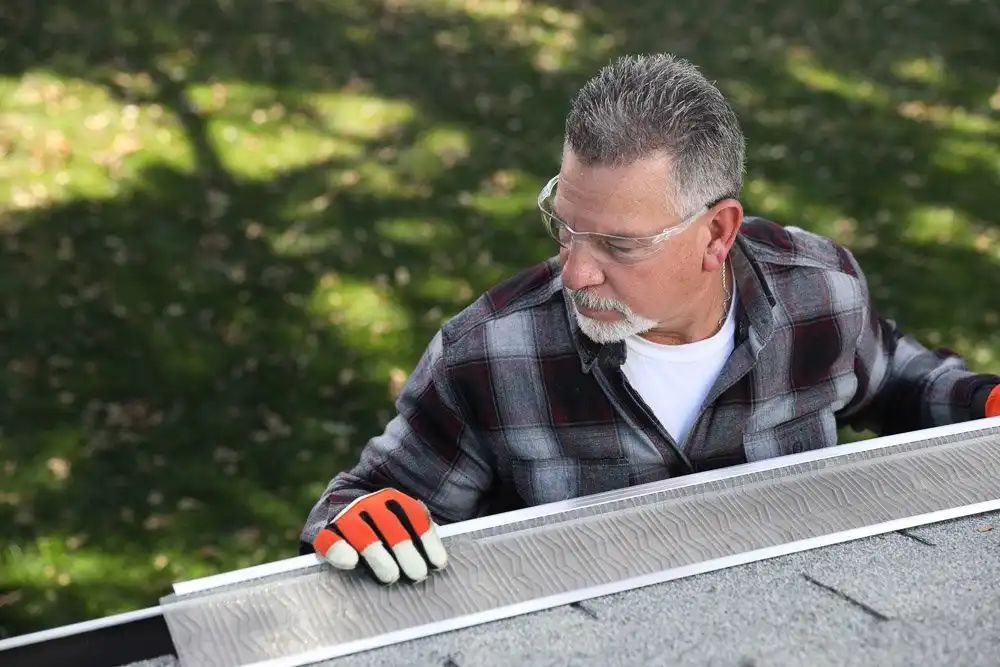
- Unclear structural readiness: Some roofs need repairs before solar. For this reason, A contractor checks roof conditions early so the plan set matches reality instead of triggering mid-project changes.
- Electrical panel surprises: Limited breaker space or outdated equipment can force a redesign. Meanwhile, Pros confirm capacity up front and align the electrical scope before installation day.
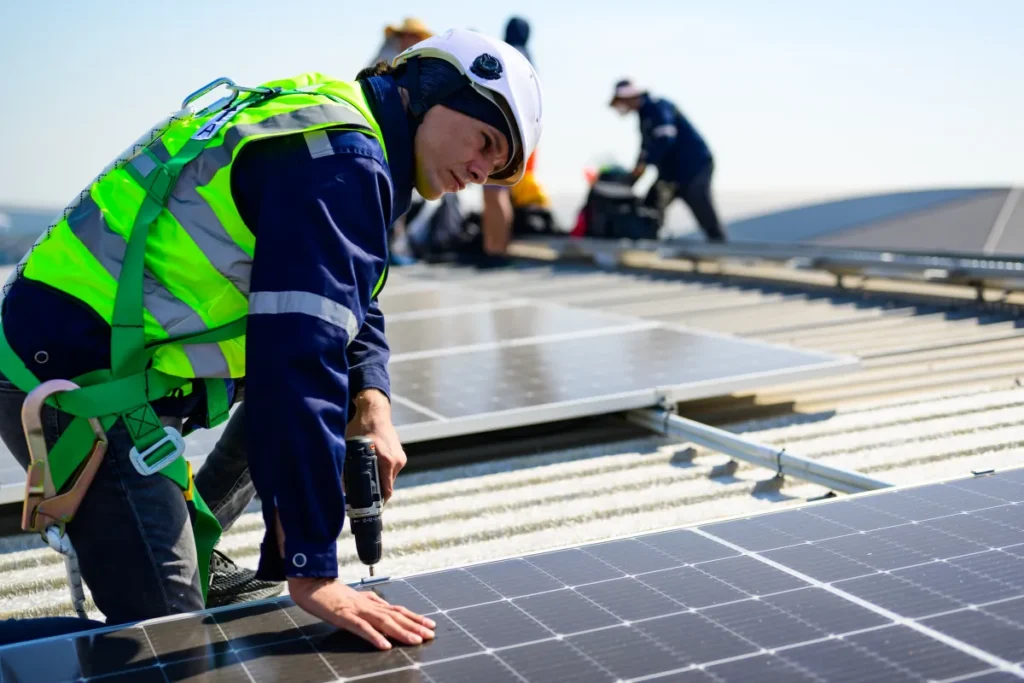
- Inspection-ready workmanship: Conduit routing, labeling, and clearances matter. Additionally, Contractors aim to pass inspection without last-minute patchwork.
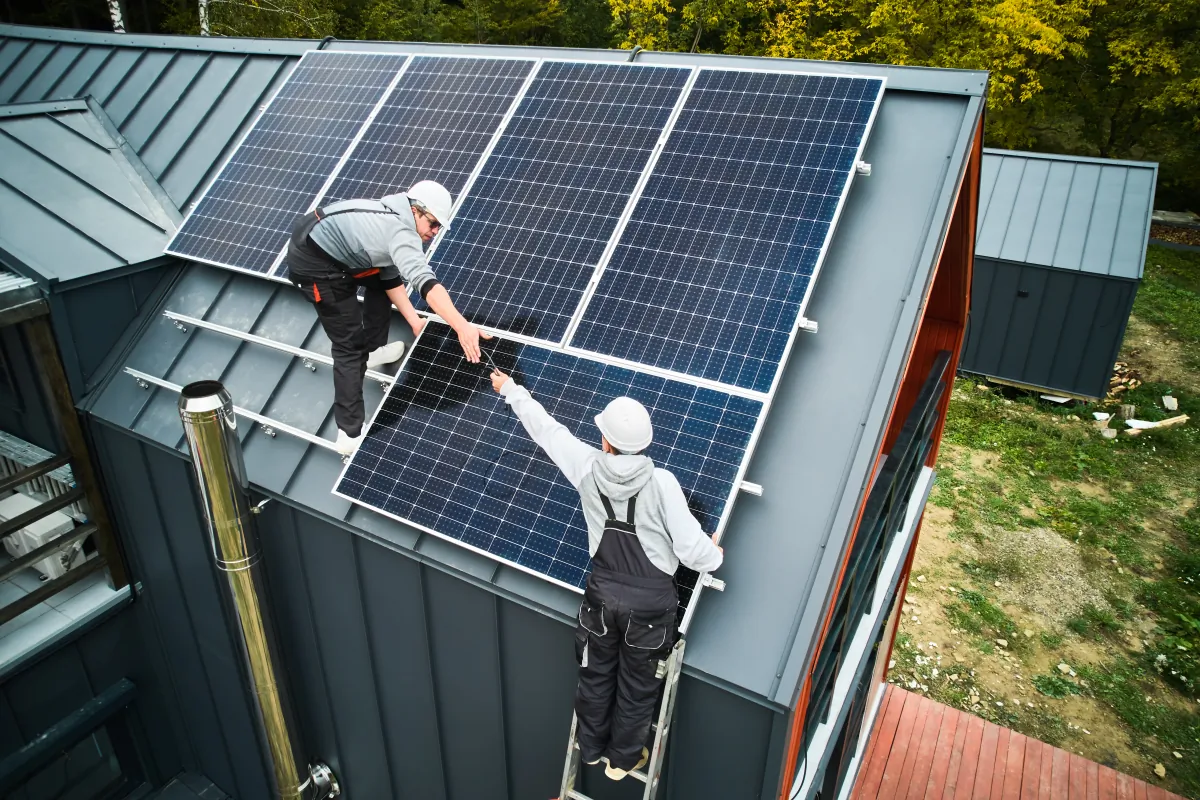
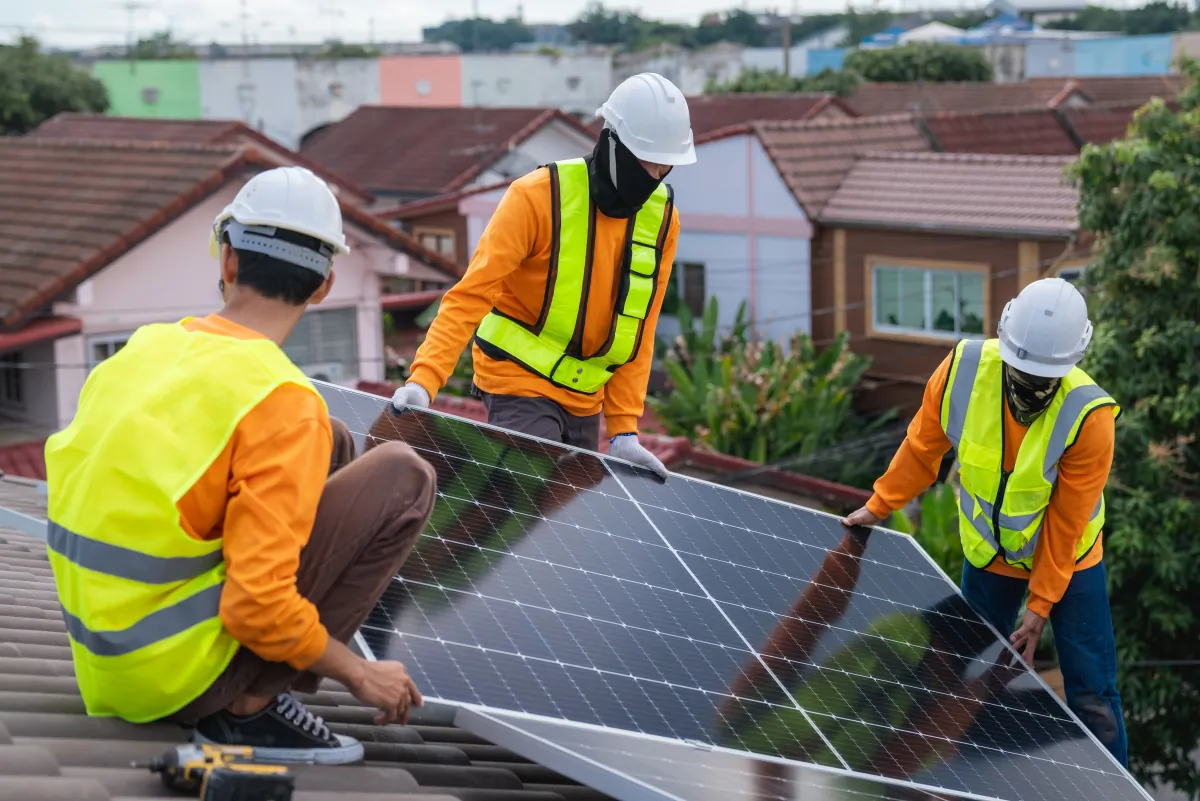
- Safety and liability: Roof work and electrical work are not forgiving. Also, A crew uses fall protection and jobsite controls that most homeowners don’t keep on hand.
- Responsibility gaps: With DIY, you may own the “who fixes this?” problem if something fails. In addition, With a contractor, you can hold one party accountable for workmanship and documentation.
Before/After Snapshot (Hypothetical Example)
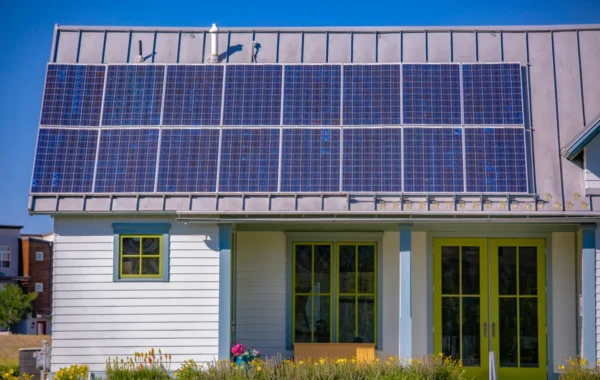
Before: A homeowner planned to self-install a rooftop kit to save money, also but they hadn’t confirmed electrical panel space, conduit routing, or how roof penetrations would stay watertight through winter.
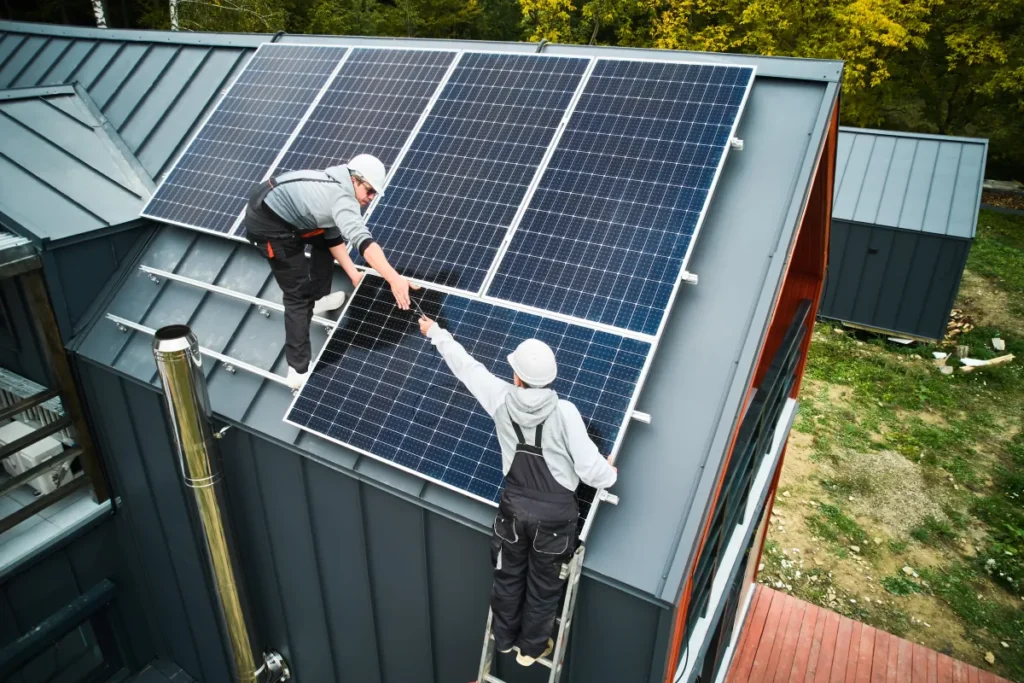
After: They shifted to a contractor-led plan that started with a roof check, a simple equipment layout, and a permit-ready drawing set. For example, The on-site work ran smoother, and the homeowner kept a clean documentation packet for inspection sign-off and future resale.
If you still want to DIY, you can borrow this same framework: plan the roof and electrical details first, then buy equipment that matches the approved design.