Planning And Scope Decisions For Solar Panels Vs DIY
A clean solar project starts with a scope that matches your home, your goals, and what the city will inspect. Additionally, Before anyone orders equipment, collect a few basics: photos of your main electrical panel label and breaker layout, a picture of the roof surface from the ground, and recent utility bills if you have them. As a result, With that information, your installer can size the system realistically and avoid guesswork.
What You’re Deciding Up Front
- System goal: reduce bills, add backup power, support future loads (like an EV), or a mix.
- System size: based on usage and roof area that can be used effectively.
- Battery now vs. In addition, later: define backup priorities, or reserve space and wiring for a future add-on.
- Equipment location: choose a spot with safe clearances, ventilation, and service access.
- Routing plan: map where wiring/conduit will run so penetrations stay minimal and sealed.
- Electrical scope: confirm breaker capacity, shutoff requirements, and any needed upgrades.
- Documentation: make sure the proposal includes specific equipment models and warranty terms.
- Accountability: confirm who handles permitting, inspections, and any required corrections.
Array And Equipment Layout Planning (Roof + Walls)
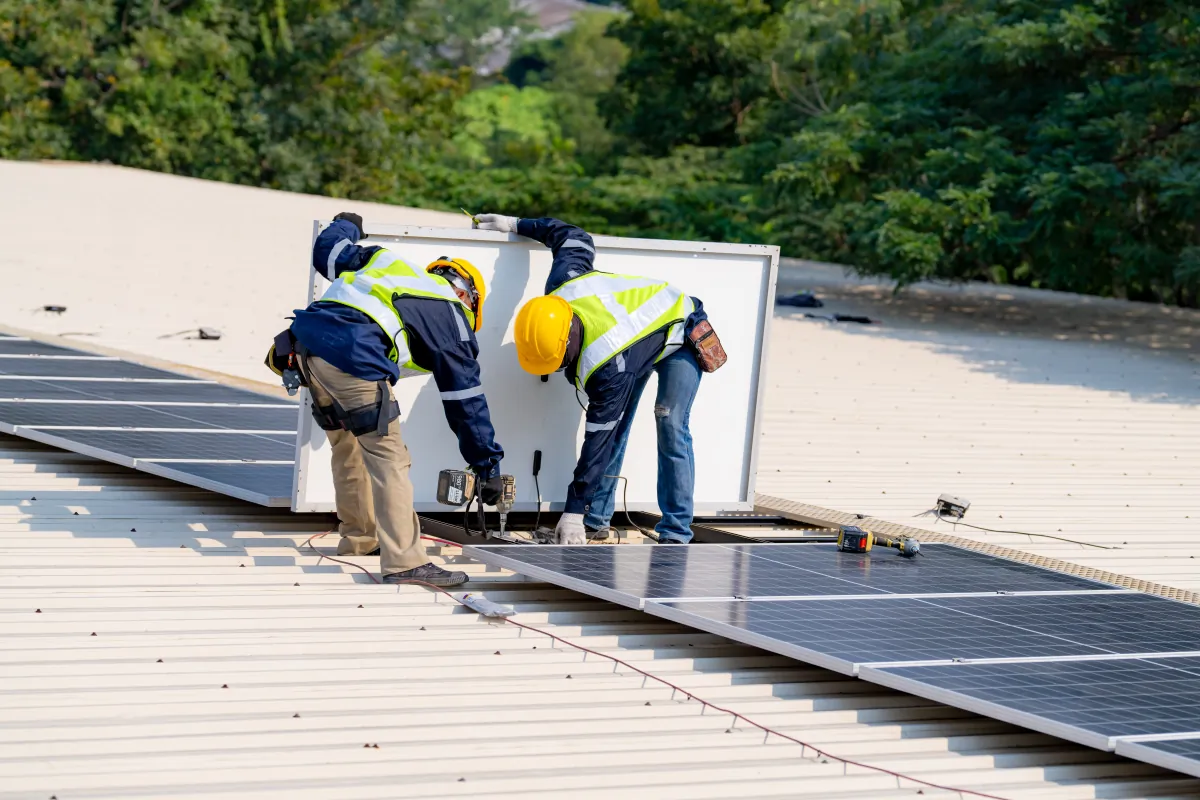
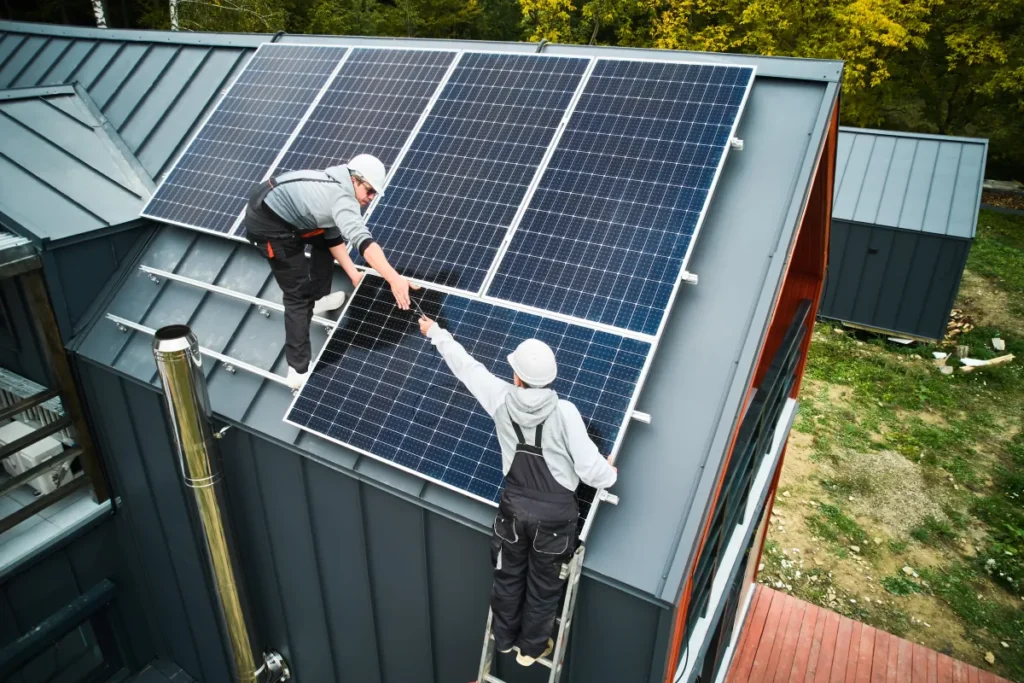
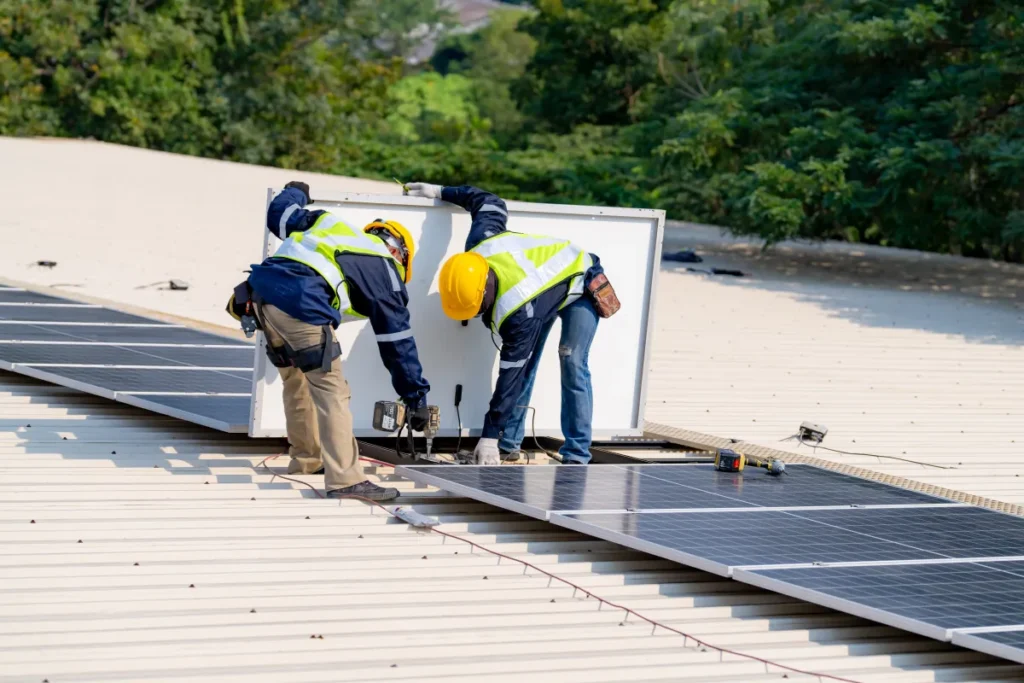
“Layout” in solar isn’t just how panels look from the street. It’s also the path from the array to your electrical equipment and how serviceable the system will be years from now. Also, When you compare solar panels vs diy, this is where many projects either stay clean and organized—or become a patchwork of last-minute decisions.
- Roof layout: group panels to limit shading impacts, keep access paths reasonable, and prioritize a balanced appearance when curb appeal matters.
- Equipment layout: place equipment where a technician can work safely and where wire runs stay practical.
- Routing choices: plan wire paths that protect the exterior, keep penetrations watertight, and avoid unnecessary bends and exposed runs.
Battery Storage And Equipment Organization
If you add a battery, treat it like a permanent appliance, not a “box on the wall.” Leave clear working space, keep the area accessible, and plan a simple home for documentation. For example, Even without a battery, an organized equipment area helps: labeled shutoffs, a clear panel schedule, and a folder with permits, manuals, and inspection sign-offs.
| Decision | Why it matters | DIY reality check | Contractor-led approach |
|---|
| Roof mounting method | Leak prevention and roof integrity | Wrong flashing or sealing steps can cause damage | Match mounts to roof type and verify waterproofing details |
| Electrical panel capacity | Safety and code compliance | Mis-sized breakers and crowded panels create rework | Review capacity and plan upgrades when needed |
| Equipment location | Service access, heat/ventilation, clearances | Bad placement can fail inspection or limit service | Select a practical location and keep working space clear |
| Battery now vs. later | Backup goals and expandability | Skipping planning can mean expensive rewiring later | Reserve space and plan conduit for a future add-on |
Budget Ranges & Timeline (Typical)
- Budget: driven by system size, roof mounting complexity, electrical work, and whether you add a battery.
- Approvals: permitting and inspection timing varies by scope and plan check volume.
- On-site work: once materials are in hand, installation is often shorter than homeowners expect.
- Turn-on: final utility authorization can add calendar time after the city inspection.
Material Choices And Lead Times
Component selection affects more than price. Meanwhile, It changes how the system looks, how it mounts to your roof, how easy it is to service, and how long you’ll wait for parts. For example, Ask for exact model numbers in your proposal so you can compare options clearly.
Panels, Racking, And Roof Waterproofing
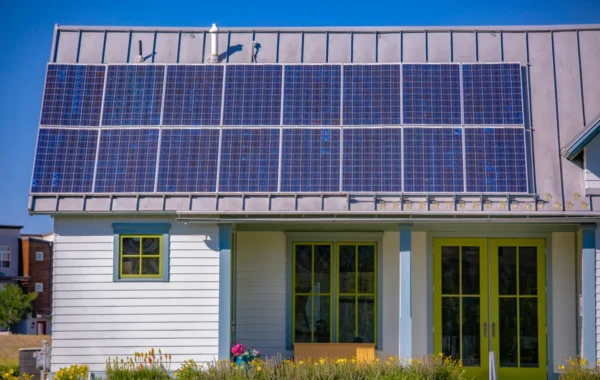
- Panel appearance: all-black styling can look cleaner, while other finishes may prioritize cost.
- Racking and mounts: the best hardware depends on your roof type and the waterproofing method used at each penetration.
- Flashing and sealing: prioritize proven, manufacturer-supported flashing details to protect the roof long-term.
- Wire management: tidy wire routing and secure attachment reduces wear and improves serviceability.
Electrical Components And Monitoring
- Inverter approach: ask how the system handles shade, how it reports performance, and how service works if a component needs replacement.
- Shutoffs and labeling: clean labeling and accessible shutoffs make inspections easier and future service safer.
- Monitoring: consider whether you want production-only or production + consumption monitoring for better visibility.
Lead Times You Can Actually Control
Some delays are outside anyone’s control, but many come from late decisions. Additionally, A tighter scope early usually means fewer surprises later.
- Choose equipment early so your installer can lock the design and order materials.
- Respond quickly to plan check questions if the city requests clarifications.
- Confirm equipment location and routing early to prevent redesigns.
- If an electrical upgrade is necessary, schedule it as part of the main plan—not as an afterthought.
Timeline And Work Phases
Most homeowners expect the installation to take the longest. Meanwhile, In reality, planning and approvals often consume more calendar time than the on-site work. For example, A contractor-managed schedule keeps the critical path visible, especially when permits and inspections are involved.
Local Project Steps In San Mateo
- Consult + site review: confirm goals, check roof access, and review electrical panel conditions.
- Design + proposal: finalize layout, equipment, routing assumptions, and a clear written scope.
- Permit submittal: in San Mateo, permit applications, payments, and case tracking often run through the city’s Online Permit Center (Customer Self‑Service).
- Plan review: respond to any city requests for clarifications or revised sheets.
- Material ordering: secure panels, electrical gear, and (if applicable) battery equipment.
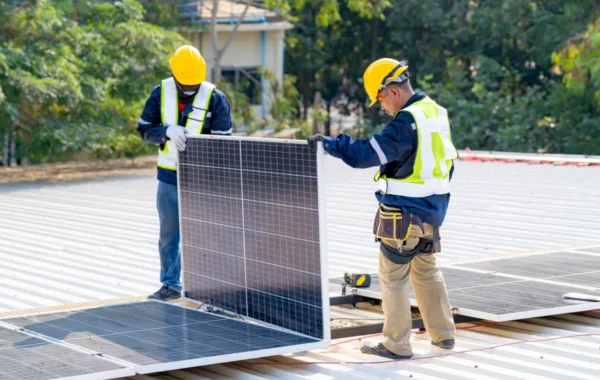
- Installation: complete mounting, wiring, equipment placement, labeling, and jobsite cleanup.
- Inspection: address any corrections quickly to keep the schedule moving.
- Activation: after city sign-off, coordinate the final steps required to turn the system on and confirm monitoring works.
How To Avoid Delays
Delays usually come from unclear scope, incomplete paperwork, or late changes after plans are submitted. Also, You can avoid most of them with a bit of upfront discipline and fast communication.
Delay Prevention Checklist
- Confirm roof condition early; if roof work is necessary, coordinate it before solar installation.
- Provide clear photos of your electrical panel, meter area, and any subpanels.
- Decide on battery backup early—or plan the space and wiring for a future add-on.
- If you have an HOA or architectural review, start that approval process early.
- Keep equipment choices stable once plans are submitted to reduce redesigns.
- Make sure the contract scope clearly assigns responsibility for permits and inspections.
- Ask for a simple communication plan (who you call, when you get updates, and how changes are approved).
Before-And-After Scenario (Hypothetical)
Before: A homeowner buys a solar kit, starts planning the roof layout, and later learns the permit set needs specific sheets and electrical details. In addition, The project stalls while they rework plans, source missing documents, and schedule inspections around workdays.
After: With a contractor-led scope, the homeowner gets a permit-ready plan, a defined equipment location, and a schedule that accounts for plan review and inspections. For example, The install stays clean, and the final activation steps are coordinated so the system can start producing without extended downtime.
Maintenance Tips After Turn-On
- Check monitoring regularly so you spot performance issues quickly.
- Keep panels clear of heavy debris and avoid aggressive cleaning methods that can damage surfaces.
- After major storms or roof work, do a visual check from the ground for anything that looks out of place.
- Store permits, manuals, and warranty documentation together for easy reference later.