
Siding Permit Requirements in Alameda: Timeline + Checklist
Replacing exterior siding can be straightforward, but the paperwork can trip people up. This guide explains siding permit requirements alameda in plain English so you can plan the scope, timeline, and inspections with fewer surprises.
Quick checklist:
- Pick a siding material and finish that matches climate and maintenance goals.
- Confirm moisture management details (housewrap, flashing, caulking) in writing.
- Define the full scope (trim, soffit/fascia, paint, insulation upgrades).
- Confirm access/safety plan and how landscaping/property will be protected.
- Compare 2–3 itemized quotes and verify warranty coverage.
- Check permit requirements if altering exterior walls or doing structural repairs.
If you want a realistic schedule before work starts, book a planning call to review your address, goals, and materials. Call +1 (916) 234-6696 or use this online request form.
TL;DR: Permit needs depend on scope, not just the material you pick. Plan for permit review time, material lead times, and at least one inspection before the final walkthrough.
- Confirm your scope: repair vs full replacement
- Choose a siding type and get the product cut sheet
- Decide if you are changing openings, vents, or trim
- Plan access: ladders/scaffolding, driveway, side yards
- Protect landscaping and set up debris staging
- Keep inspection dates in the schedule
Step-By-Step Timeline + Checklist For Siding Permit Requirements Alameda
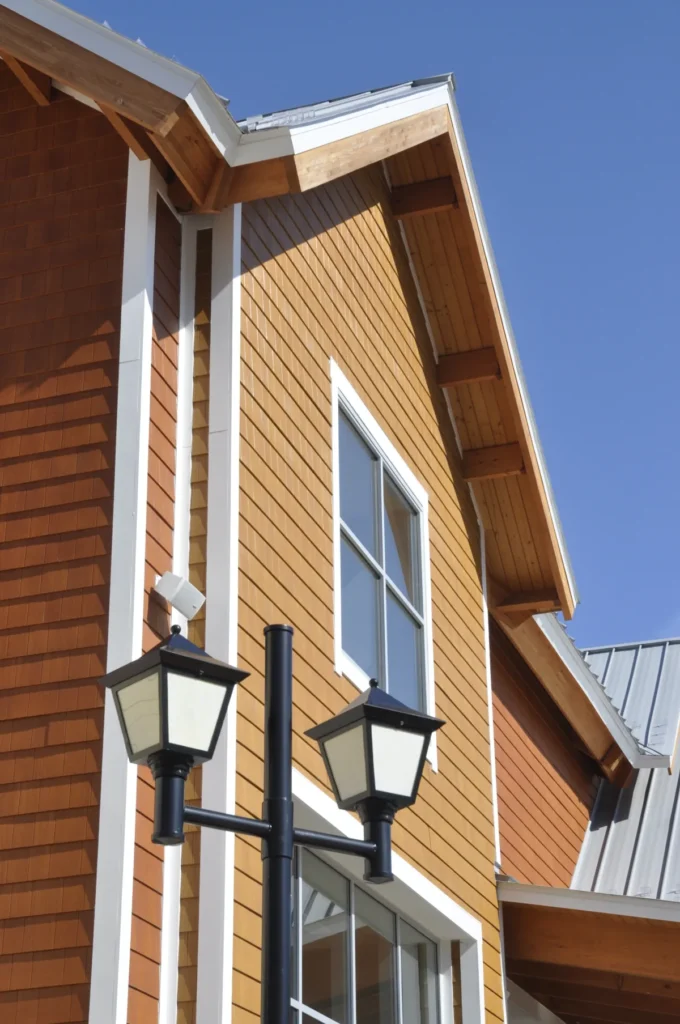
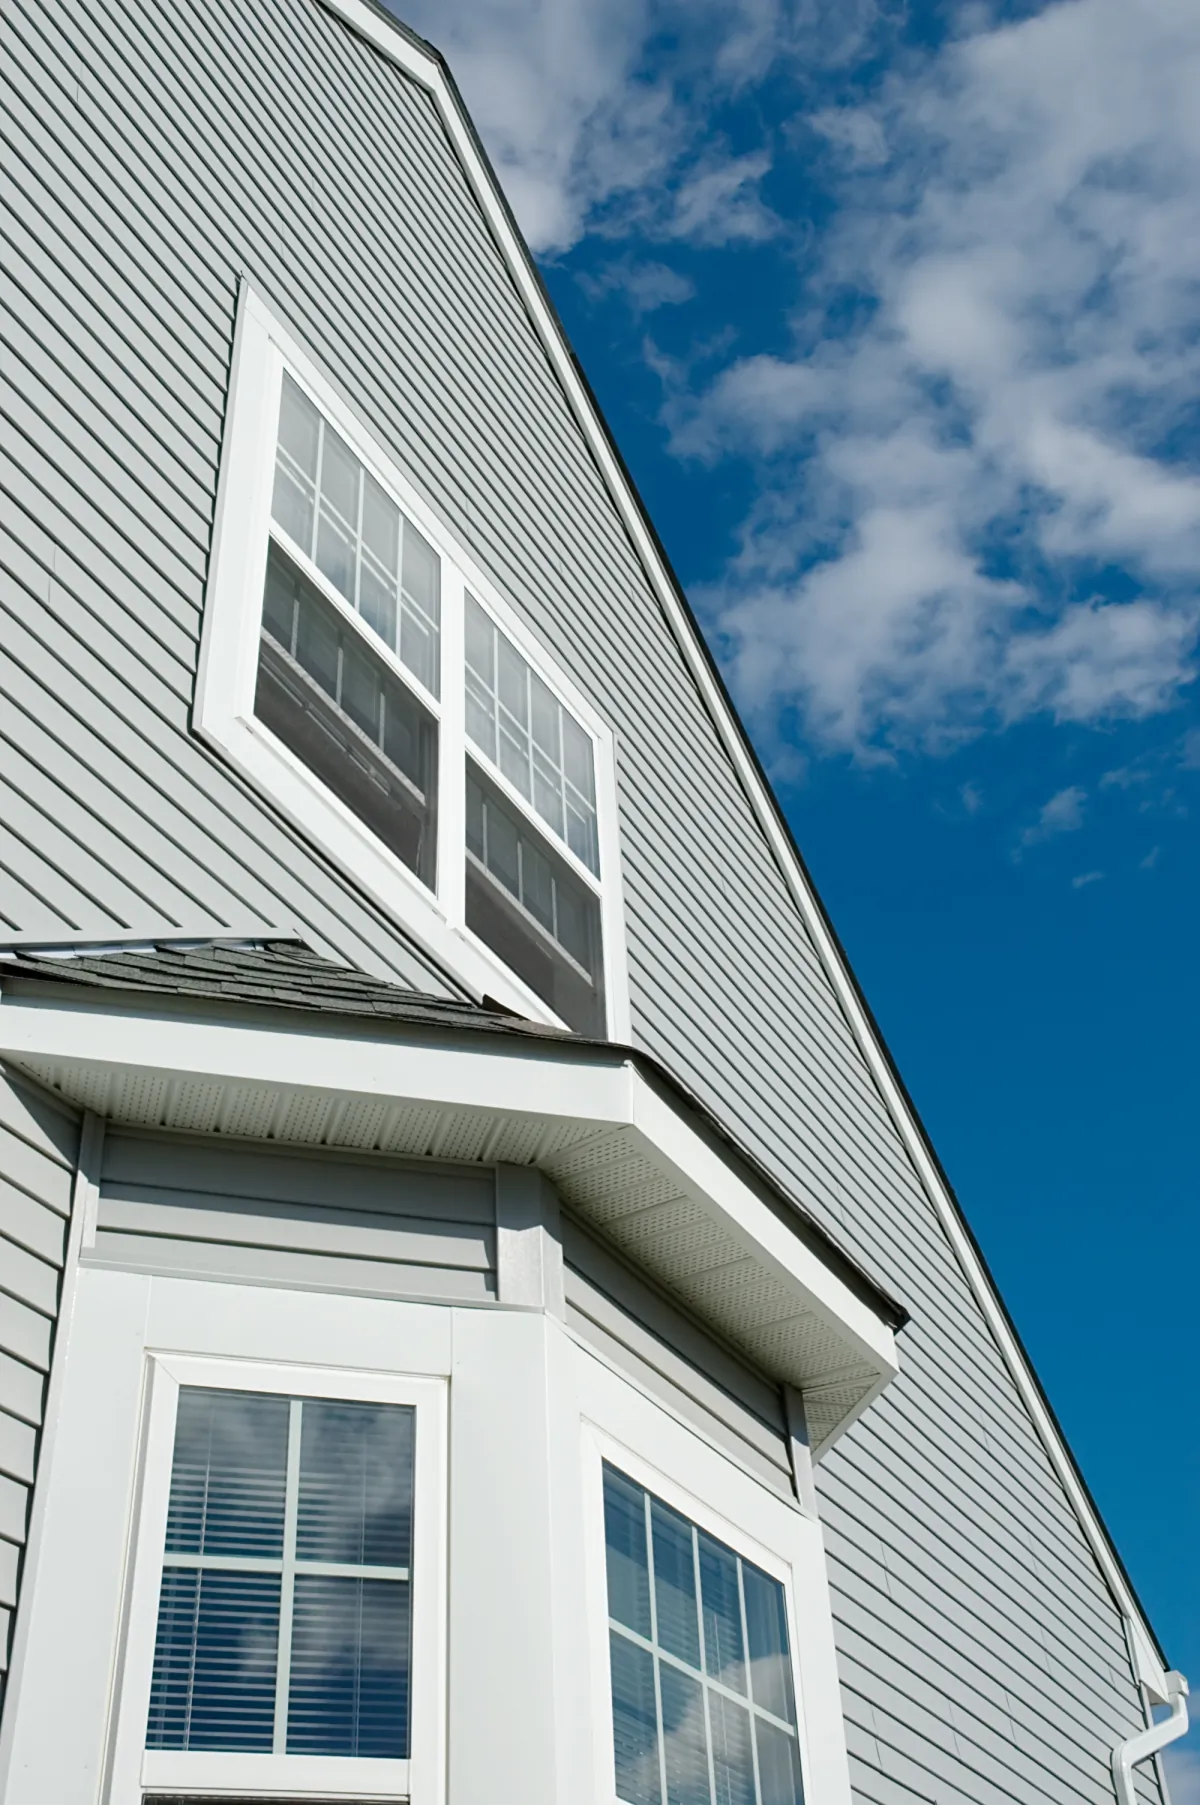
Most siding projects look simple from the street, but they touch parts of the home that keep water out. As a result, To plan well, treat siding permit requirements alameda as part of your timeline, not an afterthought.
Permit Basics (High-Level)
In general, a permit is more likely when you replace most of the siding, change the wall assembly, or repair anything structural. For this reason, Small, like-for-like repairs may not need the same paperwork, so check the City of Alameda requirements for your exact scope and address.
- Full or near-full siding replacement
- Sheathing repair (the wood panels behind the siding that stiffen the wall)
- Changes to windows/doors, also exterior vents, or wall penetrations
- Adding exterior insulation or changing the thickness of the wall
- Structural changes found after demolition
Timeline Snapshot (What To Plan For)
Use this as a starting point. Overall, The actual schedule depends on plan review, material availability, weather, and how much hidden damage you uncover once the old siding comes off.
- Planning and measurements: about 1–2 weeks
- Permit review and approvals: varies by scope
- Material ordering and delivery: varies by product
- On-site install: several days to a few weeks
- Inspections, punch list, and clean-up: about 1–2 weeks
| Decision | Why it matters | Can affect |
|---|---|---|
| Repair vs full replacement | Changes how much of the wall you expose | Permit need, schedule |
| Material choice | Different fastening and trim details | Cost, lead time |
| Wall repairs | Rot or mold can expand scope | Cost, inspections |
| Access (stories, setbacks) | Scaffolding and protection take time | Cost, daily workflow |
| Trim/opening changes | More detailing and possible trade work | Permits, schedule |
Want a timeline you can actually calendar? Meanwhile, Book a planning call and we’ll map the phases and the likely inspection points for your Alameda siding project.

Pre-Work Checklist (Design, Materials, Access) For Siding Permit Requirements Alameda
Most permit and schedule problems start before anyone shows up with a ladder. Additionally, A clear scope and a few decisions on paper prevent costly pauses once the wall is open.
Design And Scope Checklist
- Confirm where siding stops/starts (whole home, one elevation, or a repair area)
- List anything you want to change: vents, exterior lights, hose bibs, trim, or windows
- Decide on the finish look (lap siding, panel, shingles) and trim width
- Pick color early if the material needs paint
- If you have an HOA, confirm any exterior rules before ordering materials
Materials And Moisture-Control Checklist
Moisture-control details matter more than the brand name. Also, Ask your installer to explain the weather-resistant barrier (a layer behind siding that sheds water) and flashing (thin metal or membrane that directs water away from seams).
- Product cut sheet for the siding and trim
- House wrap or other weather-resistant barrier plan
- Flashing details at windows, doors, and roof-to-wall intersections
- Fastener type and corrosion resistance (important near marine air)
- Sealant (caulk) type and where it will be used
Mistakes That Cause Rework
- Starting demolition before confirming permit needs
- Ordering materials before verifying wall thickness and trim build-out
- Skipping a plan for protecting landscaping and hardscape
- Not planning for dumpsters, parking, and neighbor access
- Assuming vent or light moves are “minor” without checking trade permit needs
Accessibility And Safety Ideas While You’re Already Working Outside
Siding work often includes ladders, scaffolding, and cleared pathways. In addition, That access can make a few safety upgrades easier to add, especially if you’re planning to age in place.
- Add brighter, glare-controlled exterior lighting at entries and pathways
- Upgrade handrails on exterior steps if they feel loose or low
- Improve house number visibility for delivery and emergency response
- Fix trip hazards at thresholds or cracked walkways near the work area
- Choose higher-contrast trim at steps for easier depth perception

Build Phase Checklist (Daily/Weekly)
The build phase moves fast once materials arrive. For example, Use this checklist to keep the job clean, safe, and on track without hovering over the crew.
Daily Checklist
- Confirm start/stop time and where the crew will stage materials
- Keep pets and kids away from ladders, tools, and debris
- Ask where dust and debris will be contained and removed
- Walk the perimeter at the end of the day for nails/screws and sharp scraps
- Take photos of any newly uncovered damage before repairs begin
Weekly Checklist (Water-Control Details)
- Verify the weather-resistant barrier stays continuous behind seams
- Check flashing at windows/doors before trim covers it
- Confirm clearances where siding meets roofs, patios, and grade
- Review any wood repairs for firmness and proper fastening
- Track material usage so you don’t run short mid-wall
Coordination Checkpoints
Change orders happen when you uncover rot or outdated details. Overall, Get the updated scope in writing, confirm how it changes the timeline, and keep permit impacts on the radar if the work expands beyond the original plan.
Inspections And Sign-Offs
Inspections are easier when you plan for them early. As a result, When you build siding permit requirements alameda into the schedule, you avoid last-minute reshuffling. Additionally, In Alameda, many building and planning items run through an online permit portal (Accela), and your inspector will want safe access to the work area.
Inspection Moments To Plan For
- Pre-close inspection when the wall is open (common when repairs or insulation are involved)
- Flashing and weatherproofing checks around openings
- Final inspection after siding, trim, and site clean-up are complete
What To Keep For Your Records
- Permit and inspection approvals (digital or printed)
- Product cut sheets and installation instructions
- Paint or finish information (color codes and batch numbers)
- Photos of the wall before it was covered, especially around repairs
If you want help mapping inspection points into your timeline, call +1 (916) 234-6696 or book online using our request form.
Frequently Asked Questions
It depends on what you’re doing. Small, like-for-like repairs can be treated differently than replacing most of the exterior or changing how the wall is built. The safest approach is to treat siding work as a building-envelope project (the exterior layers that keep water out) and confirm requirements before demolition.
In practice, siding permit requirements alameda are more common when you:
- Replace a large portion of siding
- Repair sheathing or framing
- Add exterior insulation or change wall thickness
- Change windows/doors, vents, or exterior penetrations
If your scope includes electrical, plumbing, or structural changes, you may also need additional trade permits. A quick planning call can help you define the scope you actually want, which makes the permit question easier to answer.
Inspection steps depend on the scope. If the project includes wall repairs, added insulation, or major weatherproofing changes, the City may want to see parts of the wall before they are covered.
- In-progress / pre-close: Common when you repair sheathing or add insulation. The inspector can see fastening and weatherproofing details.
- Openings and penetrations: Inspectors often focus on how you protect windows, doors, vents, and other wall cutouts.
- Final: Happens after siding and trim are complete and the site is clean.
Ask your contractor to schedule inspections early and keep a clear access path. Safe ladders, clear side yards, and a tidy work area reduce delays.
Most of the on-site work takes days to a few weeks, but the full timeline starts earlier. Permit review time and material lead times can add weeks, especially for special-order colors or trims.
A realistic plan usually includes:
- Scope and measurements (1–2 weeks)
- Permit review (varies)
- Ordering and delivery (varies by material)
- Installation and repairs (depends on size, stories, and damage)
- Inspection and punch list (about 1–2 weeks)
If you want the shortest overall schedule, lock in material choices early and avoid mid-project changes to openings or trim.
Siding pricing is mostly about labor, access, and how much repair work you uncover. Two homes with the same square footage can price very differently if one has multiple stories, lots of trim, or hidden rot.
- Square footage and number of stories
- Old siding removal and disposal
- Sheathing or framing repairs
- Trim complexity around windows, doors, and corners
- Material type and finish (factory-finished vs paint on site)
- Scaffolding and site protection needs
- Permit and inspection fees (when required)
The best way to avoid surprises is to confirm the scope in writing and include an allowance for hidden damage that may appear after demo.
Three common options are fiber cement, engineered wood, and vinyl. Each can work when it’s installed with the right weatherproofing details.
- Fiber cement: A cement-based board that resists rot and insects. It is heavier, so labor and fastening details matter.
- Engineered wood: Wood strands and resins pressed into boards. It can look like real wood and often installs quickly.
- Vinyl: Lightweight plastic panels that can be cost-effective. It needs proper expansion gaps and careful trim work.
For permitting, the City may ask for basic product information and a clear plan for flashing and the weather-resistant barrier. Bring the product cut sheet to the planning stage so you don’t guess later.
If your home was built before 1978, assume old paint may contain lead unless testing shows otherwise. Lead dust is a health risk, especially for kids and pregnant people.
Before scraping, sanding, or demolition, ask how the crew will control dust and clean up. Common lead-safe steps include plastic containment, HEPA vacuuming, and careful debris handling.
You can read the basic federal guidance on the EPA Renovation, Repair and Painting program here: Renovation Repair And Painting Program.
Most homeowners stay in the home during siding work. Expect noise, dust, and workers moving around the exterior. The biggest challenges are access and daily routine.
- Move cars so crews can stage materials and place a dumpster safely
- Protect pets and keep kids away from work zones
- Close windows near active cutting to reduce dust
- Plan quiet time for calls or naps during saw work
- Let neighbors know about temporary noise and parking changes
If you work from home, ask for a day-by-day plan so you can schedule around the loudest work.