Skip links

Board and Batten Siding: A Practical Guide for California Homeowners

Thinking about a board batten siding upgrade for your home? The vertical lines can modernize an exterior fast, but the details behind the look determine how it performs over time. This guide covers practical decisions—materials, spacing, trim, and water management—so you can compare bids and move forward with confidence.

Quick checklist:

  • Pick a siding material and finish that matches climate and maintenance goals.
  • Confirm moisture management details (housewrap, flashing, caulking) in writing.
  • Define the full scope (trim, soffit/fascia, paint, insulation upgrades).
  • Confirm access/safety plan and how landscaping/property will be protected.
  • Compare 2–3 itemized quotes and verify warranty coverage.
  • Check permit requirements if altering exterior walls or doing structural repairs.

TL;DR: Board and batten works best when the wall is flat, the weather barrier and flashing details are correct, and trim transitions are decided early. Costs usually swing based on scope (accent vs full exterior), material choice, and how much prep the existing wall needs. For a quick consult, call +1 (916) 234-6696.

  • Choose the scope: accent area, front elevation, or full exterior
  • Pick a material that matches your maintenance tolerance
  • Confirm water details: flashing, penetrations, and bottom clearance
  • Sketch the layout: board width, batten spacing, and window alignment
  • Plan trim: corners, transitions, and fascia/soffit tie-ins
  • Ask about permits if you change structure, openings, or wall assembly

Common Pain Points With Board And Batten Siding (And Fixes) For Board Batten Siding

DecisionWhy it mattersQuick check
Material choiceDurability and maintenance differ by material.Compare fiber cement vs vinyl and verify warranties.
Moisture managementWater control prevents rot and mold.Confirm housewrap and flashing details around openings.
Trim & transitionsDetails control fit and long-term sealing.Specify corners, soffit/fascia scope, and finish plan.
Access & protectionStaging affects speed, cost, and safety.Plan scaffolding, landscaping protection, and cleanup.

Board-and-batten looks simple in photos, yet the install demands precision. For example, Most problems show up as water intrusion, wavy lines, or trim that looks “added on” because it wasn’t planned. For example, The fixes are straightforward when they’re handled before the first board goes up.

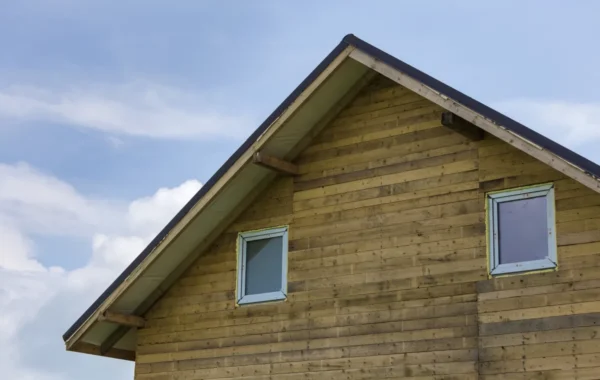
Moisture Details That Protect The Wall

The number-one issue we see is water management getting treated like an afterthought. Additionally, Even a beautiful finish can fail if the layers behind it don’t direct water back out.

  • Flashing at every break: transitions, ledgers, and horizontal trim should also shed water instead of trapping it
  • Window and door integration: your trim plan should work with proper flashing and sealing details
  • Penetrations: hose bibs, vents, lights, and electrical runs need clean, durable sealing
  • Bottom clearance: keep siding out of constant splash-back and away from soil contact

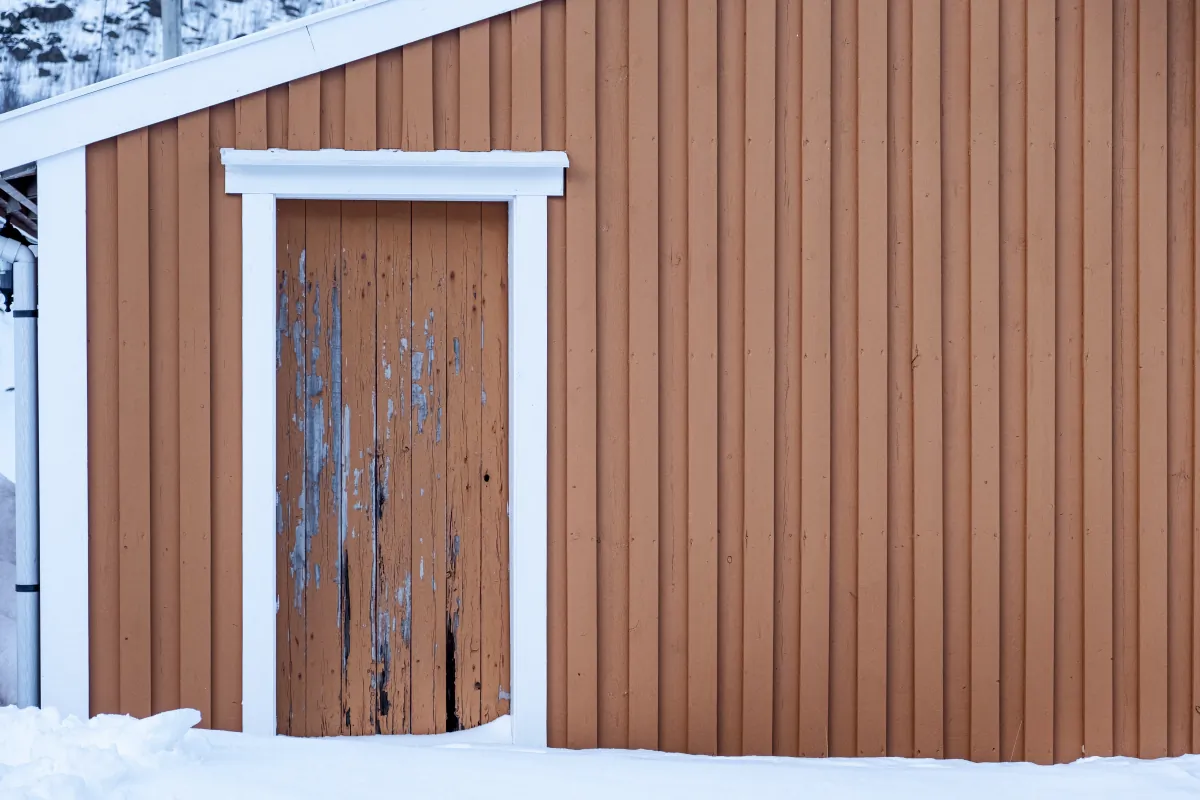
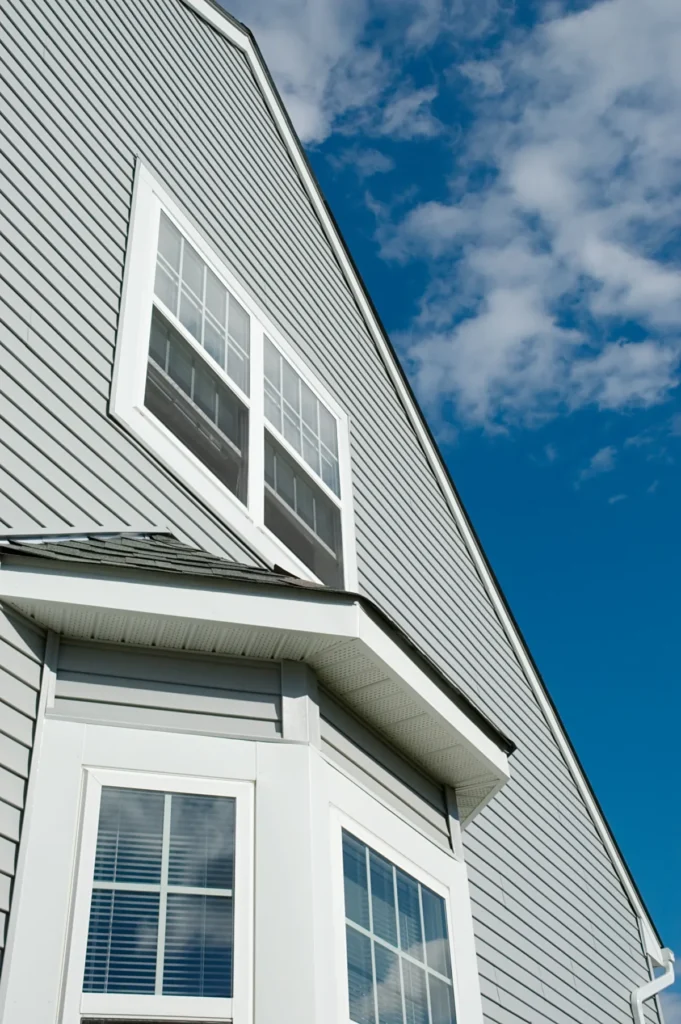
Keeping Lines Straight On Real-World Walls

Vertical siding exaggerates shadows, so any uneven framing telegraphs through. In addition, Before you commit to full coverage, check how flat the walls are and decide whether you’ll need targeted repairs, shimming, or furring to keep the finished face consistent.

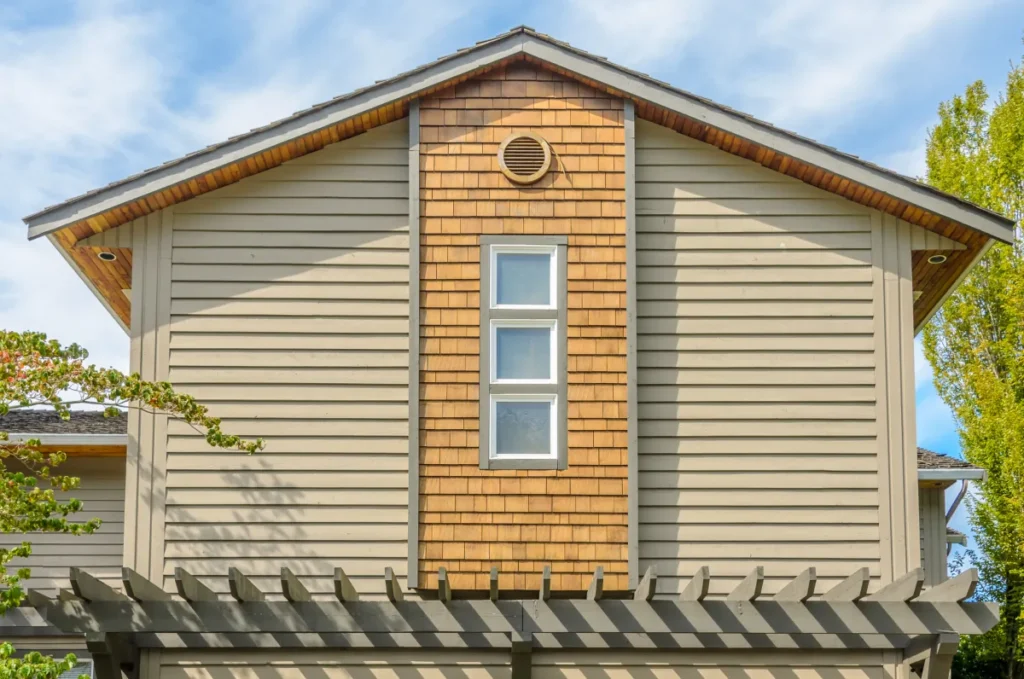
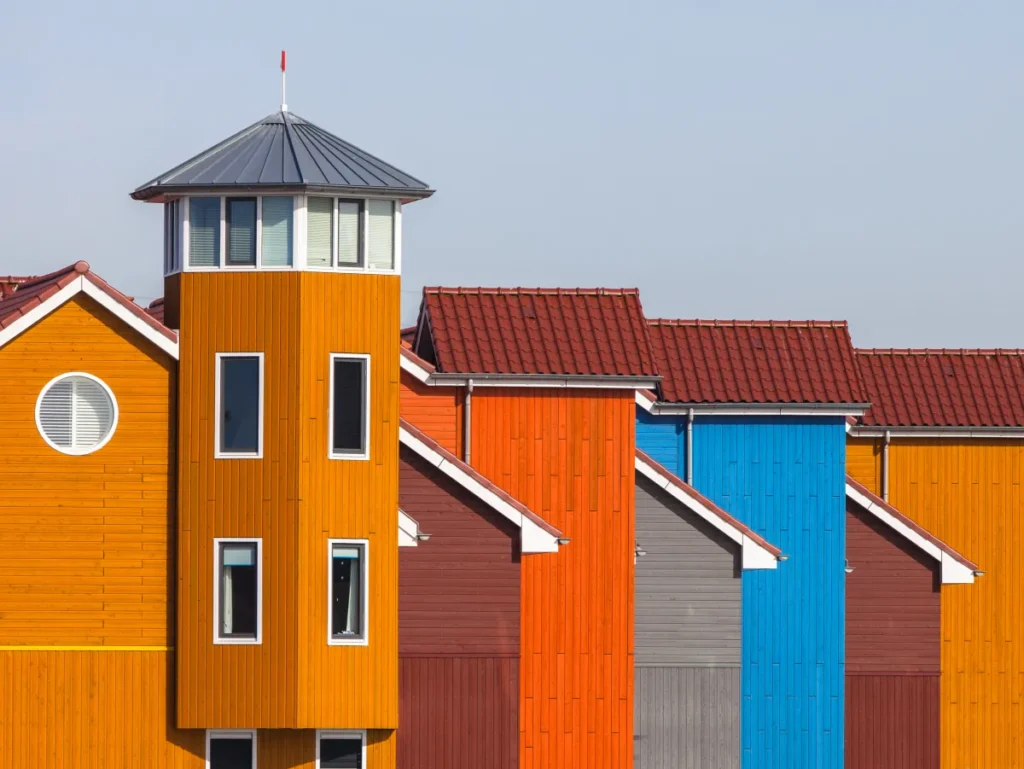
Board And Batten Layouts For Smaller Facades

On a smaller elevation, “more siding” isn’t always better. As a result, A focused layout can keep the look intentional while controlling cost.

  • Entry or porch accent: board-and-batten around the front door creates a strong focal point
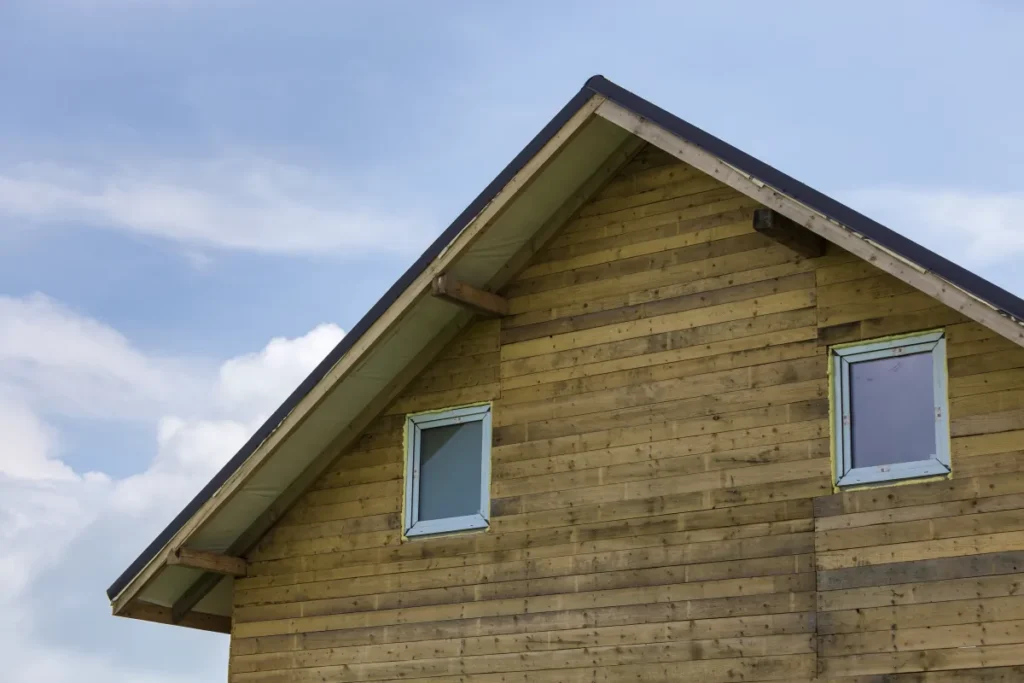
  • Gable-only application: keeps vertical lines high, without re-siding the whole home
  • Garage face refresh: a common curb-appeal upgrade that stays contained
  • Mixed siding approach: pair vertical sections with lap siding for balance and simpler transitions

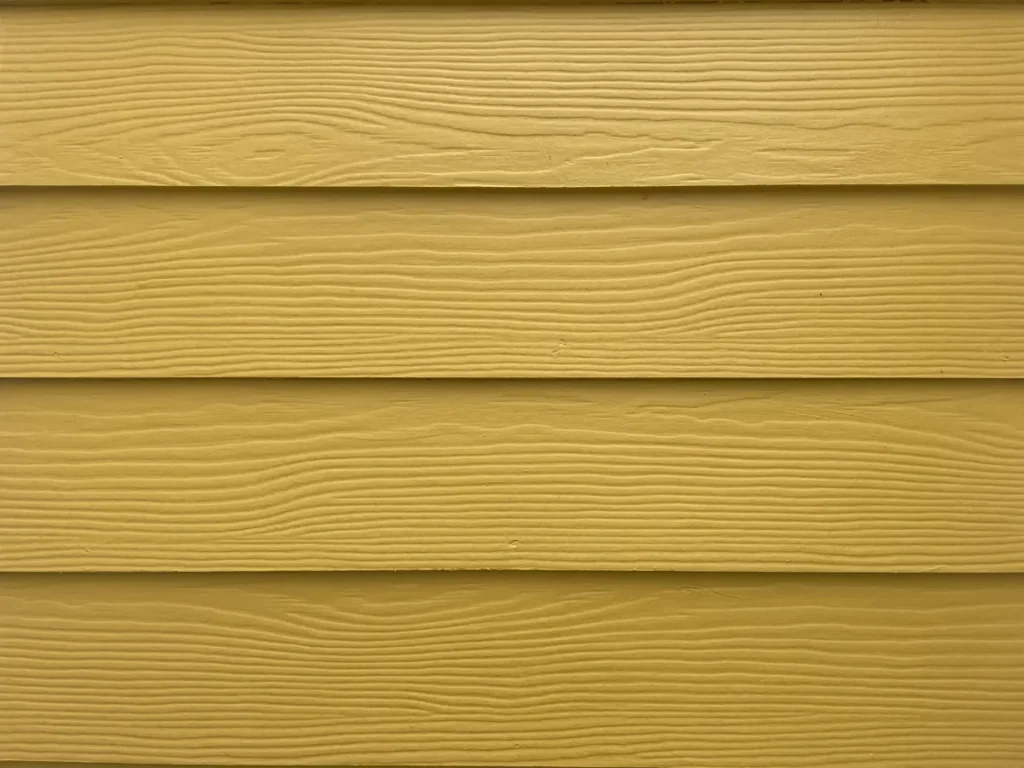
The Right Board For The Job

When homeowners compare board batten siding options, the “best” material usually comes down to durability, paint performance, and how much upkeep you want to own.

  • Fiber cement: durable and stable, typically paints well; heavier and detail-sensitive, so install quality matters
  • Engineered wood: lighter with sharp profiles; follow manufacturer handling and edge-sealing guidance carefully
  • Natural wood: classic look and easy to customize; expect more ongoing maintenance, especially at joints and end grain
  • Vinyl or metal vertical panels: lower maintenance and faster installs in some cases; profile choices may look less “true” to board-and-batten styling

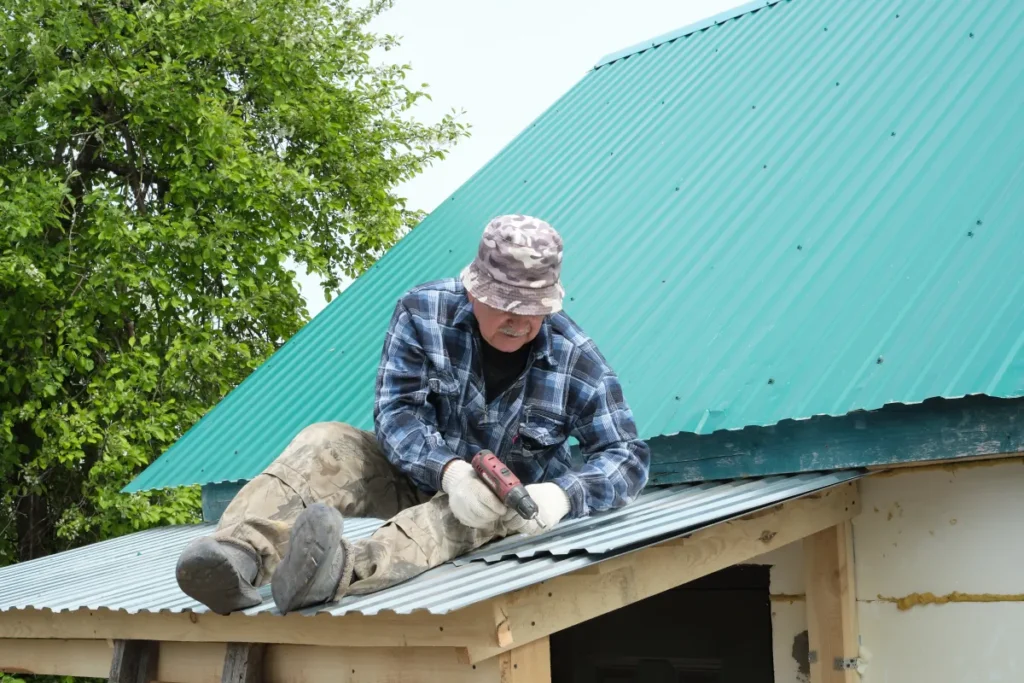
Maintenance Tips After The Install

Good maintenance is mostly small, repeatable checks. Also, Catching minor issues early protects the wall assembly and keeps the finish looking sharp.

  • Wash gently (avoid aggressive pressure washing on seams and caulk lines)
  • Inspect caulk and paint at joints, corners, and trim transitions each year
  • Keep sprinklers and landscaping from constantly soaking the siding
  • Touch up exposed edges quickly to prevent moisture entry

exterior trim detail closeup

Planning, Budget, And Materials

Great-looking siding starts with a clear scope. For this reason, Before you compare estimates, get your “must-haves” on paper so every bid addresses the same decisions.

  • Define the coverage area (accent, partial elevation, or full exterior)
  • Decide what happens at corners, around windows/doors, and at the base of the wall
  • Confirm whether you’re keeping existing trim, replacing it, or changing profiles
  • Pick a finish direction: field-painted, prefinished, or primed for paint on-site
  • Plan for penetrations (lights, vents, hose bibs) so they land cleanly
  • Identify access needs (two-story areas, tight side yards, landscaping protection)
  • Ask how the crew will handle wall repairs once old siding comes off
  • Confirm debris removal and site protection are included in writing

Budget Ranges & Timeline (Typical)

  • Accent installs: usually the most budget-friendly; often short on-site work once materials arrive
  • Partial elevations: mid-range; trim complexity and wall prep often drive the spread
  • Full re-siding: higher budget; scope expands to repairs, window/door details, and multiple elevations
  • Lead times: specialty materials and matching trims can add time before installation begins

Board Batten Siding Choices That Change Your Quote

Small design decisions can swing cost and schedule, even when the square footage stays the same. Overall, Use this as a quick comparison tool when you review proposals.

DecisionCommon optionsWhat typically increases cost/time
ScopeAccent / front elevation / full exteriorMore elevations, more corners, more transitions
Wall prepMinimal / targeted repairs / extensive repairsRot, uneven framing, or sheathing replacement discovered at demo
Trim packageSimple corners / upgraded profiles / custom transitionsMore trim joints, more caulk/paint labor, more alignment checks
Finish strategyPaint on-site / prefinished / stainColor changes, multi-color schemes, or difficult-to-stage elevations

What Buyers Notice

Exterior upgrades influence first impressions. Meanwhile, If you care about resale, prioritize decisions that read as “well-built,” not just trendy.

  • Clean, consistent lines around windows and corners (no awkward trim patches)
  • Durable materials and finishes that age evenly across sun-exposed elevations
  • Balanced use of board-and-batten (accenting can look higher-end than overuse)
  • Good water-shedding details that prevent staining and swelling over time

Before/After Snapshot (Hypothetical Example)

Before: A homeowner likes the vertical look but worries it will feel busy on a smaller front elevation. Meanwhile, The existing trim has mismatched widths, and several vents land in visually awkward spots.

After: The layout uses board-and-batten as an entry and gable accent, with a consistent corner/trim package so lines stay clean. Overall, Penetrations get grouped and detailed deliberately, and the finish uses a simple two-tone scheme for contrast without clutter.

Timeline And Permit Considerations

Most siding projects move faster when the scope is tight and the details are decided early. That said, materials, weather, and wall repairs can shift the schedule, so plan for some flexibility.

Typical Phases

  • Site visit and measurements: confirm scope, access, penetrations, and trim conditions
  • Selections and ordering: boards, battens, trim profiles, and finish approach
  • Prep and demo: protect landscaping and remove old materials as needed
  • Install and detailing: siding layout, trims, and sealing/flashing details
  • Finish work: paint/touch-ups as applicable, then a final walkthrough

General Guidance

Permit needs vary by jurisdiction and scope. Meanwhile, In many areas, like-for-like replacement may be simpler, while changes to wall assembly, structural elements, or openings can trigger plan review and inspections. Meanwhile, If your project is in Sacramento, permitting and plan review commonly run through the City of Sacramento Community Development portal (Accela Citizen Access); other California jurisdictions use their own online systems.

Want an estimate you can actually compare? Additionally, Call +1 (916) 234-6696 and ask for an itemized scope that spells out prep, trim, flashing, and finish responsibilities.

aluminum siding colorful geometric abstract pattern with red blue

How To Avoid Costly Mistakes

For homeowners in Sacramento planning board-and-batten style exteriors, US Construction & Remodeling Corp. Overall, helps tighten the scope, confirm moisture details, and map the layout so the finished siding looks clean and performs well long-term.

Talk it through by phone: +1 (916) 234-6696

Prefer To Start Online? Request A Free Estimate At Https://Usconstructioncali.Com/Free-Estimate/

Common Mistakes We See (And How To Prevent Them)

  • Comparing bids without matching scope: insist on clear line items for demo, prep, trim, flashing, and finish
  • Ignoring transitions: plan how vertical sections meet lap siding, stone, stucco, or flat panels
  • Underestimating wall repairs: ask how repair allowances work if damaged sheathing or framing is uncovered
  • Letting penetrations “land wherever”: confirm how vents, lights, and hose bibs will be sealed and trimmed
  • Choosing a finish you won’t maintain: match material and paint/stain expectations to your upkeep reality
  • Skipping a simple elevation sketch: verify batten spacing and alignment at windows before installation starts

Next Step For Homeowners In Sacramento

If you’re ready to move from inspiration to a real plan, start with a site visit that focuses on scope clarity and the details that drive longevity. For this reason, That includes checking wall flatness, mapping penetrations, and confirming how water will shed at every transition.

Trust And Accountability

  • Licensing and insurance: ask for current documentation and keep it with your contract
  • Permit responsibility: confirm in writing who prepares submittals and schedules inspections when needed
  • Communication: agree on a primary contact and how change requests get priced and approved
  • Workmanship verification: review flashing and sealing details before they’re covered, and follow manufacturer installation requirements

US Construction & Remodeling Corp.
Phone: +1 (916) 234-6696
Booking: https://usconstructioncali.com/free-estimate/

Helpful Links

Frequently Asked Questions

It depends on your city or county and what you’re changing. Like-for-like replacement can be more straightforward, while changes to the wall assembly, structural elements, or openings may require plan review and inspections.

If you’re unsure, start by describing the scope (accent vs full exterior, any sheathing work, any window/door changes). We can also help you ask the right questions for your local building department before work begins.

There isn’t one universal “best.” The right choice depends on durability, paint performance, and maintenance.

  • Fiber cement: durable and stable; quality installation is critical
  • Engineered wood: sharp profiles; follow handling and edge-sealing guidance
  • Natural wood: classic; typically more upkeep over time
  • Vinyl/metal vertical panels: lower maintenance; profile options vary

Timeline depends on scope, material lead times, weather, and how much wall repair is necessary after any demo. Accent installs can move quickly once materials arrive, while full re-siding often takes longer because it involves multiple elevations, more trim work, and more detailing.

A good proposal should separate ordering time from on-site work so the schedule is easier to understand.

Square footage matters, but it’s rarely the only driver. Cost usually shifts based on complexity and what’s discovered behind existing siding.

  • Scope (accent vs full exterior)
  • Material choice and trim package
  • Wall prep and repairs (sheathing, framing, rot)
  • Number of corners, windows/doors, and penetrations
  • Finish approach (paint/stain and color complexity)

Yes, and it’s often the smartest way to get the look without overloading the facade. Common accent areas include entry walls, porch bump-outs, gables, and the garage face.

To make an accent feel intentional, keep trim widths consistent and plan the transition to the adjacent exterior finish (lap siding, stucco, or panel siding).

Compare apples to apples by lining up scope and details. If a bid doesn’t spell out what’s included, you can’t really compare price.

  • Demo and disposal (if applicable)
  • Wall prep and repair approach
  • Flashing and sealing details at transitions and penetrations
  • Trim profiles and finish responsibilities
  • Permit coordination (when needed) and inspection planning

verify contractor status through CSLB and ask for proof of current insurance before you sign.

Licensed, insured & trusted local contractor

US Construction & Remodeling Corp.
9821 Business Park Dr, Sacramento, CA, 95827
Phone: +1 (916) 234-6696

CSLB License #: 1117562 Fully licensed and insured.

View our Google Business Profile

Frequently Asked Questions

It depends on your city or county and what you’re changing. Like-for-like replacement can be more straightforward, while changes to the wall assembly, structural elements, or openings may require plan review and inspections.

If you’re unsure, start by describing the scope (accent vs full exterior, any sheathing work, any window/door changes). We can also help you ask the right questions for your local building department before work begins.

There isn’t one universal “best.” The right choice depends on durability, paint performance, and maintenance.

  • Fiber cement: durable and stable; quality installation is critical
  • Engineered wood: sharp profiles; follow handling and edge-sealing guidance
  • Natural wood: classic; typically more upkeep over time
  • Vinyl/metal vertical panels: lower maintenance; profile options vary

Timeline depends on scope, material lead times, weather, and how much wall repair is necessary after any demo. Accent installs can move quickly once materials arrive, while full re-siding often takes longer because it involves multiple elevations, more trim work, and more detailing.

A good proposal should separate ordering time from on-site work so the schedule is easier to understand.

Square footage matters, but it’s rarely the only driver. Cost usually shifts based on complexity and what’s discovered behind existing siding.

  • Scope (accent vs full exterior)
  • Material choice and trim package
  • Wall prep and repairs (sheathing, framing, rot)
  • Number of corners, windows/doors, and penetrations
  • Finish approach (paint/stain and color complexity)

Yes, and it’s often the smartest way to get the look without overloading the facade. Common accent areas include entry walls, porch bump-outs, gables, and the garage face.

To make an accent feel intentional, keep trim widths consistent and plan the transition to the adjacent exterior finish (lap siding, stucco, or panel siding).

Compare apples to apples by lining up scope and details. If a bid doesn’t spell out what’s included, you can’t really compare price.

  • Demo and disposal (if applicable)
  • Wall prep and repair approach
  • Flashing and sealing details at transitions and penetrations
  • Trim profiles and finish responsibilities
  • Permit coordination (when needed) and inspection planning

verify contractor status through CSLB and ask for proof of current insurance before you sign.

Leave a comment

This website uses cookies to improve your web experience.
Explore
Drag