Planning a wood siding project starts with a simple question: are you repairing a few areas, or refreshing the whole exterior? Wood delivers a warm, high-end look, but it performs best when the details manage water, sun, and movement.
Quick checklist:
- Pick a siding material and finish that matches climate and maintenance goals.
- Confirm moisture management details (housewrap, flashing, caulking) in writing.
- Define the full scope (trim, soffit/fascia, paint, insulation upgrades).
- Confirm access/safety plan and how landscaping/property will be protected.
- Compare 2–3 itemized quotes and verify warranty coverage.
- Check permit requirements if altering exterior walls or doing structural repairs.
This guide walks through scoping, material choices, permits, scheduling, and the maintenance that protects your investment—so you can request estimates that are actually comparable.
TL;DR: Choose the profile and finish you want, confirm moisture-control details (flashing, WRB, ventilation), and insist on a written scope before you sign. Permit needs vary by jurisdiction, so treat it as a planning item—not a surprise.
- Confirm whether you need repair, partial replacement, or full re-siding
- Pick a profile (lap, board-and-batten, shingles) and match trim details
- Decide paint vs stain and ask how edges/end-grain are sealed
- Plan access and staging (driveway, side yard clearance, landscaping protection)
- Clarify who handles permits/inspections and how changes get approved
- Ask for a maintenance plan and realistic repaint/restain expectations
Planning, Permits, And Practical Decisions For Wood Siding
Wood siding can be a full replacement, a targeted repair, or a cosmetic upgrade paired with new trim and paint. Overall, Either way, the end result comes down to two things: the wall system behind the boards and the detailing that keeps bulk water out while letting the assembly dry.
Where Wood Makes Sense
This option fits homeowners who want a traditional look and are also willing to maintain it. It’s also a smart pick when you want flexibility in styling without committing to a single factory color.
- Homes where curb appeal and architectural detail matter
- Projects where trim, corners, and window surrounds need a crisp refresh
- Owners who prefer repairability over “replace the whole panel” systems
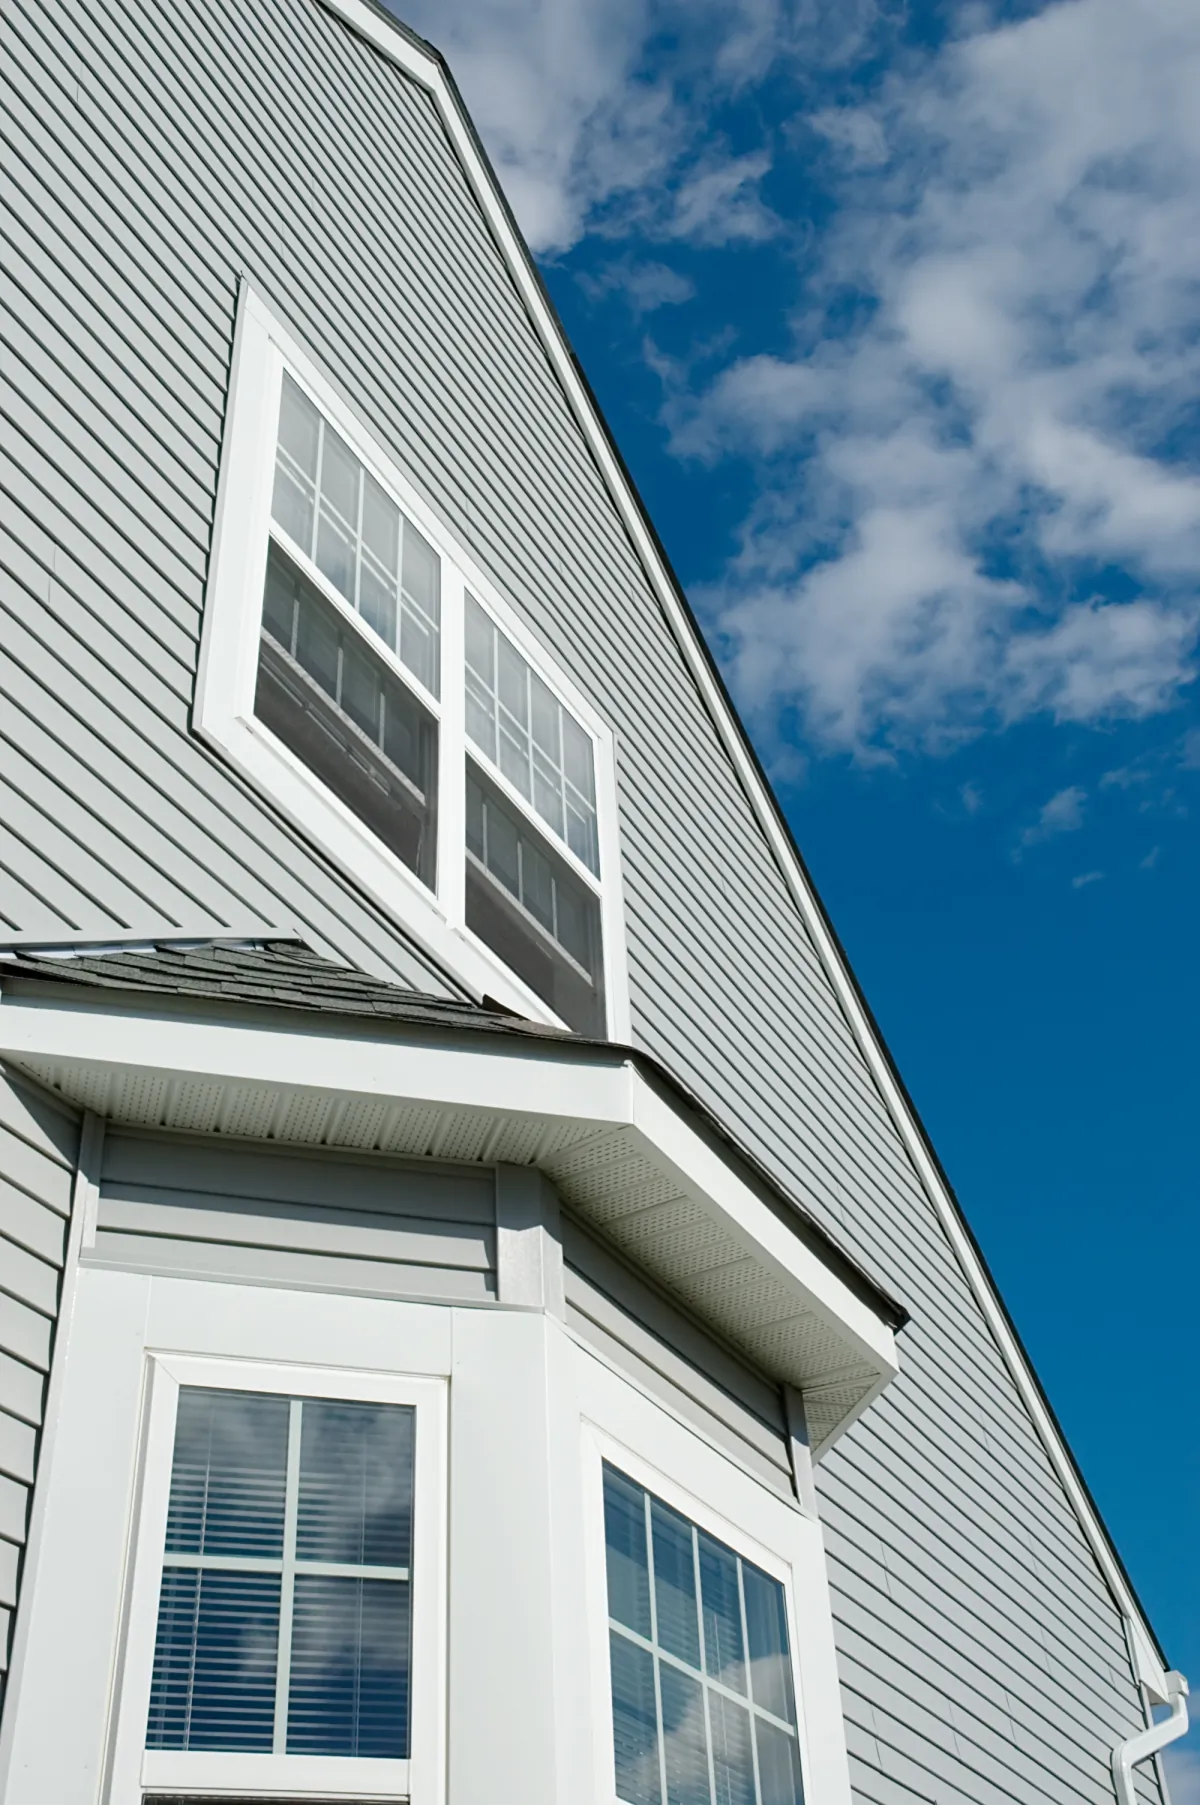
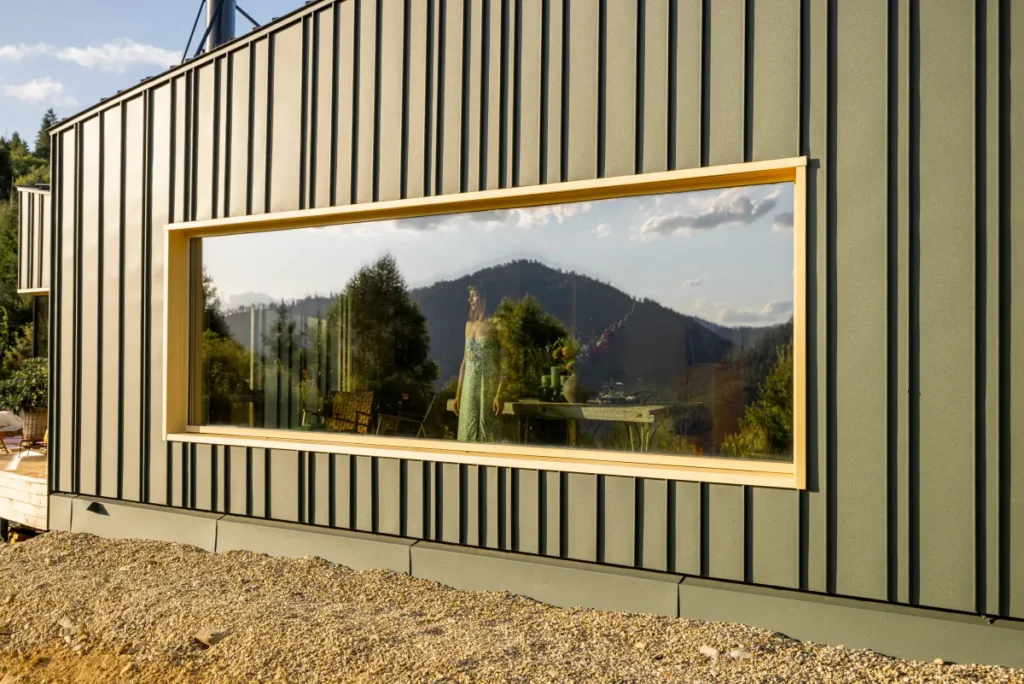
Profiles And Material Options
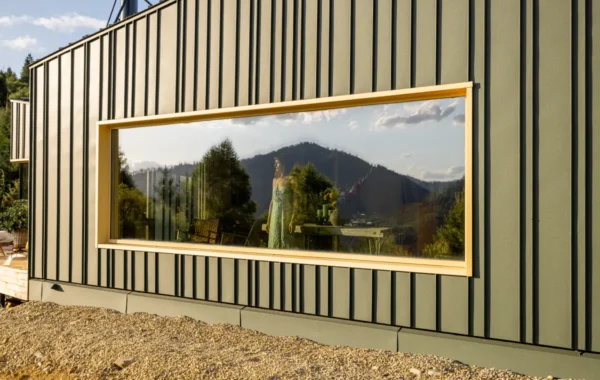
Most wood siding jobs start with profile decisions, because those choices drive labor, trim details, and waste. Meanwhile, Lap (clapboard) reads classic and works across many home styles. For this reason, Board-and-batten adds strong vertical lines and can hide minor waves in the wall. In addition, Shingles or shakes bring texture, especially on gables or accents.
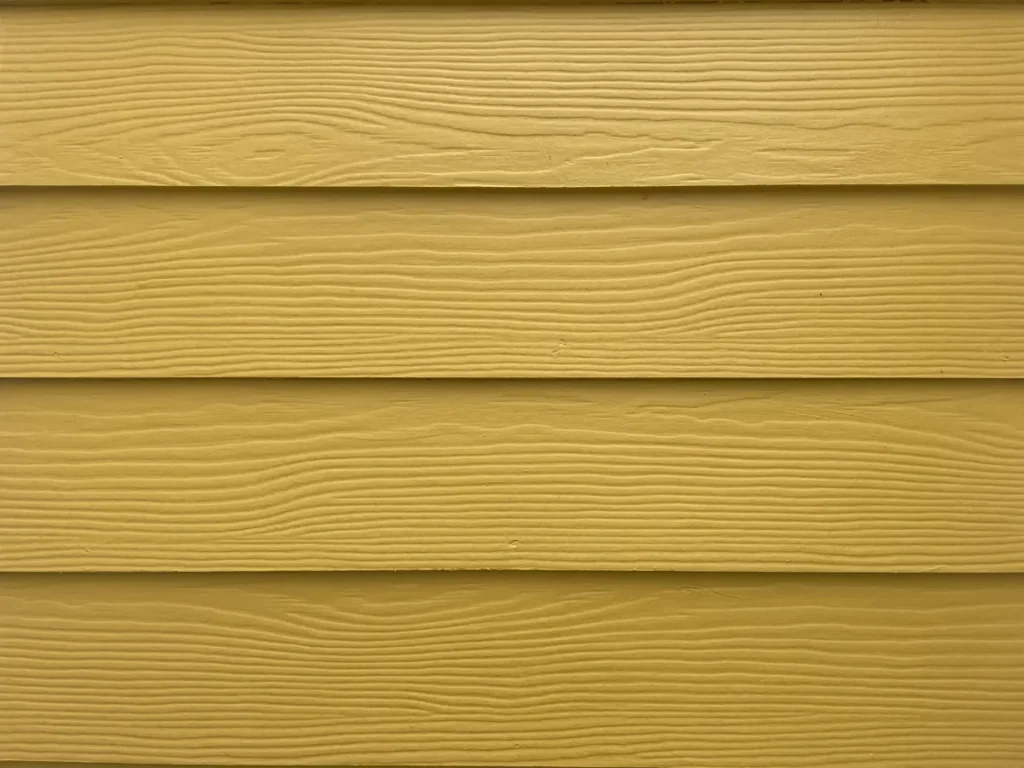
On materials, cedar and redwood remain popular for durability and workability. In addition, Depending on goals and budget, some homeowners compare solid wood to engineered wood products designed for consistency; the key is to match the product to the exposure and finish system you plan to use.
Durability Details That Protect Wood
Good-looking boards won’t matter if water gets trapped behind them. Additionally, Ask your contractor how they handle the layers and transitions that are hardest to redo later.
- Flashing at windows and doors, roof-to-wall intersections, and horizontal trim breaks
- Water-resistive barrier (WRB) strategy and how penetrations are sealed
- Whether a ventilation gap or rainscreen is a good idea for your wall assembly
- How end-grain, cut ends, and field modifications get sealed or primed
Key Decisions In One View
| Decision | Options | What it changes |
|---|---|---|
| Scope | Repair, partial, full replacement | Budget range, permit likelihood, disruption |
| Profile | Lap, board-and-batten, shingles | Labor time, trim complexity, waste |
| Finish | Paint, stain, factory-finished | Maintenance cycles, color flexibility |
| Wall condition | Sound sheathing vs repairs needed | Unknowns, schedule risk, cost drivers |
| Access | Open yard vs tight side yards | Scaffolding, staging, protection needs |
Planning Checklist (Scope, Materials, Budget)
Written scopes are what separate a clean job from a frustrating one. Also, Use the checklist below to make sure each estimate covers the same work and the same assumptions.
Scope Checklist For Accurate Estimating
- Repairs: identify any known soft spots, leaks, or prior patch areas
- Removal: specify whether old siding comes off entirely or only in select areas
- Sheathing and WRB: clarify who replaces damaged areas and how changes are documented
- Trim package: corners, frieze boards, window and door trim, soffit and fascia interfaces
- Penetrations: lights, vents, hose bibs, electrical meters, and mounting blocks
- Finish: primer, paint, stain system, number of coats, and color-change expectations
- Protection: landscaping, decks, AC units, and daily cleanup plan
Material Staging And On-Site Storage
Wood moves with moisture, so storage and handling matter. For example, A good plan keeps boards flat, dry, and protected while still letting them acclimate.
- Store materials off the ground and covered, with airflow to reduce trapped moisture
- Keep bundles out of direct sun to prevent uneven drying and warping
- Stage cut areas so fresh ends get sealed quickly (especially on stain-grade work)
Tight-Access Layout Plans For Small Lots
Narrow side yards and tight driveways don’t stop a project, but they do affect staging and safety. As a result, Talk through where scaffolding will sit, where debris will go, and how crews move materials without damaging fences or landscaping.
- Agree on a primary staging zone (driveway, garage side, or backyard)
- Plan protected walk paths and temporary storage that won’t block exits
- Set expectations for daily cleanup and where tools and materials stay overnight
Budget Ranges And Timeline (Typical)
- Biggest cost drivers: extent of hidden wall repairs, profile complexity, and finish system
- Schedule drivers: material lead times, weather windows, and inspection timing when permits apply
- Typical rhythm: plan and approvals first, then demo and repairs, then install, then finish work
- Reality check: a written estimate should spell out assumptions and how changes are priced

Permits And Inspections (General)
Permit needs change by city and county, and the trigger often depends on scope. For this reason, A like-for-like exterior replacement may be handled differently than work that alters wall structure, openings, or weatherproofing details. Overall, Your contractor should help you confirm what applies before demo starts.
Situations That Often Involve Permits
- Full siding replacement or major wall repair (especially if sheathing changes)
- Changes to windows and doors, framing, or exterior structural elements
- Adding or relocating exterior electrical fixtures, outlets, or vents
- Projects in HOA communities where architectural approval is necessary
Homes built before 1978 may have lead-based paint under older coatings. For this reason, If your project involves disturbing painted surfaces, ask how lead-safe practices will be handled and documented.
How A Wood Siding Job Typically Runs
- Site walk and measurements: confirm access, elevations, and any obvious damage.
- Written scope and selections: profile, trim package, finish approach, and penetrations get documented.
- Permit check (when needed): confirm submittals, fees, and inspection points with the local building department.
- Demo and wall assessment: remove old materials as scoped and document any hidden damage.
- WRB and flashing: rebuild the weather barrier and protect transitions before boards go up.
- Installation and trim: install siding, corners, and trim details with consistent reveals.
- Finish and punch list: paint or stain touch-ups, caulking where appropriate, and final walkthrough.
Key Milestones
A realistic timeline is less about calendar promises and more about milestones you can verify. For example, Ask for a schedule that names checkpoints and who signs off at each one.
- Design and selection lock: profile, trim details, and finish system confirmed in writing
- Pre-work protection: landscaping covered, staging plan set, and access rules agreed
- Wall condition check: any repairs documented and approved before proceeding
- Weatherproofing sign-off: WRB and flashing completed before siding installation continues
- Install completion: siding, trim, and penetrations finished consistently across elevations
- Final walkthrough: touch-ups completed, cleanup confirmed, and maintenance guidance shared
Maintenance Tips That Keep Wood Looking Good
Wood rewards routine care. A short maintenance plan also protects resale value because buyers can see when details were cared for, not ignored.
- Keep sprinklers from soaking the siding and avoid planting that traps moisture against walls
- Inspect caulked joints and flashing transitions seasonally; repair small gaps before water gets behind boards
- Wash gently when dirt or algae builds up; avoid aggressive pressure washing that damages fibers
- Stay ahead of finish failure—peeling, checking, or fading usually signals it’s time to refresh
What To Prioritize For ROI
Exterior updates tend to pay off when they look intentional and reduce buyer uncertainty. In addition, Focus on details that buyers notice on the first walk-up.
- Consistent trim lines, clean corners, and straight reveals
- A coherent color plan with a durable finish system
- Documented scope, permits and inspections when applicable, and a clear maintenance plan
Common Mistakes To Avoid
Most problems with wood siding aren’t about the boards themselves. Additionally, They come from incomplete scoping, rushed detailing, or unclear responsibilities.
- Comparing estimates that don’t match the same scope, prep level, and finish system
- Skipping a plan for flashing and transitions, especially at roof-to-wall intersections
- Assuming the wall behind the siding is fine without allowing for repair documentation
- Overusing caulk where flashing, gaps, or ventilation would work better
- Not planning penetrations (lights, vents, hose bibs) with proper mounting blocks and sealing
- Storing wood on site without protection, leading to warping or uneven moisture content
- Ignoring access constraints until day one, which can slow the job and create avoidable damage
- Paying large sums upfront without a written change-order process and milestone payments

Next Step In Sacramento
US Construction & Remodeling Corp. Meanwhile, helps Sacramento-area homeowners plan and deliver wood siding repairs and replacements with clear scoping, practical material guidance, and coordination around permits and inspections when the scope calls for it.
Request A Written Estimate
Request a written estimate and we’ll price the work based on real conditions, not assumptions. For example, To keep the estimate accurate, send a few exterior photos and include the items below.
- Address (so we can account for access and jurisdiction)
- What you want done: repair, partial replacement, or full re-siding
- Preferred look: lap, board-and-batten, shingles, or a reference photo
- Finish preference: paint, stain, or factory-finished boards
- Any known leaks, soft spots, or prior patch areas
- HOA guidelines, if applicable
If you want to talk it through before booking, call +1 (916) 234-6696.
Sacramento Permitting Note (Local Coordination)
When permits apply in Sacramento, many residential building steps run through the City of Sacramento Community Development online portal (Accela Citizen Access) for applications, payments, and status tracking. Overall, We’ll help you understand what typically needs review for your scope and how inspections fit into the schedule.
Trust And Accountability You Can Verify
- Licensing and insurance: confirm current coverage and that the scope matches the contractor’s classification.
- Permits: clarify in writing who pulls permits, who meets inspectors, and how corrections are handled.
- Communication: set an update cadence (daily notes, weekly check-ins) and a documented change-order process.
- Workmanship checks: ask for photos of WRB and flashing before siding covers it and walk the elevations for straight lines and consistent reveals.
Related Exterior Upgrades Homeowners Often Bundle
While walls are open, it can be efficient to coordinate adjacent exterior work. These are also good internal-link topics for planning your overall exterior scope.
- Siding repair and targeted rot replacement
- Exterior trim replacement (corners, fascia, soffits)
- Window and door trim refresh for a cleaner reveal
- Exterior painting after siding installation
- Gutter and downspout upgrades to control runoff
Company Details
Helpful Links
Frequently Asked Questions
It depends on scope, access, and how much wall repair shows up after demo. A solid plan breaks the job into milestones you can track.
- Planning and selections: profile, trim details, finish system
- Prep and removal: protection, demo, wall assessment
- Weatherproofing: WRB and flashing sign-off before boards cover it
- Install and finish: siding, trim, touch-ups, and final walkthrough
Most cost swings come from labor and unknown wall conditions, not just the boards themselves. Ask each bidder to list assumptions so you can compare apples to apples.
- Profile complexity (lap vs board-and-batten vs shingles)
- Extent of rot and sheathing repair, plus flashing corrections
- Finish choice (paint, stain, factory-finished)
- Access constraints (tight side yards, steep grades)
- Trim and penetration details (corners, windows, vents, mounts)
Local building departments set the rules. Many like-for-like exterior updates are straightforward, but permits are more common when you change wall assemblies, openings, or structural elements.
A reliable contractor will flag likely permit triggers during the site walk and confirm what applies before work starts.
Neither is universally better—it’s about your home’s architecture, exposure, and how much visual texture you want.
- Lap siding: classic look, efficient install, pairs well with many trim styles
- Board-and-batten: strong vertical lines, can be forgiving on slightly uneven walls
- Shingles or shakes: great for accents and gables, adds texture but can add labor
If you’re unsure, ask for a small elevation sketch or a sample layout before ordering materials.
Paint offers broad color flexibility and can hide small imperfections. Stain keeps wood grain visible, but it demands consistent prep and careful edge sealing to reduce blotchiness and early failure.
- Choose paint when you want a uniform finish and simpler touch-ups
- Choose stain when the wood look matters most and you’ll maintain on schedule
- In both cases, plan for regular inspections of joints, flashing, and finish wear
Use a short checklist and insist on a written scope. That approach prevents surprises and helps you spot gaps between bids.
- Verify license and insurance, and confirm who pulls permits when needed
- Ask how WRB, flashing, and penetrations will be detailed and documented
- Get a clear change-order process and milestone-based payment schedule
- Ask for a maintenance plan for the finish system you choose
If you’re in the Sacramento area, ask how the team coordinates with local plan review and inspections when applicable.
Licensed, insured & trusted local contractor
US Construction & Remodeling Corp.
9821 Business Park Dr, Sacramento, CA, 95827
Phone: +1 (916) 234-6696
CSLB License #: 1117562 Fully licensed and insured.
Frequently Asked Questions
It depends on scope, access, and how much wall repair shows up after demo. A solid plan breaks the job into milestones you can track.
- Planning and selections: profile, trim details, finish system
- Prep and removal: protection, demo, wall assessment
- Weatherproofing: WRB and flashing sign-off before boards cover it
- Install and finish: siding, trim, touch-ups, and final walkthrough
Most cost swings come from labor and unknown wall conditions, not just the boards themselves. Ask each bidder to list assumptions so you can compare apples to apples.
- Profile complexity (lap vs board-and-batten vs shingles)
- Extent of rot and sheathing repair, plus flashing corrections
- Finish choice (paint, stain, factory-finished)
- Access constraints (tight side yards, steep grades)
- Trim and penetration details (corners, windows, vents, mounts)
Local building departments set the rules. Many like-for-like exterior updates are straightforward, but permits are more common when you change wall assemblies, openings, or structural elements.
A reliable contractor will flag likely permit triggers during the site walk and confirm what applies before work starts.
Neither is universally better—it’s about your home’s architecture, exposure, and how much visual texture you want.
- Lap siding: classic look, efficient install, pairs well with many trim styles
- Board-and-batten: strong vertical lines, can be forgiving on slightly uneven walls
- Shingles or shakes: great for accents and gables, adds texture but can add labor
If you’re unsure, ask for a small elevation sketch or a sample layout before ordering materials.
Paint offers broad color flexibility and can hide small imperfections. Stain keeps wood grain visible, but it demands consistent prep and careful edge sealing to reduce blotchiness and early failure.
- Choose paint when you want a uniform finish and simpler touch-ups
- Choose stain when the wood look matters most and you’ll maintain on schedule
- In both cases, plan for regular inspections of joints, flashing, and finish wear
Use a short checklist and insist on a written scope. That approach prevents surprises and helps you spot gaps between bids.
- Verify license and insurance, and confirm who pulls permits when needed
- Ask how WRB, flashing, and penetrations will be detailed and documented
- Get a clear change-order process and milestone-based payment schedule
- Ask for a maintenance plan for the finish system you choose
If you’re in the Sacramento area, ask how the team coordinates with local plan review and inspections when applicable.


