Layout Options And When They Work Best For Bathroom Design Tool
Layout decisions drive everything: where water lines go, where lights land, and whether the room feels tight or open. Meanwhile, Before you move anything, look at how you enter the room, where you stand to use the sink, and how you’ll towel off without dripping across the floor.
- Galley layout: fixtures line one side (or two parallel runs) with a straight walk path. Overall, This works well in narrow hall baths when you keep the vanity depth modest.
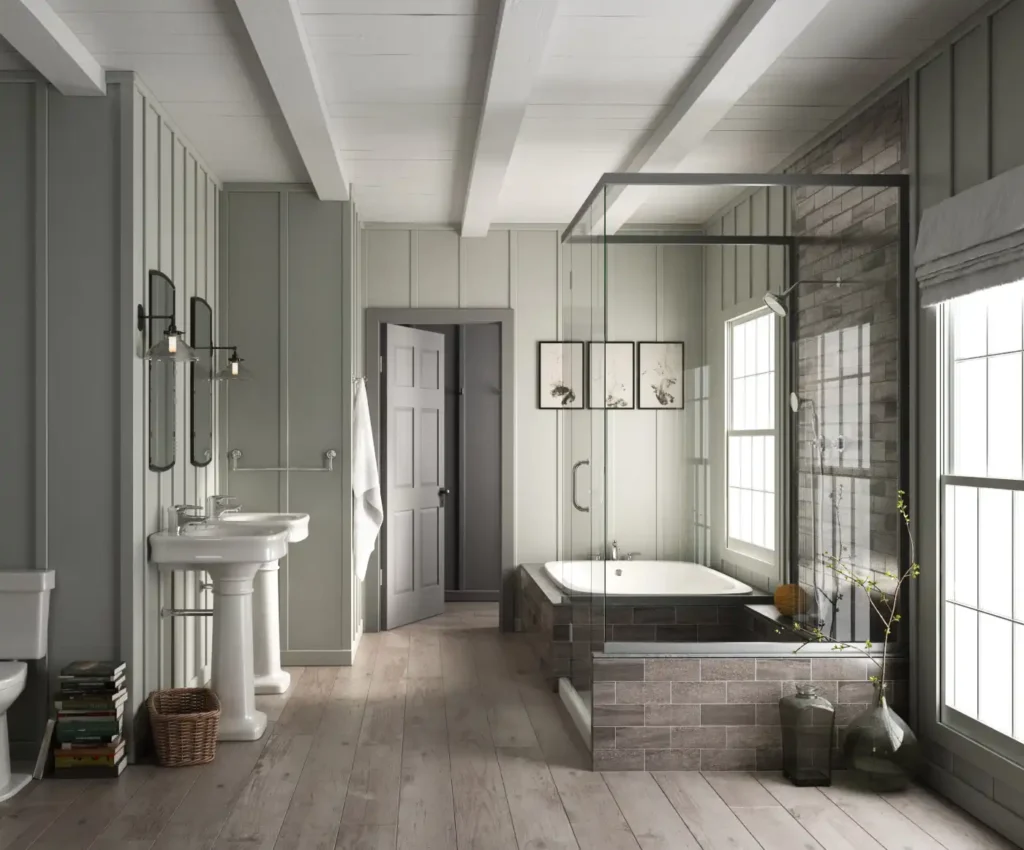
- L-shape layout: the vanity and wet zone sit on adjacent walls. Also, It’s a practical choice when you want a wider shower while keeping the toilet out of the main sight line.
- U-shape layout: fixtures occupy three walls. For example, This can feel efficient in a larger footprint, especially when you want a separate toilet area or a dedicated linen run.
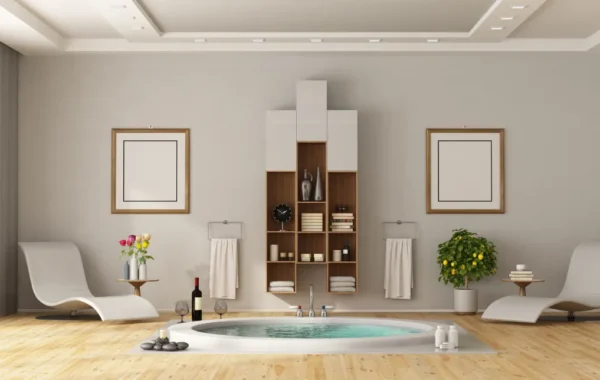
- Island-centered layout: in a large primary bath, a freestanding tub or a double-sided vanity can sit “in the middle,” with circulation around it. As a result, It’s a statement move, but it needs real square footage to stay comfortable.
Small-Space Layouts That Open The Room
Small bathrooms rarely need “more stuff.” They need fewer pinch points and a cleaner sight line from the doorway.
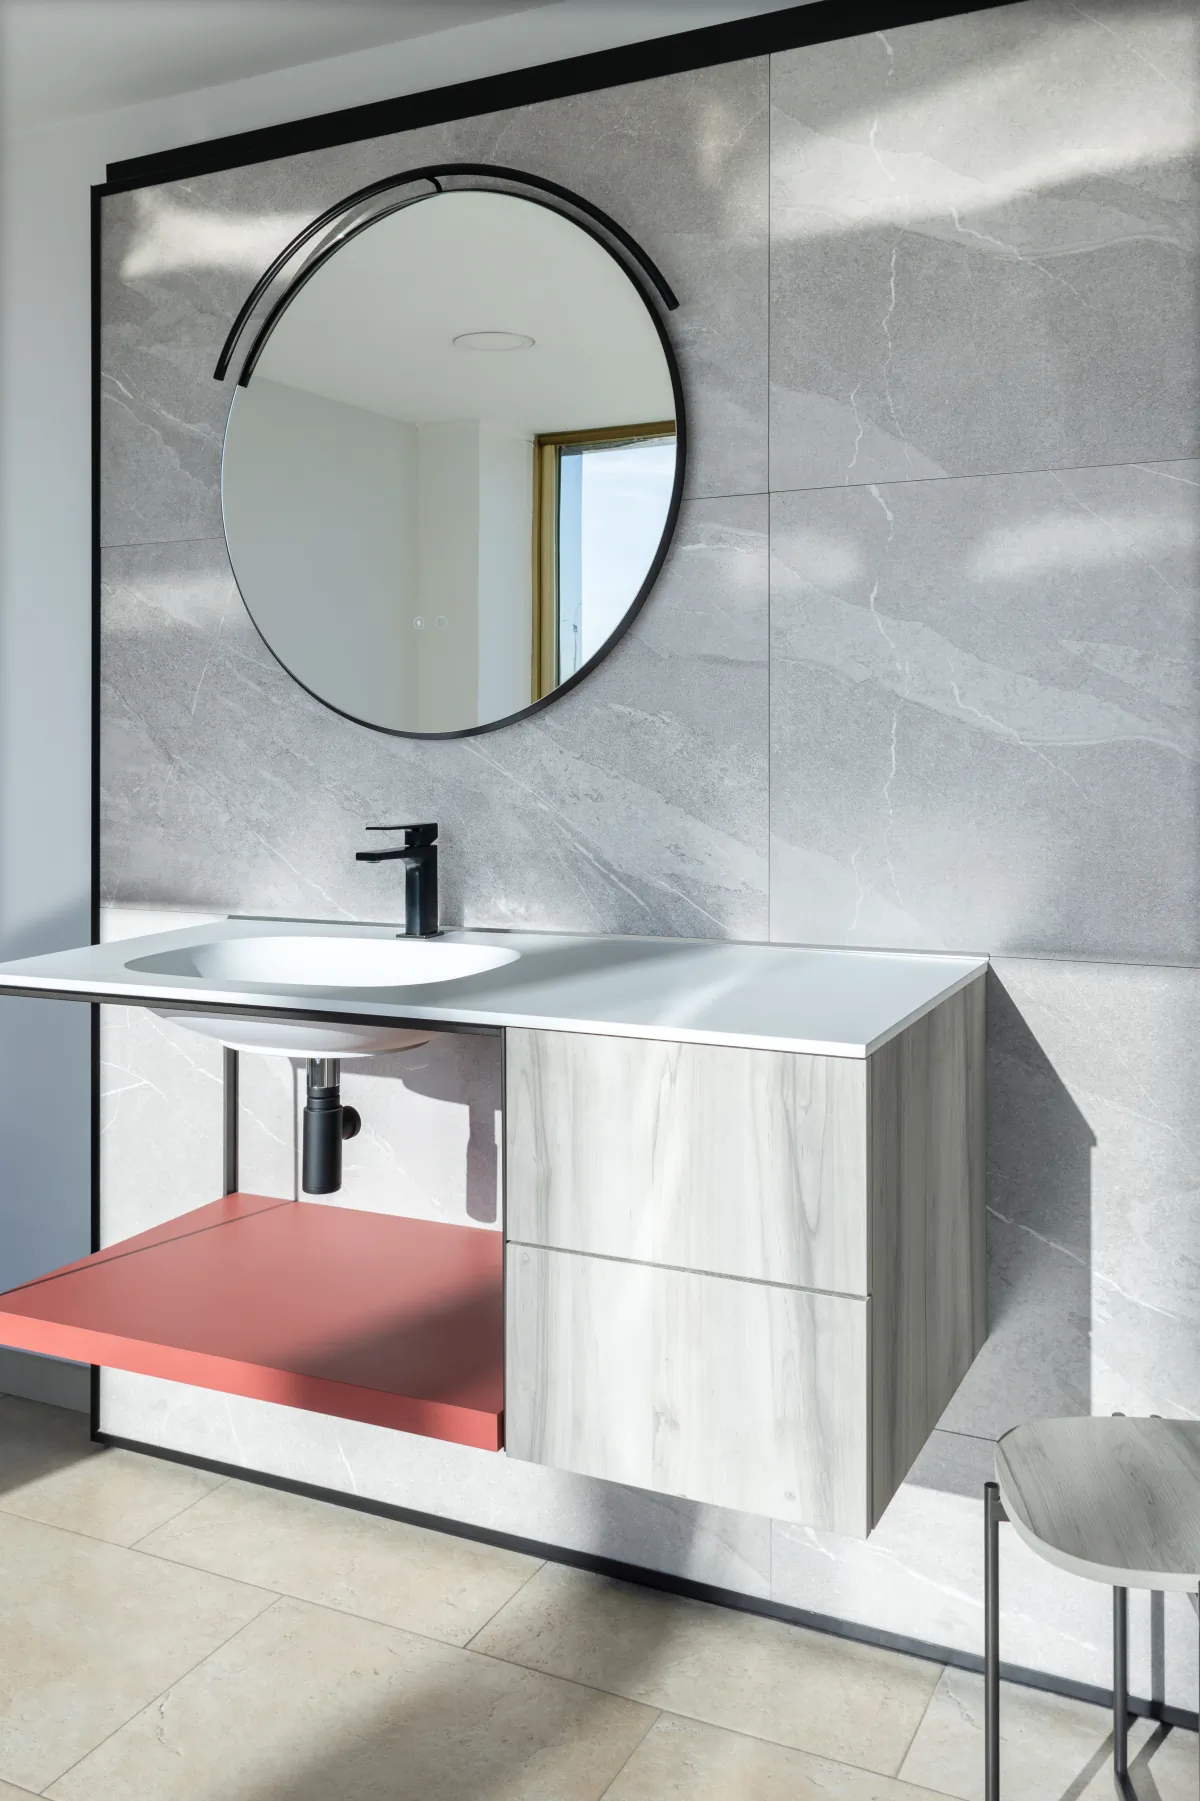
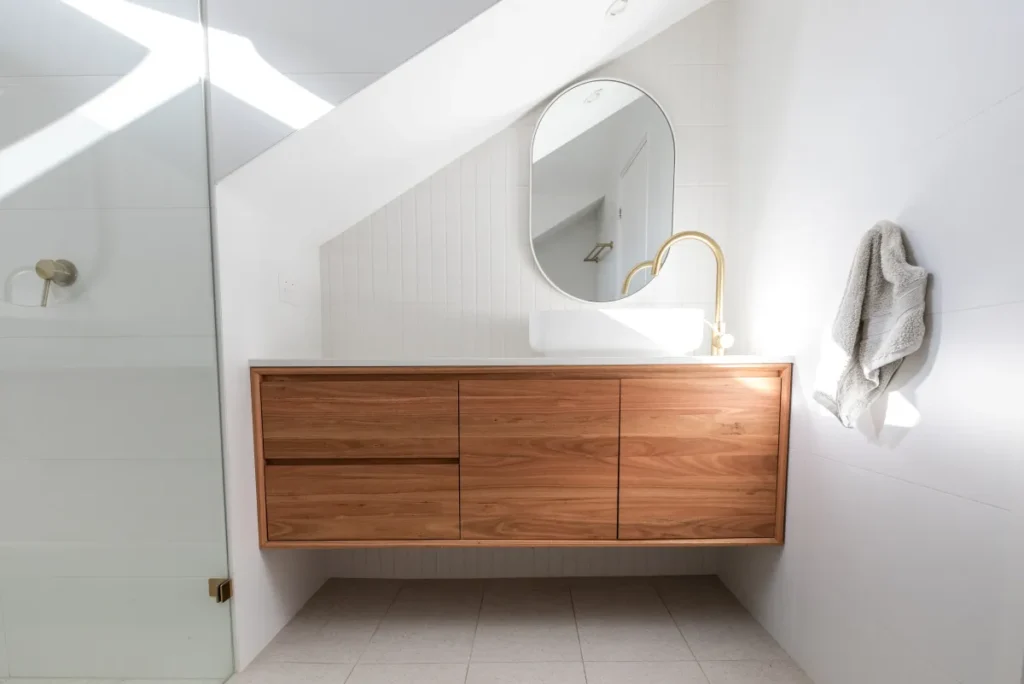
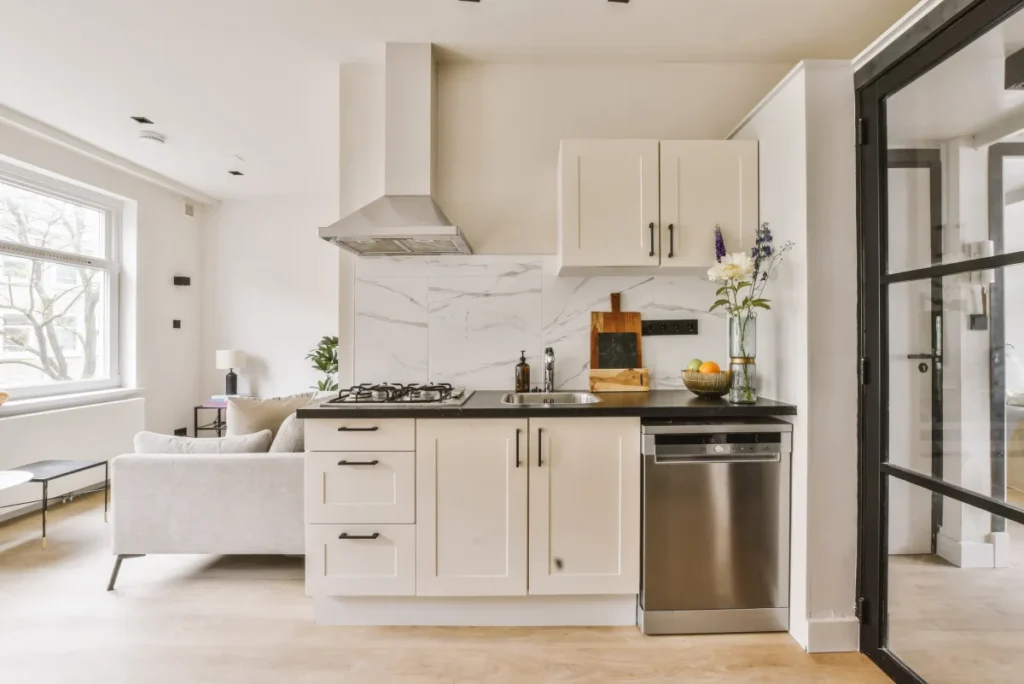
- Swap a bulky vanity for drawers in a slimmer width, or choose a wall-hung vanity where the wall can support it.
- Use a clear glass panel instead of a shower curtain when privacy allows; it keeps light moving through the space.
- Consider a shower with a low curb for easier entry; true curbless showers can work, but they depend on structure and drainage planning.
- Choose larger-format wall tile to reduce visual “grid” lines.
- Recess storage (medicine cabinet, niche) so the room doesn’t feel crowded.
How A Remodel Typically Runs In California
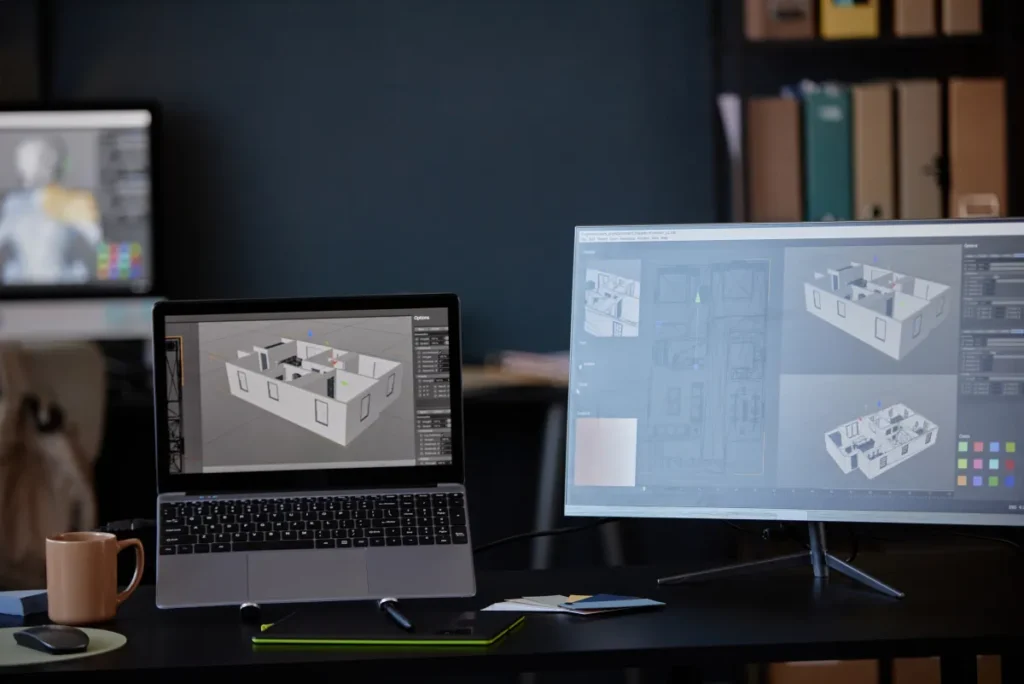
A design tool helps you get aligned on the end result. Overall, After that, the job moves forward fastest when decisions happen in the same order crews build.
- Site check + measurements: confirm dimensions, photos, and what’s behind the finishes (plumbing, electrical, framing).
- Scope and selections: lock the layout, then choose the items that affect rough-in: shower valve/trim, tub or shower base, vanity size, and lighting locations.
- Permits (when required): many jurisdictions require permits when you move plumbing, change electrical circuits, alter ventilation, or change walls. Additionally, Requirements vary by city and county, so confirm for the specific address.
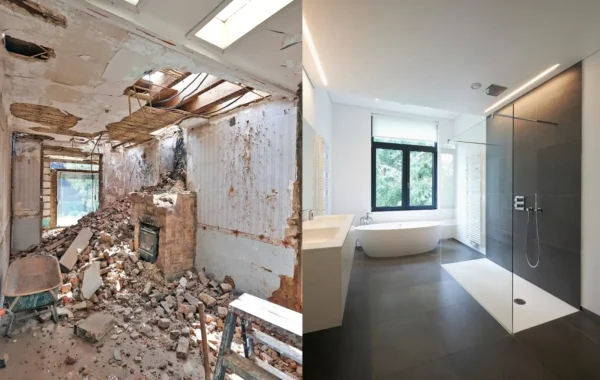
- Demo + rough-in: demolition clears the room; rough-in is the behind-the-wall plumbing and wiring work.
- Waterproofing + surfaces: installers build the waterproof layer, then tile, panels, or other finishes go on.
- Fixtures + trim: vanity, toilet, lighting, mirrors, and hardware get installed and tested.
- Punch list + cleanup: final adjustments, sealant touch-ups, and a walkthrough to confirm everything operates correctly.
Materials Comparison (Pros/Cons)
Once the layout is solid, materials become a practical choice: how they handle water, how you clean, and how they look after years of daily use. For example, It’s worth choosing a “low-maintenance base” and saving bold color for paint or decor you can swap later.
Vanity Cabinet Door Styles
- Shaker: clean frame-and-panel look that fits most styles; it hides wear better than high-gloss.
- Slab (flat panel): modern and easy to wipe down; fingerprints show more on dark, matte finishes.
- Raised panel: traditional profile with more detailing; it can collect dust in the grooves.
Countertop Options For Vanities
- Quartz: consistent look, resists staining, and cleans easily; it can cost more than entry-level surfaces.
- Granite: natural stone patterning; it may need periodic sealing depending on the slab.
- Solid surface: smooth and repairable; it offers fewer “stone-like” patterns.
- Porcelain slab: thin, modern look with strong scratch resistance; edges and fabrication details matter.
Flooring Choices For Bathrooms
- Porcelain tile: water-tolerant and durable; grout maintenance depends on grout type and color.
- Natural stone: beautiful and unique; it typically needs more sealing and gentle cleaners.
- Luxury vinyl plank (LVP): softer underfoot and fast to install; quality varies, and you still need good moisture control at seams and edges.
Resale And ROI Priorities
Bathrooms influence resale because buyers judge cleanliness, moisture control, and function within seconds. As a result, When you’re prioritizing for return, focus on the parts that feel “solid” rather than the most dramatic trend.
- Spend on waterproofing quality, ventilation, and a layout that doesn’t feel cramped.
- Choose finishes that read clean: consistent hardware finishes, simple tile patterns, and a bright vanity wall.
- Improve lighting at the mirror; buyers notice shadows and poor color immediately.
- Add storage that reduces counter clutter (drawers, linen tower, recessed cabinet).
Key Decisions At A Glance
| Decision | Why it matters | Budget impact | Schedule impact |
|---|
| Keep plumbing locations | Less rough-in work and fewer unknowns | Lower | Often faster |
| Move plumbing fixtures | Opens layout options but adds trade work | Higher | Can add time |
| Tile: shower-only vs. full height | Changes labor and waterproofing scope | Moderate to high | Moderate |
| Vanity: stock vs. semi-custom | Controls fit, storage, and lead time | Moderate to high | Can add time |
| Lighting: one fixture vs. layered | Impacts comfort and daily function | Low to moderate | Low |
| Shower: pan + wall tile vs. full tile | Drives waterproofing details and upkeep | Moderate to high | Moderate |
Lighting Layers And Comfort Features
Good bathroom lighting is rarely “one bright fixture.” Plan layers so the room feels comfortable at 6 a.m. Meanwhile, and still works for shaving, makeup, or cleaning.
- Ambient lighting: overall light (often ceiling-mounted) on a dimmer so the room isn’t harsh at night.
- Task lighting: focused mirror lighting that reduces face shadows; side sconces or a well-placed bar light work well.
- Accent lighting: a soft night light, niche light, or toe-kick glow that adds comfort without glare.
Comfort Features Worth Considering
- Heated floor zone: especially nice in the vanity area; it typically pairs with a thermostat and a dedicated electrical plan.
- Quiet exhaust fan with timer: helps control moisture and odors without sounding like a shop vac.
- Handheld shower: makes cleaning and rinsing easier; it’s also helpful for kids and pets.
- Shower bench or ledge: improves comfort and storage, but it must be waterproofed correctly.
Maintenance And Durability Notes
The best-looking bathroom is the one you can keep clean without a special routine. Overall, When you compare options, ask a simple question: “Will I still like maintaining this in six months?”
Maintenance Tips For The Long Run
- Run the fan during showers and for a while after; it reduces moisture that feeds mildew.
- Use pH-neutral cleaners on tile and stone; harsh acids can dull surfaces and weaken grout over time.
- Wipe or squeegee shower glass to slow down water spots and soap buildup.
- Check caulk lines annually and replace failing sections before water gets behind finishes.
- If you choose natural stone, follow the sealer and cleaner guidance for that specific material.