
Bathroom Remodeling vs DIY in Rancho Cordova: A Practical Roadmap
Choosing between DIY and hiring a remodeler isn’t about pride—it’s about water, wiring, and what’s hidden behind the tile. If you’re weighing Bathroom Remodeling vs diy rancho in Rancho Cordova, start by defining your scope: surface updates are one category. And behind-the-walls changes are another.
TL;DR: DIY can work for cosmetic upgrades when the shower/tub waterproofing stays untouched. Once you open walls, move plumbing, or change electrical and ventilation, a coordinated remodel usually saves time and reduces risk.
Quick Checklist:
- Am I changing the shower/tub waterproofing or only the trim and fixtures?
- Will any plumbing locations move (drain, valve, supply lines)?
- Am I adding outlets, lighting, or a new exhaust fan?
- Is there evidence of water damage (soft floor, staining, loose tile)?
- Do I need accessibility upgrades (curb-free entry, blocking for grab bars)?
- Do I want one schedule and one accountable scope for the entire room?
Signs It’s Time For Bathroom Remodeling Vs DIY In Rancho Cordova For Bathroom Remodeling Vs DIY Rancho
| Decision | Why it matters | Quick check |
|---|---|---|
| Wet-area finishes | Wet zones need durable, easy-clean surfaces. | Choose materials rated for bathrooms and simple maintenance. |
| Ventilation | Helps prevent humidity and long-term damage. | Confirm fan sizing and vent routing. |
| Layout | Good layout improves daily usability. | Verify clearances and door swings. |
| Budget control | Keeps scope creep from blowing up the price. | Use allowances and a written change-order process. |
DIY makes sense when you’re updating finishes without touching the systems that manage water and power. Overall, A full remodel becomes the smarter call when your wish list includes changes that must be sequenced, inspected. And waterproofed as a single system.
- A walk-in shower with a new pan, also niche, bench, or curb-free entry
- Large-format tile or a fully tiled shower surround (flat walls and layout matter)
- Relocating a vanity, toilet, or shower valve to improve clearances
- Upgrading to a wider vanity, double sinks, or more drawer storage
- Layered lighting to reduce shadows at the mirror
- Quiet, effective ventilation that clears steam quickly after a shower
- Water-resistant flooring that stays safe underfoot (slip resistance matters)
- A frameless glass enclosure, recessed shelf, or other built-in details
- Moisture-resistant paint, trim, and baseboards that won’t swell or peel
- Future-proof features: blocking for grab bars, handheld shower, comfort-height toilet
When two or more items above apply. For this reason, The Bathroom Remodeling vs diy rancho decision usually comes down to the shower system and the “in-the-walls” work. A remodel bundles demo, rough work, waterproofing, and finishes into one plan so the room performs as intended.
Common Upgrade Paths (What Changes Most) For Bathroom Remodeling Vs DIY Rancho
Most homeowners start with simple DIY goals—paint, a faucet, a mirror. Additionally, The scope usually grows in predictable areas: the shower/tub zone, storage at the vanity. And lighting and ventilation that make the room feel larger and work better.
- Refresh: paint, vanity light, mirror, and hardware without moving plumbing
- Wet-area upgrade: replace a tired tub/shower surround with a tiled walk-in shower
- Storage boost: replace a narrow vanity with better drawer layout and countertop space
- Comfort upgrades: stronger exhaust fan, better outlets, and improved lighting
- Accessibility: safer entry, smarter grab-bar planning, and easier-to-clean surfaces
Layout Planning That Keeps The Room Efficient
Bathrooms are small, so layout wins before finishes. Also, Start with door swing and clearances at the vanity and shower entry. Then decide whether you’re keeping plumbing locations or redesigning the room.
These Common Layout Patterns Show Up In Bathrooms Too:
- Galley:long and narrow with fixtures on one side or facing each other. Meanwhile, Keep the walkway clear and consider a sliding or outswing door when space is tight.
- L-shape:the vanity and wet area sit around a corner. In addition, This can separate “dry” and “wet” zones and reduce splash on the vanity.
- U-shape: storage and fixtures wrap three sides; it works best in larger bathrooms where you can keep comfortable movement around the center.
- Island-centered:rare, but possible in oversized primary baths. For example, A freestanding tub or center vanity can anchor the space, though it often requires more planning for plumbing and lighting.
Keeping the layout in place is usually the easiest way to control cost and timeline. As a result, Moving the toilet, shower drain, or venting can be worth it. But it should be a deliberate decision—not a surprise halfway through demo.
Pick By Water Exposure And Maintenance
Bathrooms demand materials that handle steam, splashes, and regular cleaning. Additionally, The goal is durability without turning daily maintenance into a chore.
Cabinets and door styles: Shaker doors are a go-to for timeless design; slab doors read more modern; raised-panel doors can fit traditional homes. Additionally, Choose sturdy box construction and finishes that resist moisture, especially near the shower.
Countertops:quartz offers low maintenance and consistent color; granite and marble can look great but may need sealing. For this reason, Solid-surface tops clean easily with minimal seams; laminate is budget-friendly when you keep water off the edges.
Tile and grout: porcelain tile is tough and water-resistant; natural stone brings character but needs sealing and gentler cleaners. In addition, Upgraded grout options can reduce staining, and tighter joints can look cleaner when the tile is set well.
Flooring: porcelain tile is a strong default for wet rooms; some homeowners choose luxury vinyl plank rated for wet areas for a warmer feel underfoot. Additionally, Whatever you choose, prioritize slip resistance.
Fixtures and valves: spend for reliability where it counts (the valve behind the shower wall and quality drain parts). In addition, A stylish trim kit doesn’t guarantee long-term performance.
Layered lighting: combine ambient lighting for the whole room, task lighting at the mirror for shaving/makeup, and accent lighting to soften shadows and highlight niches or shelving.
Before/After Example (Hypothetical, Anonymized)
Before: a dated tub/shower insert, a small vanity with limited storage, and a single overhead light that cast shadows at the mirror. In addition, The homeowner planned a “DIY refresh,” but the shower surround showed recurring caulk failure.
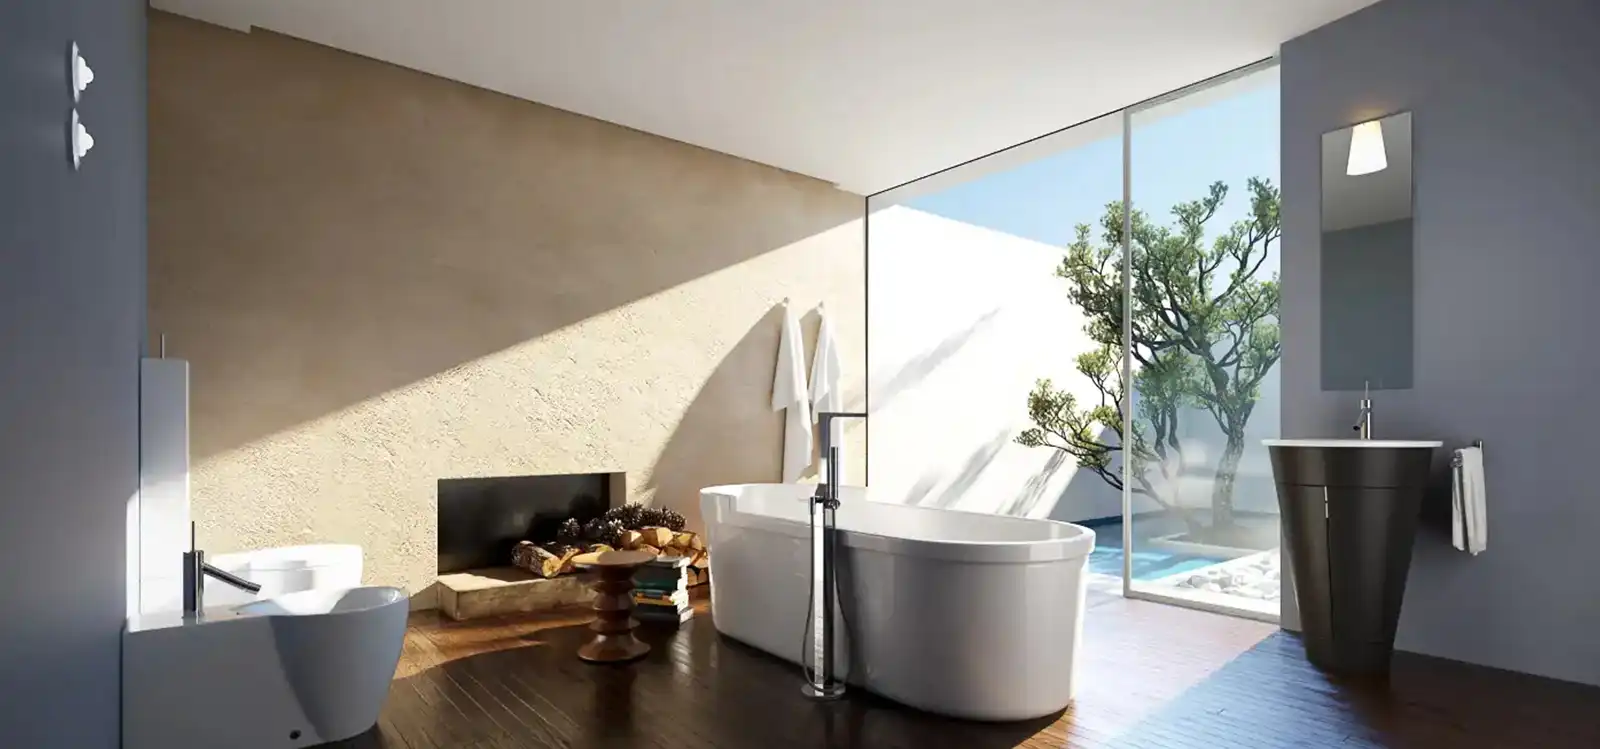
After: a walk-in shower with a tiled surround, a recessed niche, and a glass enclosure; a wider vanity with drawers; and brighter, layered lighting with a dedicated vanity fixture. For this reason, The finishes changed the look, but the real upgrade was the water management and ventilation that protect the room long-term.
Quick Decision Matrix
Use this snapshot to decide whether you’re in DIY territory or remodel territory. Meanwhile, When the “behind-the-walls” column applies, it’s worth getting a written plan before you start buying materials.
| Scope | DIY-friendly? | What to watch | Typical best path |
|---|---|---|---|
| Paint, mirror, light swap | Often yes | Moisture-rated products, safety | DIY with a clear checklist |
| Vanity replacement (same hookups) | Sometimes | Floor damage, shutoff access, wall patching | Hybrid approach if needed |
| Replace shower/tub surround | Rarely | Waterproofing details, flat walls, leak risk | Professional remodel scope |
| Move plumbing or add circuits | No | Permits, inspections, sequencing | Professional remodel scope |
A Realistic Project Roadmap (Planning To Closeout)
A bathroom remodel goes smoother when selections and decisions happen before demo. Also, Here’s a realistic sequence that keeps the room moving:
- Scope and layout: confirm what stays and what moves; lock in shower/tub direction and vanity width.
- Selections: tile, vanity, countertop, fixtures, lighting, fan, and paint colors—ordered early to avoid waiting mid-build.
- Demo and prep: protect adjacent areas, remove old finishes, and inspect framing/subfloor.
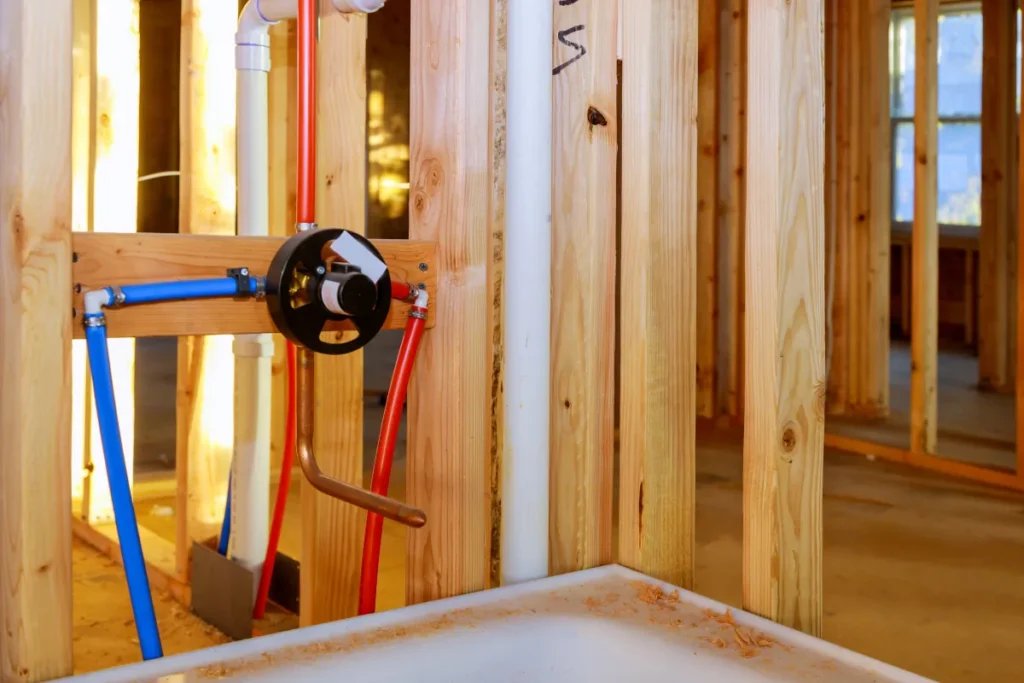
- Rough work: plumbing and electrical updates, ventilation routing, and any framing changes.
- Waterproofing and tile: treat the shower as a system, then set tile, grout, and seal where appropriate.
- Install and trim: vanity, top, fixtures, glass, accessories, and paint.
- Closeout: test fixtures, verify drainage, complete a punch list, and review care instructions.
Budget Ranges And Timeline (Typical)
Budgets swing based on how much you change, not just how nice the tile looks. Meanwhile, Keeping the layout and focusing on a single wet-area upgrade usually costs less than a full reconfiguration.
Budget Ranges & Timeline (Typical)
- Cosmetic refresh: often 1–3 weekends DIY, or about 3–7 working days with a crew; budget depends on fixture and vanity choices.
- Mid-scope remodel (keep layout): commonly 2–4 weeks of construction once materials are on hand.
- Full remodel (layout changes): commonly 3–6+ weeks of construction, plus planning and permit time when required.
- Typical starting ranges: many projects land somewhere between $10,000 and $45,000+, depending on size, finishes, and behind-the-walls work.
Cost drivers are straightforward: moving plumbing, upgrading electrical and ventilation, rebuilding the shower system, and choosing premium surfaces. If you want to control the number, keep the layout, pick durable mid-range finishes, and avoid last-minute changes after tile is ordered.
ROI And Resale Priorities (What Buyers Notice)
A bathroom doesn’t need to be flashy to help resale. Buyers respond to clean lines, good lighting, and confidence that the shower won’t leak. If ROI matters, prioritize durable wet-area construction, ventilation, and neutral finishes that won’t date quickly.
If your home has only one bathtub, keeping a tub can appeal to more buyers. In a primary bath with another tub elsewhere, a well-designed walk-in shower can still be the right call. Match the decision to how the home will be used.
Permits And Scheduling Notes
Permit needs depend on scope. In general, projects that change plumbing lines, add or modify electrical circuits, alter ventilation, or touch structural framing may require permits and inspections. Surface-only swaps often do not, but the safest move is to confirm based on your exact plan.
Rancho Cordova homeowners can typically handle applications, payments, and inspection scheduling through the City of Rancho Cordova permit portal. Even when you hire a contractor, it helps to know where permit and inspection status is tracked.
Rancho Cordova Permit-Portal Planning That Prevents Delays
A few small habits keep permits and inspections from becoming the bottleneck:
- Decide early what’s “in the walls”: fan location, light layout, and shower valve position drive rough-in timing.
- Order long-lead items up front: vanities, glass, and specialty tile can delay the finish stage if they arrive late.
- Keep access simple: clear paths to the bathroom and electrical panel help inspection days run smoother.
- Document selections: model numbers and spec sheets reduce back-and-forth when questions come up.
Common Mistakes That Turn DIY Into An Expensive Redo
- Starting demo before the layout and fixture sizes are finalized
- Mixing waterproofing products without a complete system plan
- Installing tile over walls that aren’t flat and square
- Skipping ventilation upgrades in a steamy bathroom
- Buying fixtures before confirming behind-the-wall compatibility
- Underestimating disposal, dust control, and drying/curing time
DIY can still fit into a remodel. Many homeowners handle paint or simple hardware installs after the core work is complete. The key is choosing DIY tasks that don’t compromise waterproofing or inspections.
Need A Quick Scope Check Before You Commit?
If you want a straight answer on what’s safe to DIY in your bathroom, call +1 (916) 234-6696 for a quick conversation. You can also schedule an estimate online to get a written scope and timeline before you start buying materials.
Serving Rancho Cordova Homeowners
US Construction & Remodeling Corp. helps Rancho Cordova homeowners make the right call between DIY updates and full Bathroom Remodeling by clarifying scope, selections, and permit coordination when the work goes beyond surface changes.
Free estimate to review your goals, get a plan you can understand, and decide what to DIY versus what to have handled professionally. Prefer to talk first? Call +1 (916) 234-6696.
Trust, Permits, And Workmanship Checks
Keep the decision grounded in facts you can verify. Before signing anything, confirm:
- Licensing and insurance: ask for current documentation and verify it independently.
- Permit responsibility: confirm who pulls permits (if needed) and who schedules inspections in Rancho Cordova.
- Written scope: the contract should list materials, fixture models, waterproofing approach, and what gets protected during construction.
- Communication: know your point of contact and how changes are approved in writing.
- Quality checkpoints: do a walkthrough after rough work and before tile/grout is finalized so corrections are simple.
Maintenance Tips For The First Year
A few routines protect your new surfaces and keep everything working as designed:
- Run the exhaust fan during showers and for a short period after to clear humidity.
- Wipe down glass and tile a couple of times a week to reduce soap buildup.
- Use pH-neutral cleaners on stone and avoid harsh abrasives on polished finishes.
- Re-caulk corners when you see separation, rather than waiting for water to get behind tile.
- Fix drips quickly; small leaks can stain cabinets and swell toe-kicks.
Company Contact
Helpful Links
Frequently Asked Questions
DIY works best when you stay on the surface and don’t disturb waterproofing or hidden utilities. For many homeowners comparing Bathroom Remodeling vs diy rancho options, these are the safer DIY tasks:
- Painting with moisture-rated paint
- Replacing a mirror, towel bars, or accessories
- Swapping cabinet hardware and updating a vanity light cover or bulb style
- Replacing a faucet or toilet when the hookups stay the same (and you can shut water off safely)
Once you remove a shower surround, rebuild a pan, move plumbing, or add wiring, it’s smart to bring in a licensed contractor and handle permits when required.
It depends on what changes. Work that alters plumbing, modifies electrical, changes ventilation, or affects structural framing may require permits and inspections. Cosmetic swaps often don’t, but the safest approach is to confirm based on your exact scope.
In Rancho Cordova, permitting and inspection scheduling are typically handled through the City of Rancho Cordova permit portal. A contractor can guide you, but you should still understand what’s being permitted and who is responsible for scheduling inspections.
DIY timelines are unpredictable because most homeowners can only work nights and weekends. A professional remodel usually moves faster once materials are ready, but planning and permits can add lead time.
- DIY refresh: often stretches to a few weekends (or longer if surprises appear).
- Mid-scope remodel (keep layout): commonly 2–4 weeks of construction.
- Full remodel (layout changes): commonly 3–6+ weeks of construction, plus planning/permit time when needed.
Material availability and inspection scheduling are the two biggest wildcards.
The biggest budget swings usually come from scope decisions rather than decor. These items move the needle most:
- Moving plumbing locations (drain, valve, supply lines)
- Electrical upgrades (new circuits, lighting layout changes, fan upgrades)
- Shower rebuild complexity (pan, waterproofing details, niches, benches)
- Tile quantity and installation complexity (patterns, large format, edges)
- Custom vanities, countertops, and glass enclosures
- Hidden repairs discovered during demo (subfloor, framing, moisture damage)
Keeping the layout and choosing durable mid-range finishes is often the cleanest path to a controlled budget.
Low-maintenance choices help the bathroom look clean with less effort. Good options often include:
- Countertops: quartz or solid-surface for easy cleaning and fewer worries about staining
- Cabinet finishes: durable painted or laminate finishes that resist moisture and wipe clean
- Tile: porcelain for walls and floors; it’s tough and water-resistant
- Grout approach: tighter joints and upgraded grout choices can reduce staining
- Hardware: finishes that don’t show water spots as easily
If you love natural stone, plan on gentler cleaners and periodic sealing to keep it looking its best.
Make sure you’re comparing apples to apples. A lower number can hide missing scope or lower-grade materials.
- Scope clarity: fixtures, tile coverage, waterproofing approach, and protection steps should be spelled out.
- Permit plan: confirm whether permits are necessary and who is responsible for pulling and scheduling inspections.
- Material specifics: get model/series information for the valve, fan, and fixtures—not just “standard.”
- Schedule: ask how long construction will take once materials are onsite.
- Change control: confirm how changes get priced and approved in writing.
Any contractor you hire should be licensed and insured, and you should verify credentials independently before work starts.
Licensed, insured & trusted local contractor
US Construction & Remodeling Corp.
9821 Business Park Dr, Sacramento, CA, 95827
Phone: +1 (916) 234-6696
CSLB License #: 1117562 Fully licensed and insured.