
Siding Permit Requirements In Rancho Cordova
If you’re researching siding permit requirements rancho, you want a clear answer before you start removing old siding. In Rancho Cordova, permit needs usually depend on scope—full replacement, material changes, and wall repairs are the common triggers.
Quick checklist:
- Pick a siding material and finish that matches climate and maintenance goals.
- Confirm moisture management details (housewrap, flashing, caulking) in writing.
- Define the full scope (trim, soffit/fascia, paint, insulation upgrades).
- Confirm access/safety plan and how landscaping/property will be protected.
- Compare 2–3 itemized quotes and verify warranty coverage.
- Check permit requirements if altering exterior walls or doing structural repairs.
TL;DR: Lock the scope, gather the product and wall details, and submit through the City of Rancho Cordova’s online permit portal when required. Plan for an inspection before the siding is fully covered, plus a final sign-off at the end.
- Define the scope (spot repair vs full replacement).
- Decide whether any windows, doors, or vents move.
- Pick a siding system and finish (vinyl, fiber cement, wood, etc.).
- Confirm the water-resistive barrier (WRB) and flashing details.
- Plan access, parking, and protection for landscaping and pets.
- Set time aside for inspections and closeout paperwork.
Step-By-Step Timeline + Checklist For Siding Permit Requirements Rancho
Replacing siding affects the outside layer that sheds rain and protects the wall. Additionally, That’s why larger siding jobs often need a building permit and at least one inspection.
Most homeowners searching siding permit requirements rancho are trying to avoid two problems: a stop-work order and hidden damage that gets covered up. Meanwhile, The goal is to define the scope, keep the wall layers visible at the right time, and get the City sign-off when the work is complete.
Permit Basics (Plain Language)
A building permit is written approval from the City to do work that impacts safety or building code compliance. “Code” is the rulebook inspectors use for things like weather protection, fire safety, and structural changes. In addition, Requirements vary by address and scope, so confirm before demo.
Work Scopes That Commonly Trigger A Permit
- Full siding replacement on one or more exterior walls.
- Changing siding type or thickness (for example, also switching materials).
- Replacing sheathing (the wood panels under siding) or repairing framing.
- Changing window/door openings, or adding new openings for vents, lights, or pipes.
- Adding exterior insulation that changes trim and clearances.
Rancho Cordova offers an online permit portal where homeowners and contractors can apply, pay fees, track plan check (plan review) status, and request inspections once work is ready.
Typical Timeline At A Glance
| Phase | Typical range | What happens |
|---|---|---|
| Scope + site review | 1–3 days | Confirm wall areas, material choice, and any repairs behind the siding. |
| Submittal prep | 2–7 days | Collect product specs and simple wall details; complete the application if needed. |
| City plan check | 1–4+ weeks | The City reviews and may request clarifications before approval to start. |
| Install + inspections | 3–10 days | Install WRB and flashing (thin metal or membrane that directs water out), then siding, then final sign-off. |
Step-By-Step Checklist (From Decision To Start Date)
- Take photos of each wall and note any soft spots, stains, or cracked trim.
- Choose the siding system and accessories (corners, trim, vent blocks).
- Plan the water-control layers: WRB overlaps, flashing at openings, and proper clearances above soil and concrete.
- Decide who will handle application paperwork and inspection requests.
- Order materials after the scope is locked to avoid last-minute substitutions.
- Schedule a start date that allows time for required inspections.

Pre-Work Checklist (Design, Materials, Access) For Siding Permit Requirements Rancho
Good prep keeps your home protected and your project moving. It also reduces change orders (written changes to scope and price), which can delay inspections and approvals.
Design And Scope Decisions
- Confirm “like-for-like” replacement versus an upgrade. For example, A material change can affect thickness, trim, and flashing.
- List everything mounted to the walls that must be removed and reinstalled (lights, vents, hose bibs, address numbers).
- Decide whether any windows or doors are being replaced in the same project.
- Check HOA rules if your property is covered by one, especially for colors and finishes.
Materials And Documentation To Have Ready
- Manufacturer installation instructions and product data sheets.
- Accessory list (starter strips, corners, trim pieces, vent blocks, fasteners).
- A plan for any rot repair you find after demo (set aside time and budget).
Access, Safety, And Accessibility Considerations
Siding work can block entries and create trip hazards for a few days. Also, Plan for kids, pets, and anyone who needs steady footing.
- Choose an entry door that stays usable and keep a clear walking path whenever possible.
- Ask for temporary handrails if an existing rail must be removed.
- Plan outdoor lighting so the path stays visible at dusk.
- Identify where ladders, scaffolding, and deliveries will go so vehicles can still park.
Build Phase Checklist (Daily/Weekly)
During installation, the priority is water control and clean workmanship. For this reason, Keep key layers visible until the inspector has seen what the permit requires.
Daily Checks
- Open wall areas are covered and secured at the end of each day.
- Walkways stay clear of cords, nails, and scraps.
- Vents and exhausts remain connected and working when possible.
Milestone Checks (Before You Cover Things Up)
- WRB is lapped shingle-style so water drains down and out.
- Flashing is installed at windows, doors, and horizontal trim transitions.
- Fasteners match the siding manufacturer’s requirements for type and spacing.
- Clearance above soil and concrete, patios, and walkways is maintained to reduce moisture wicking.
- Sealant is used only where the manufacturer allows, so the wall can drain and dry.
Common Mistakes To Avoid
- Starting removal work before confirming whether the City requires a permit for your scope.
- Hiding WRB and flashing before the required inspection stage is complete.
- Mixing accessory parts from different systems that don’t fit together.
- Forgetting to plan for wall-mounted electrical, plumbing, and openings for vents and fixtures.
- Letting materials block access to the areas the inspector needs to see.

Inspections And Sign-Offs
Inspections are a checkpoint to verify the wall will shed water and meet basic safety rules. As a result, The exact list depends on the permit, but most siding permits involve at least a pre-cover look and a final inspection.
Common Inspection Checkpoints
- Pre-cover: WRB and flashing are installed, but the siding is not fully covering the wall.
- Repair review: If framing or sheathing repairs are made, the inspector may want to see that work before it’s covered.
- Final: Siding, trim, and fixtures are complete, and the site is clean.
Keep product instructions on site and take photos of any hidden repairs. Overall, Those photos help if questions come up later.
Rancho Cordova Note
Rancho Cordova supports online permitting through its permit portal. For example, That’s typically where you submit an application, pay fees, check plan review status, and request inspections when the work is ready.
If your home was built before 1978, disturbing old paint on trim can raise lead-safety requirements. Additionally, Ask your contractor what lead-safe steps apply before sanding or scraping.
Final Walkthrough Checklist
Do a slow walk-around before you sign off. Additionally, Small gaps and missed touch-ups are easy to fix while equipment is still on site.
- Trim joints are finished cleanly and sealed where the manufacturer recommends.
- Flashing is in place at openings and key transitions, with no exposed raw edges.
- All vents, lights, and fixtures are reinstalled, sealed, and operating.
- Siding ends are not buried in soil or mulch, and clearances look consistent.
- Caulk lines are neat, with no open gaps around vents and fixtures.
- Debris, nails, and scraps are removed from paths and planting areas.
- Any required City sign-off is documented and shared with you.
Get A Permit-Ready Siding Plan
If siding permit requirements rancho still feel unclear, we can help you map your exact scope to a practical checklist and timeline. US Construction & Remodeling Corp. For this reason, works with Rancho Cordova homeowners on siding repairs and replacements with clear communication and straightforward estimates.
Schedule a free estimate online or call +1 (916) 234-6696.
Helpful Links
Frequently Asked Questions
Often, yes for full replacements, material changes, or any repairs to the wall underneath. The City uses the permit to confirm key layers are installed correctly before they get covered.
In practice, siding permit requirements rancho homeowners run into usually depend on whether you’re doing a small repair or a bigger “open wall” project.
- More likely: full re-siding, changing material type, replacing sheathing, framing repairs, or moving openings.
- Less likely: small like-for-like patches that don’t change the wall assembly.
When in doubt, confirm with the City before demo so you don’t lose time mid-project.
For simple scopes, permits can move quickly. For larger projects, plan review can take weeks, especially if the City asks for clarifications.
- Fastest path: complete application, clear product documents, and no structural changes.
- Slower path: framing changes, multiple revisions, or missing wall details.
Lock the scope early and respond quickly to any plan check notes to avoid delays.
Permit fees are set by the City and can change, so we don’t quote a flat number online. Costs typically depend on the size and value of the work and whether plan review is necessary.
- Wall area and number of exterior walls involved.
- Whether sheathing or framing repairs are included.
- Any related trade work (like electrical changes for exterior lighting).
The best way to budget is to get a written scope first, then use the City’s current fee schedule for an estimate.
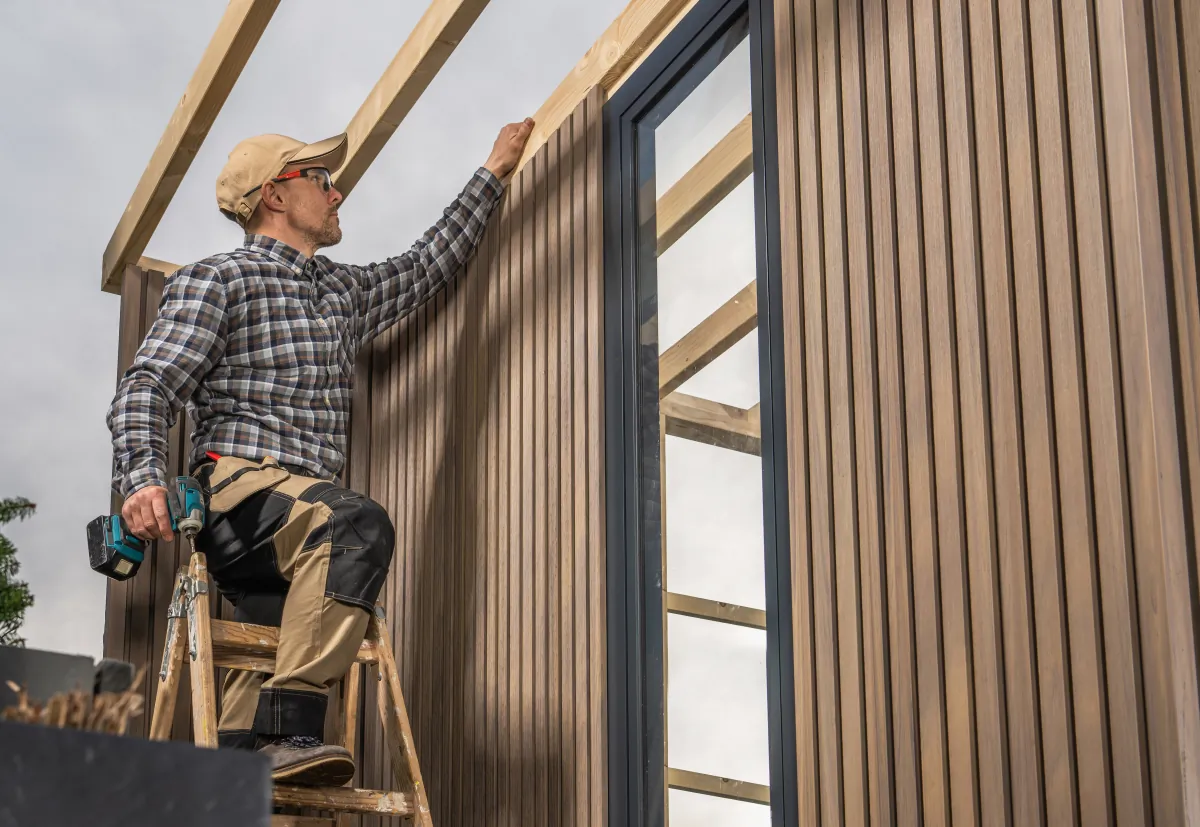
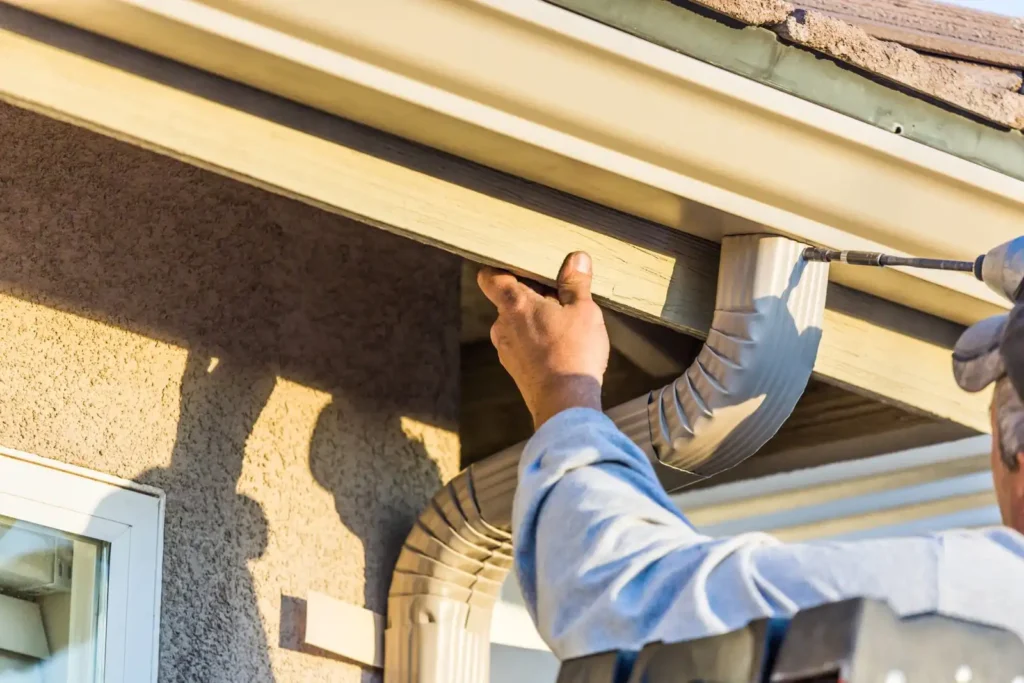
Inspectors focus on details that become hidden after siding is installed. They want to confirm the wall can drain water and the installation follows code and manufacturer instructions.
- WRB laps and sealing around openings.
- Flashing at windows, doors, and horizontal transitions.
- Clearance from soil and concrete.
- Correct fasteners and attachment pattern.
- Proper sealing at vents and fixtures.
Keep the wall accessible and avoid covering key areas until the inspection stage is complete.
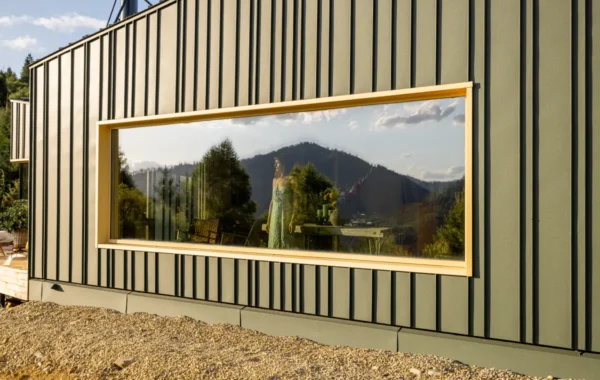
There isn’t one “best” material for approval. The smoothest approvals usually happen when the product has clear installation instructions and the wall details match that system.
Common residential options include vinyl, fiber cement, and wood or engineered wood. Each has specific accessory parts and fastening rules. Switching materials can also change trim thickness and water details, so plan that upfront.
Bring the product data sheet to your estimate so we can confirm how it affects the wall and the permit scope.
Most homeowners can stay in the home during siding work, but expect noise and short periods where windows and doors are harder to use.
- Keep pets inside or in a safe area during demo and nailing.
- Plan for ladder and scaffold access around entry doors.
- Close windows on the work side to reduce dust.
- Agree on daily cleanup so paths stay safe.
If you have mobility needs, mention them early so entries and handrails stay usable during the work.
Licensed, insured & trusted local contractor
US Construction & Remodeling Corp.
9821 Business Park Dr, Sacramento, CA, 95827
Phone: +1 (916) 234-6696
CSLB License #: 1117562 Fully licensed and insured.


