
Siding vs DIY in Berkeley: A Practical Homeowner Guide
If you’re weighing siding vs diy berkeley, the real question is how much risk you want to own—time, safety, and how long the exterior stays exposed to weather. This guide breaks down when DIY makes sense, when hiring a pro is the smarter move, and how to plan around Berkeley permitting so you keep the job on track.
TL;DR: DIY can work for small, accessible repairs when you can keep the wall protected and you already have the right tools. However, full re-siding, multi-story access, or any scope with hidden damage usually goes smoother with a contractor-run plan. Start by defining scope and timeline before you commit to materials.
Quick checklist:
- Decide: spot repair, one elevation, or full re-siding.
- Pick a material and finish that match your maintenance goals.
- Plan safe access (ladders/scaffolding) and jobsite protection.
- Confirm flashing and weather-barrier details at windows and doors.
- Check whether your Berkeley scope needs permits and inspections.
- Build a timeline that includes ordering, prep, and inspection windows.
Signs It’s Time For Siding Vs DIY In Berkeley For Siding Vs DIY Berkeley
| Decision | Why it matters | Quick check |
|---|---|---|
| Scope | Defines what is included and prevents surprises. | Write a line-item scope and allowances list. |
| Site constraints | Hidden conditions can change the plan. | Check access, wiring/plumbing, and existing surfaces. |
| Selections | Long-lead items can drive the schedule. | Confirm availability before demo starts. |
| Permits | Some scopes require approvals and inspections. | Ask your city/county what applies to your project. |
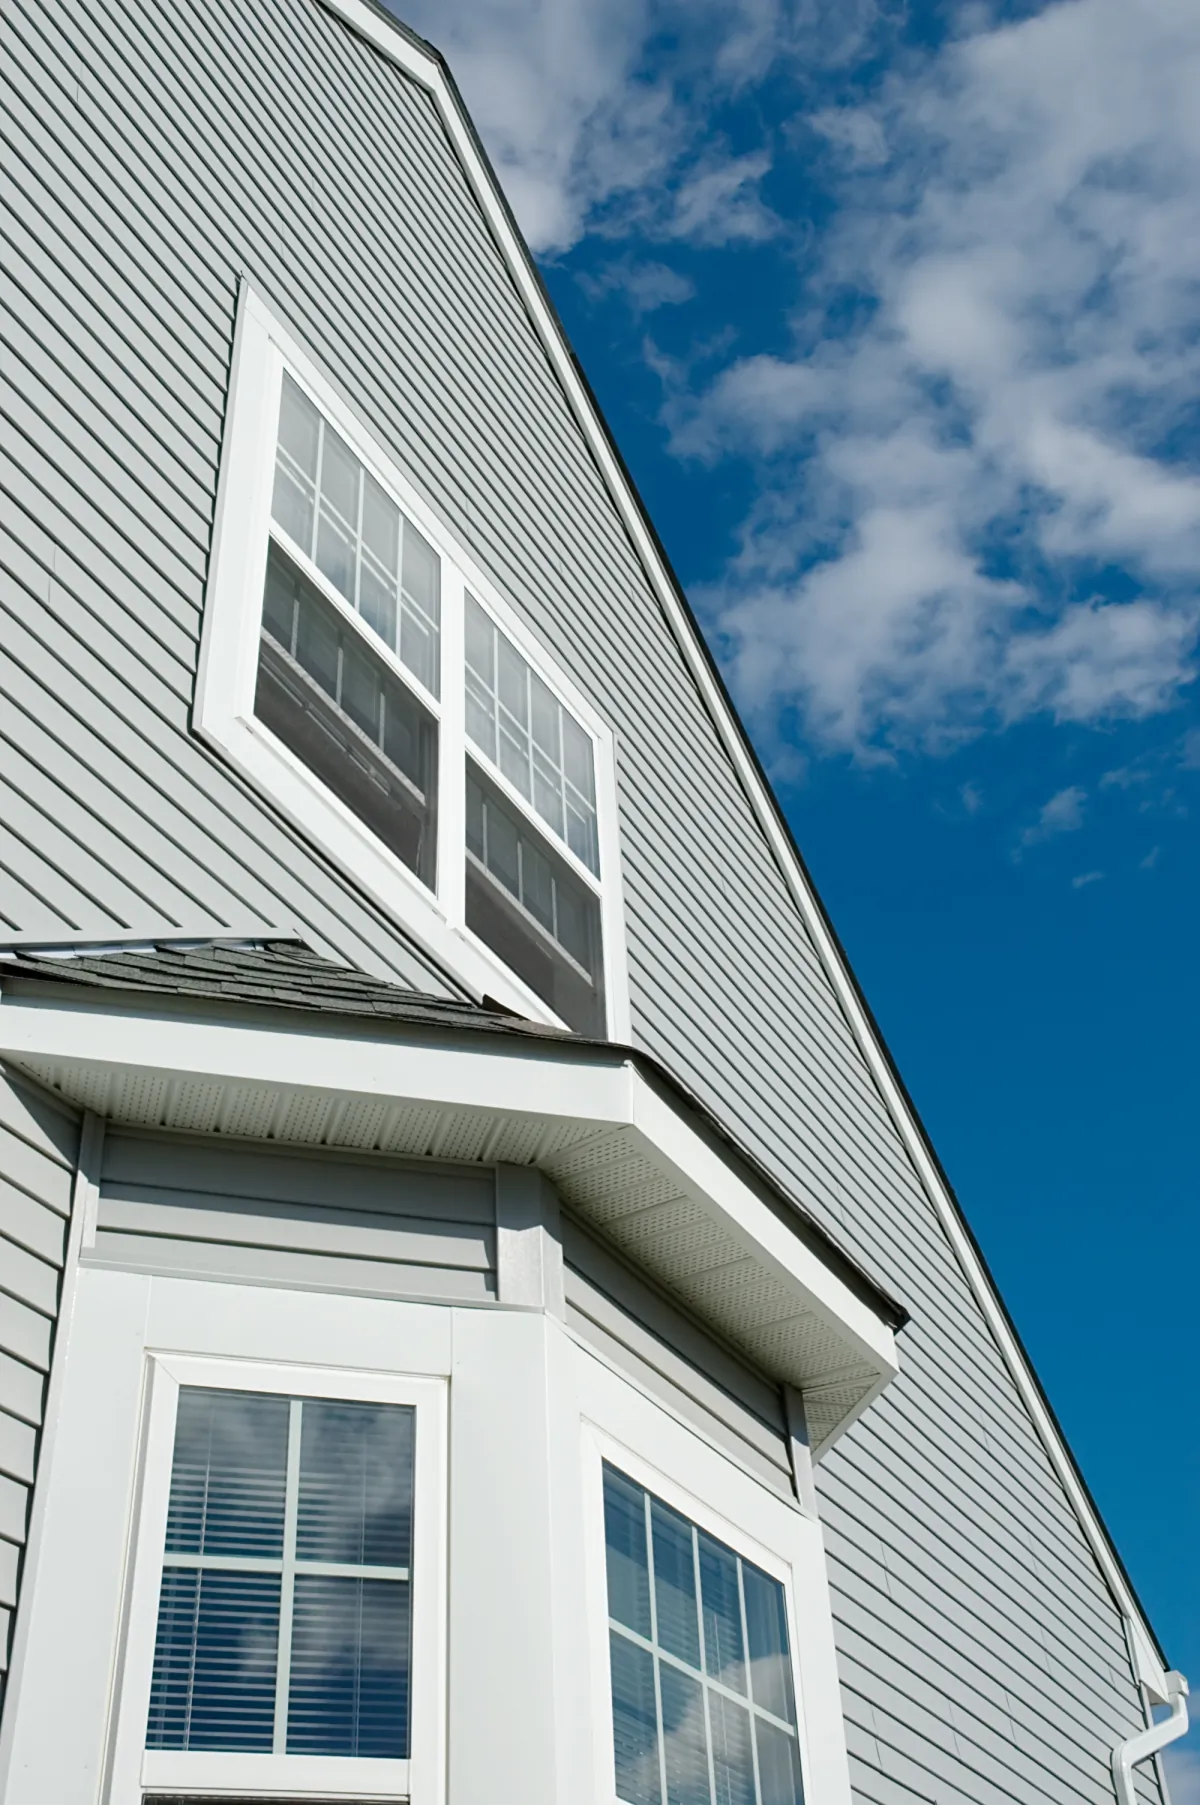
Homeowners searching for siding vs diy berkeley often start because something looks “small”—a loose board, a soft corner, a seam that won’t stay sealed. For this reason, The key is to spot patterns early, because siding isn’t only cosmetic; it protects the layers underneath from wind-driven rain and daily temperature swings.
DIY is also usually best when you can keep the wall fully protected while you work, the repair area is clearly defined, and you can safely reach it. On the other hand, if you see multiple warning signs across the exterior, you’ll often save time (and avoid repeat repairs) with a contractor-led scope.
- Paint that keeps peeling or bubbling in the same areas
- Cracked, warped, or loose panels/boards
- Soft or crumbly wood near edges, also corners, or trim
- Recurring gaps at seams even after re-caulking
- Water staining on interior walls near exterior openings after storms
- Visible gaps around windows/doors that don’t stay sealed
- “Patchwork” repairs that never quite match or keep failing
- Signs of insect damage in wood components
Common DIY Missteps To Avoid
Even careful DIY work can fail if the underlying details don’t match how the wall sheds water. In addition, Avoid these frequent planning mistakes, especially if you’re trying to finish quickly.
- Focusing on the outer layer while skipping flashing and water-shedding details
- Mixing materials that expand/contract differently without proper joints
- Underestimating access needs (and the safety plan) for upper elevations
- Leaving sheathing or framing exposed overnight or through weather changes
- Skipping lead-safe practices on older painted surfaces (if your home was also built before 1978, review EPA guidance: https://www.epa.gov/lead/renovation-repair-and-painting-program)
- Starting demolition before confirming whether permits apply for the scope
Common Upgrade Paths (What Changes Most)
When you hire a contractor, the “upgrade” is often more than new boards. As a result, The biggest gains usually come from cleaner detailing, better water management at openings, and a finish strategy that matches how you want to maintain the home over time.
- Localized replacement plus a full repaint when the rest of the siding is also still sound
- Full re-siding for consistent appearance and fewer recurring repair zones
- Fiber cement lap for a crisp, also durable look with predictable paint results
- Engineered wood siding for a wood look with manageable upkeep
- Board-and-batten accents (for example, also a gable) paired with lap on main walls
- Trim refresh (corners, also fascia/soffit, window casing) to tighten the finished edges
- Upgraded opening details: integrated flashing at windows/doors and penetrations
- Improved wall protection layers (housewrap/WRB and taped seams) as scope allows
- Optional added exterior insulation when the wall assembly is also already open
- Color strategy that keeps the home looking sharp between repaint cycles
Material Deep Dive: Choosing For Your Goals
There’s no single “best” siding—only a best fit for your priorities (maintenance, budget, impact resistance, and the look you want). Meanwhile, Here’s a practical comparison homeowners use to decide.
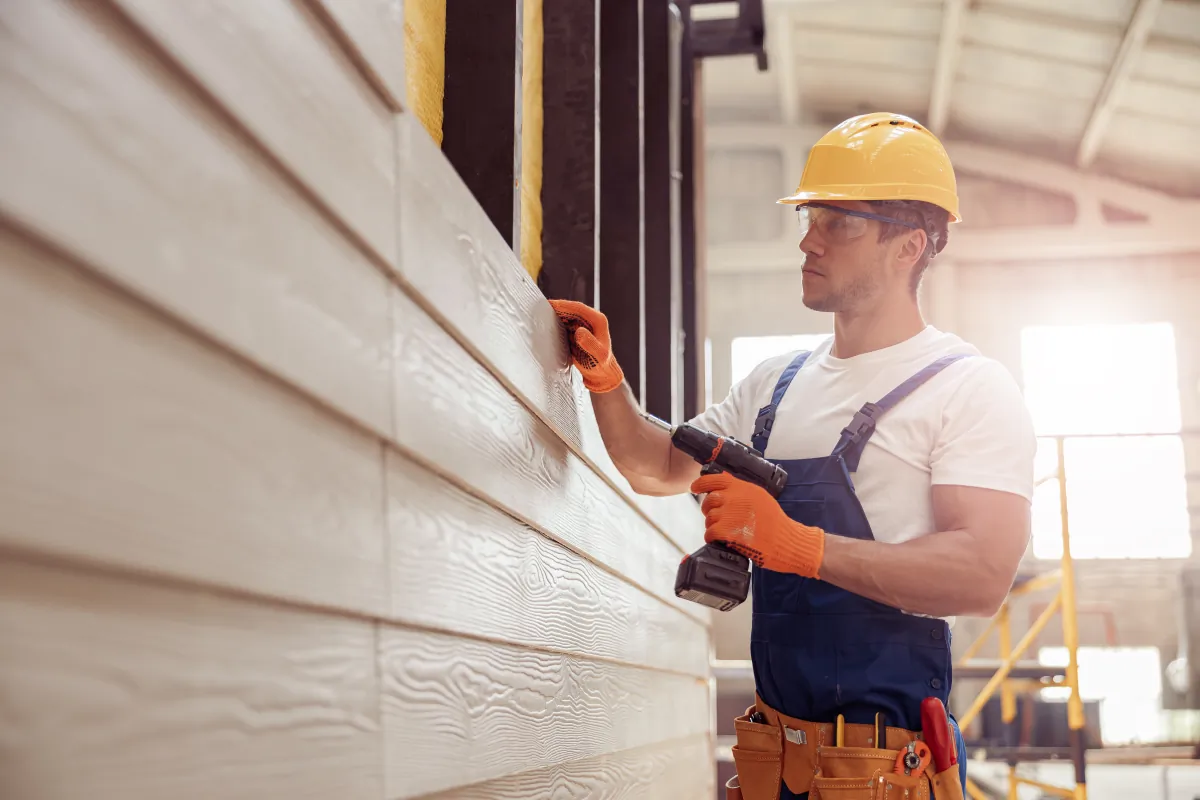
- Fiber cement: Durable and stable; usually needs painting; heavier and more labor to install.
- Engineered wood: Wood-like appearance and lighter weight; still needs a good finish plan and edge detailing.
- Vinyl: Lower routine maintenance; color/finish options vary; detailing and heat exposure matter.
- Wood: Classic look and easy spot repairs; higher ongoing maintenance and more vulnerability if water gets behind it.
Maintenance After The Upgrade
A solid siding job still needs basic upkeep. Additionally, If you plan it now, the exterior stays cleaner and you avoid small issues turning into bigger repairs.
- Wash siding periodically to remove dust and organic buildup (especially shaded areas).
- Inspect caulk lines and trim joints annually; re-seal small gaps before the rainy season.
- Keep sprinklers and landscaping from constantly wetting lower walls.
- Touch up paint nicks quickly so exposed edges don’t wick water.
- Clear gutters and downspouts so water doesn’t sheet down the wall.
Managing Tight Access And Close Setbacks
If your property has limited side-yard access, shared driveways, or tight staging space, plan those constraints into the scope. Overall, A contractor can sequence deliveries, protection, and debris handling so the work stays efficient without turning the site into a bottleneck.
- Plan scaffold placement and material staging before demolition begins.
- Protect windows, also walkways, and landscaping during removal and installation.
- Coordinate parking and delivery timing to reduce downtime.

Budget Ranges And Timeline (Typical) For Siding Vs DIY Berkeley
Siding budgets vary widely because the “real” scope often shows up after removal—especially around windows, doors, and trim transitions. That said, you can also still plan responsibly by understanding the main cost drivers and building a schedule that includes ordering and inspections.
Budget Ranges & Timeline (Typical)
- Localized repair: ~$1,500–$6,000; often 1–2 days on-site.
- One elevation re-siding: ~$6,000–$18,000; often 3–7 days on-site.
- Full re-siding (single-family): ~$15,000–$50,000+; often 1–3 weeks on-site.
- Planning time: permits/plan review and material lead times can also add days to weeks before start.
Use these ranges as a starting point, not a promise. For example, A real quote depends on measured square footage, height/access, the chosen material, and how much prep or hidden repair is necessary.
Key Decisions That Drive Cost
| Decision | What it affects | Cost/timeline impact |
|---|---|---|
| Material selection | Maintenance, appearance, finish plan | Some products cost more up front; paint/finish adds time |
| Prep and repair allowance | Sheathing, trim, and edge repairs discovered after removal | Common source of scope changes; plan a contingency |
| Access and height | Scaffolding needs and setup complexity | More setup and labor when elevations are harder to reach |
| Detailing level | Trim packages, flashing, penetrations, corners | More detail work can add days but reduces repeat fixes |
Resale And ROI Priorities
Siding upgrades can help resale because buyers notice curb appeal immediately. Also, More importantly, a well-detailed exterior can reduce the risk of water damage that scares buyers during inspections. While no contractor can guarantee ROI, you can prioritize the parts that typically matter most.
- Fix active water-entry points first (openings, also corners, penetrations).
- Choose a durable finish strategy that looks consistent across elevations.
- Invest in trim and flashing details you can see (and inspectors can verify).
- Keep permit documentation when the scope requires it.
Permits And Scheduling Notes
For many homeowners, permits are the deciding factor in a siding vs diy berkeley plan. Requirements depend on scope and address, but exterior envelope changes, structural repairs, or significant alterations can trigger review and inspections.
Project Flow: What A Contractor Manages
- On-site assessment, measurements, and written scope (repair vs replace).
- Material selection and detailing plan (trim, corners, openings, penetrations).
- Permit check and documentation planning for the specific address and scope.
- Ordering and delivery coordination, then a protected staging setup.
- Careful removal, targeted repairs, and installation with integrated flashing.
- Finish work (paint/caulk as applicable), then punch-list verification.
- Inspection coordination when required, followed by final clean-out.
Berkeley Permit Planning
Berkeley’s Permit Service Center supports online permitting (“Permits Online”) for many building and trade permits. Because review and inspection timing can affect how long exterior walls remain in progress, it’s smart to align submittals, ordering, and start dates early—especially if you’re coordinating siding with windows, exterior painting, or a larger remodel.
Talk Through Your Timeline First
If you want help sequencing repairs, materials, and permit timing, call +1 (916) 234-6696. A short planning conversation up front can prevent rework and keep the exterior protected while the job moves.

Serving Berkeley Homeowners
US Construction & Remodeling Corp. helps Berkeley homeowners compare repair vs replacement, choose practical siding materials, and keep the exterior protected from removal through final touch-ups. We serve Berkeley as well as Sacramento, Elk Grove, Arden, Rancho Cordova, El Dorado Hills, Folsom, Roseville, Rocklin, Alameda, Davis, San Francisco, and Los Angeles, so we can coordinate exterior work within a broader remodeling timeline when needed.
Book a planning call to talk through your timeline and next steps. If you prefer to speak by phone, call +1 (916) 234-6696.
Trust Signals You Should Expect
When you hire a contractor (in
Berkeley or anywhere in California), use a simple checklist that keeps the project predictable.
- Licensing and insurance: ask for current documentation and verify it through state resources.
- Permits in writing: confirm who pulls permits and who schedules inspections when they’re required.
- Clear scope: the agreement should name materials, profiles, prep work, and finish steps.
- Communication: expect schedule updates and any scope changes documented before work proceeds.
- Workmanship checks: verify straight courses, clean joints, proper flashing integration, and protected penetrations during the final walk-through.
Explore Related Projects
- Home remodeling services (for coordinating exterior work with larger plans)
- Free estimate and planning call
Local Resources
Licensed, insured & trusted local contractor
US Construction & Remodeling Corp.
9821 Business Park Dr, Sacramento, CA, 95827
Phone: +1 (916) 234-6696
CSLB License #: 1117562 Fully licensed and insured.
Related service
Looking for a step-by-step overview before you choose materials? Read Home Remodeling.


