
Solar Panels Permit Requirements in Rocklin | US Construction
Installing solar can feel straightforward until the paperwork starts. This guide breaks down solar panels permit requirements for Rocklin homeowners so you can plan the schedule, avoid rework, and keep inspections moving.
TL;DR: Most projects follow the same arc—site check, plan set, city review, installation, inspections, and closeout. Schedules move faster when the first submittal is complete and the roof/electrical scope stays stable. For a timeline-first planning call, book a free estimate or call +1 (916) 234-6696. Quick checklist:
- Confirm roof condition and choose the array location early.
- Decide equipment placement (inverter, disconnects, battery if any) with safe access.
- Take clear photos of your main electrical panel, meter area, and proposed equipment wall.
- Lock in major equipment selections before plans are submitted.
- Keep walkways and work areas accessible for install and inspection days.
- Ask for a written timeline that includes city review and inspection scheduling.
Step-By-Step Timeline + Checklist For Solar Panels Permit Requirements
When homeowners search this topic, they usually want two things: a realistic schedule and a clean list of what the City will expect to see. For example, In practice, the biggest delays come from incomplete plans, last-minute equipment swaps, or access issues that force a re-inspection.
Although every home differs, the workflow stays consistent. In addition, You make a few upfront decisions, your contractor prepares a permit-ready plan set, the City reviews it, the installation happens, and inspections close it out.
Timeline Module: What Happens And How Long It Can Take
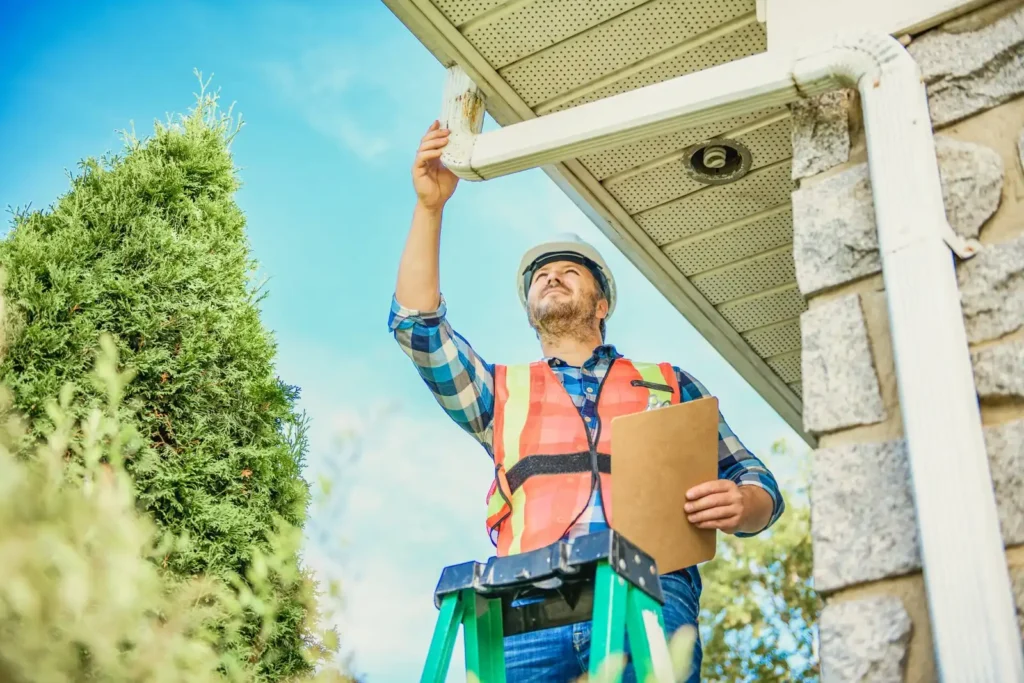
- Site check + measurements (1–7 days): Confirm roof layout, also electrical panel photos, and equipment locations.
- Plan set + submittal prep (3–10 business days): Finalize the layout, attachment approach, and electrical diagram with the selected equipment cutsheets.
- City review + corrections (1–4+ weeks):Rocklin review times vary by workload and how complete the initial submittal is.
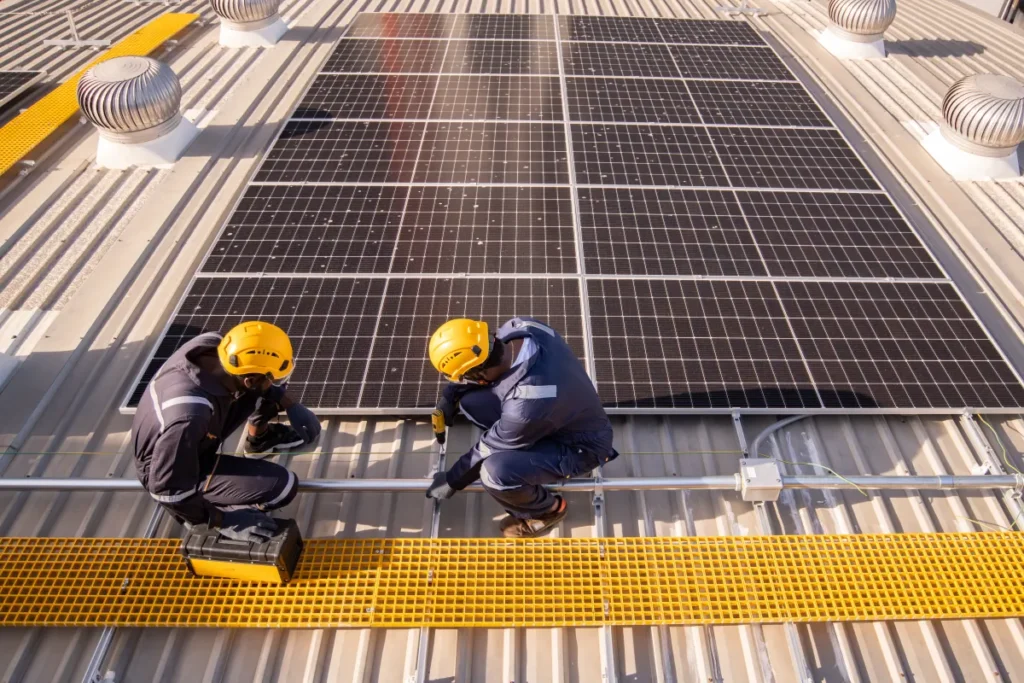
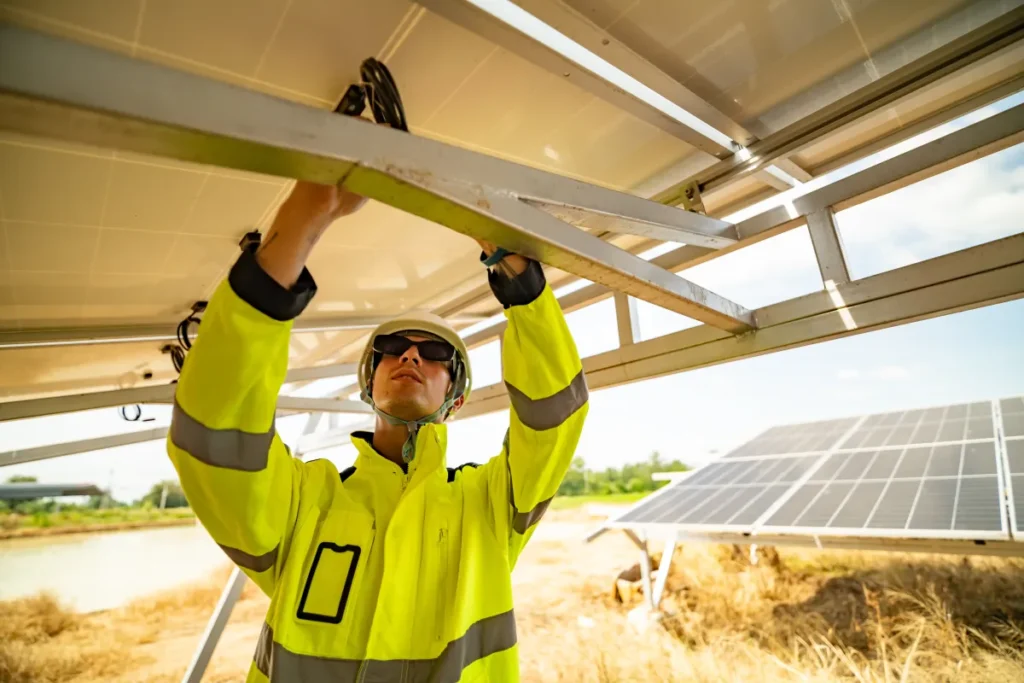
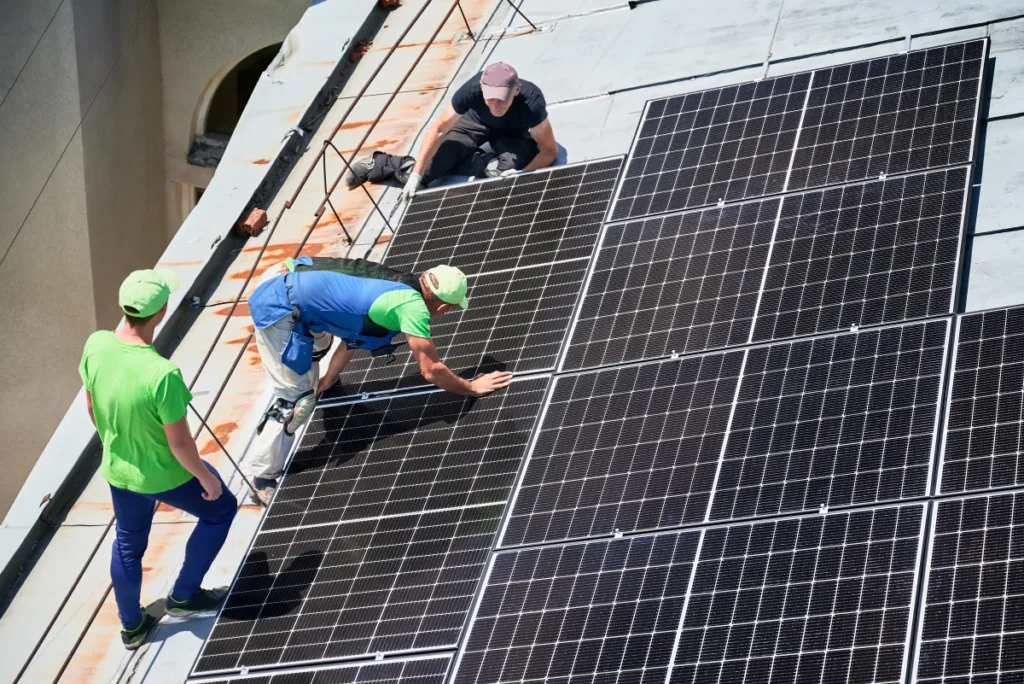
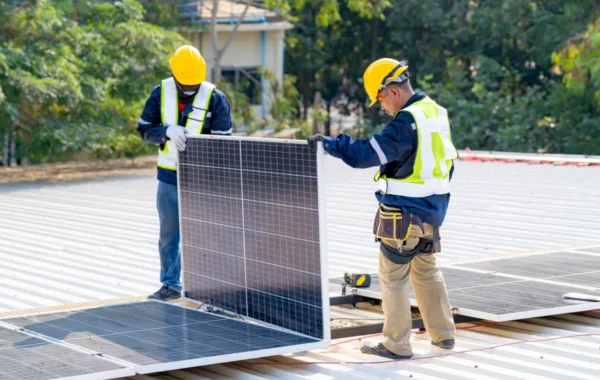
- Installation (1–3 days for many homes): Roof work, electrical work, equipment mounting, labeling.
- Inspections (2–10+ days): Scheduling depends on availability and whether the inspector needs any corrections addressed.
- Closeout + turn-on coordination (days to weeks): After final sign-off, there can be an additional step before you can fully operate the system.
Key Decisions That Change Cost And Schedule
| Decision | Why it matters | Typical impact |
|---|---|---|
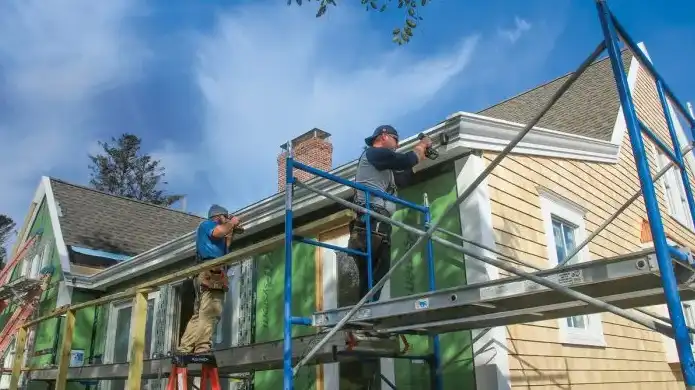
| Roof condition | A failing roof creates two scopes instead of one | Can add work and extend the timeline |
| Main panel capacity | Some panels need rework or upgrades to add solar | May add electrical labor and additional inspections |
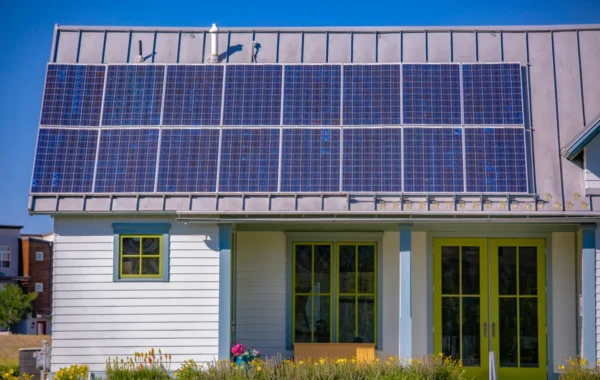
| Array size + location | Drives plan details, attachment layout, and access | Affects review complexity and install time |
| Equipment placement | Service access, clear working space, labeling | Bad locations cause corrections and rework |
| Battery backup (optional) | Adds components, wiring, and inspection items | Often increases design and coordination time |
If you want a timeline you can actually plan around, we’ll walk your home through these decisions and map the critical path. As a result, Book at https://usconstructioncali.com/free-estimate/ or call +1 (916) 234-6696.

Pre-Work Checklist (Design, Materials, Access) For Solar Panels Permit Requirements
The cleanest permit reviews start with clarity. For this reason, That means you decide the “big rocks” up front—where everything goes, what equipment you’re using, and what existing conditions (roof and electrical) need to be addressed before anyone shows up with materials.
Design And Paperwork Checklist
- Roof readiness: Confirm the roof’s condition and whether any repairs belong in the same scope.
- Array layout: Choose locations that keep pathways clear and avoid last-minute reshuffling.
- Equipment selections: Lock in panels and inverter model(s) early so the plan set matches what gets installed.
- Battery decision (if applicable): Decide on backup goals and equipment location before plans are finalized.
- Electrical reality check: Verify breaker space, panel condition, and where new disconnects will live.
- Documentation: Gather a few site photos (panel, meter, roof faces, proposed equipment wall) so design doesn’t guess.
Accessibility Module: Access, Safety, And Aging-In-Place Considerations
Solar projects also create new “service points” on your home. Additionally, Planning for safe access now saves headaches later, especially if you want the home to remain easy to maintain as you age.
- Keep required working space around electrical equipment clear; avoid placing gear behind storage, gates, or landscaping.
- Choose equipment locations you can reach safely without a ladder for routine checks (as practical for your layout).
- Improve visibility and footing in the service area—good lighting and a stable path reduce trip hazards.
- Plan for inspection-day access: clear the route to the electrical panel, attic/garage areas, and equipment wall.
Build Phase Checklist (Daily/Weekly)
Once work starts, small coordination issues can turn into schedule slips. Meanwhile, A short daily check-in keeps the project moving and helps you catch problems while they’re easy to fix.
Daily Checklist
- Confirm the crew’s access plan (driveway use, gate codes, pets, and any protected areas).
- Ask where materials will stage so walkways and exits stay clear.
- Request progress photos of roof penetrations and flashing before the crew leaves.
- Verify equipment locations match the approved plan before anything gets permanently mounted.
Weekly Checklist
- Review the schedule for inspections and any required corrections.
- Confirm that any change in equipment is approved before installation (swaps can trigger plan revisions).
- Keep a running list of homeowner questions for the final walkthrough (monitoring, shutoffs, labels).
Common Mistakes Module: What Slows Projects Down
- Changing equipment models after plans are submitted.
- Starting roof repairs midstream instead of scoping them before the permit package.
- Blocking inspector access to the main panel, meter area, or equipment location.
- Skipping labels or installing them inconsistently, which often creates correction notices.
- Assuming “any wall works” for equipment placement—clearances and access matter.

Inspections And Sign-Offs
Inspections go smoothly when the install matches the approved plans and the inspector can actually reach the areas they need to see. That sounds obvious; however, access and labeling are two of the most common reasons projects need a return visit.
Permit Notes Module (High-Level, Rocklin-Specific)
For Rocklin projects, permit submissions and status checks commonly run through the City’s eTRAKiT portal, including inspection scheduling. Overall, Your contractor typically prepares the plan set and coordinates the review cycle, while you help by keeping decisions stable and the site accessible.
- When permits are typically necessary: Most roof-mounted solar installations require building/electrical permits; adding a battery or doing significant electrical work can add steps.
- What inspectors generally verify: Safe electrical connections, required labeling, equipment accessibility, and roof attachment/penetration workmanship.
- What homeowners can do: Clear access to the main panel, meter area, and installed equipment; keep pets secured; have the approved plans available if requested.
Inspection-Day Readiness Checklist
- Clear at least a simple path to the electrical panel and equipment wall.
- Make sure gates are unlocked (or provide access) during the inspection window.
- Ask your contractor to confirm labeling is complete and consistent before requesting inspection.
- Keep your questions list ready so the walkthrough can cover shutoffs, monitoring, and maintenance.
Final Walkthrough Checklist
The walkthrough is where you make sure you can live with the install—not just pass inspection. Also, Take 15 minutes and treat it like a handoff: you should know what’s installed, where to look if something seems off, and what paperwork you’re keeping for your records.
- Identify all shutoff/disconnect locations and confirm they’re labeled clearly.
- Confirm the monitoring setup (app access, login handoff, basic alerts).
- Review roof penetrations and flashing (ask for photos if areas aren’t visible from the ground).
- Verify the equipment placement feels practical for future service access.
- Collect documentation: approved plans, product documentation, and the final sign-off record from the City when available.
- Confirm the closeout steps required before full operation, so the timeline doesn’t stall at the finish line.
If you want help mapping your Rocklin timeline from “design decisions” to “final sign-off,” contact US Construction & Remodeling Corp. For example, Book at https://usconstructioncali.com/free-estimate/ or call +1 (916) 234-6696.
Helpful Links
Licensed, insured & trusted local contractor
US Construction & Remodeling Corp.
9821 Business Park Dr, Sacramento, CA, 95827
Phone: +1 (916) 234-6696
CSLB License #: 1117562 Fully licensed and insured.


