Materials And Finish Selections
US Construction & Remodeling Corp. For this reason, helps homeowners in Los Angeles, Sacramento, and other California service areas compare siding materials, define scope, and schedule the work with a written estimate that’s easy to review.
Request a free written estimate and share (1) a few exterior photos, (2) approximate wall measurements or home size, (3) your preferred material, and (4) your target start window. Meanwhile, With that information, we can give you clearer options faster.
Materials Deep Dive: What Homeowners Choose Most Often
Material choice affects maintenance, impact resistance, and the look of trim details. Additionally, Here’s a practical way to compare common options.
- Fiber cement: Durable and paintable with crisp lines; heavier to handle and needs correct cutting and fastening.
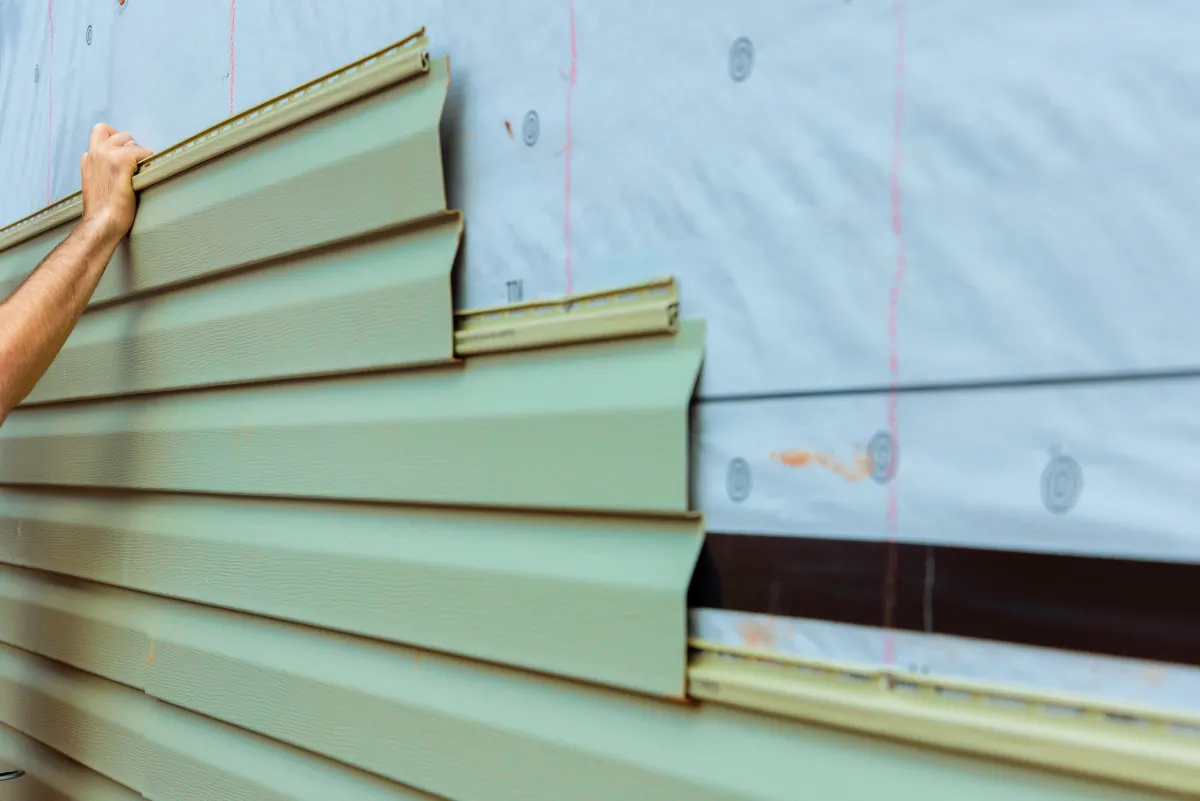
- Vinyl: Lower maintenance and quick to install; color is baked in, so profile and style choices matter upfront.
- Engineered wood: Wood-look options with factory finishes; follow manufacturer details carefully for edges and penetrations.
- Wood: Classic appearance and easy to customize; requires consistent sealing/painting and ongoing care.
- Stucco patching: Helpful when you’re matching an existing stucco exterior; blending texture and paint can take skill.
Finish Details That Upgrade Curb Appeal
Small design decisions can make a big difference, especially when you’re trying to modernize without changing the entire exterior.
- Wider corner boards and window trim to create stronger “frames”
- Consistent reveal spacing so lap siding looks straight from the street
- Clean transitions at rooflines, decks, and porch posts
- Simple, repeatable trim profiles so the house looks unified
- Fixture planning (lights, vents, hose bibs) so penetrations look intentional
Maintenance After The Install
Even low-maintenance materials need periodic attention. Overall, A simple schedule prevents stains, paint failure, and premature caulk cracking.
- Rinse dust and grime off siding annually (gentle wash; don’t force water behind joints)
- Inspect sealant joints and touch up where movement creates gaps
- Keep gutters and downspouts working so water doesn’t overflow behind trim
- Trim vegetation back so siding can dry out after watering or rain
- Repair small dents and chips early instead of waiting for a full repaint
Before-And-After Example (Anonymized)
Before: The homeowner had mismatched patch repairs, visible waviness on one elevation, and recurring paint peel near trim joints. For example, They considered a full DIY weekend approach, but they wanted a longer-lasting finish and cleaner lines.
After: We corrected the layout for consistent reveals, addressed the visibly damaged sections, and refreshed trim lines so corners and openings looked intentional. Additionally, The exterior looked cleaner from the curb and became easier to maintain because the details were simplified and sealed correctly.
Takeaway: When the “look” issue is caused by alignment and trim details, the fix usually involves more than swapping a few boards.
Timeline And Site Disruption (Typical)
Siding work affects the entire exterior, so planning for access and daily workflow matters. In addition, In general, a professional crew moves through the project in phases: site review, material ordering, prep and protection, installation, then final touch-ups. As a result, Most siding vs diy los decisions come down to two realities—water management and safe access—because both can turn a weekend plan into a long, stop-and-start project.
Budget Ranges & Timeline (Typical)
- Smaller repair/paint refresh: days to a couple of weekends, with cost driven by prep work and paint system quality.
- Partial replacement: commonly 1–2 weeks on-site once materials are ready, especially when matching profiles takes time.
- Full re-siding: often 1–3+ weeks on-site, plus additional time for ordering, drawings, and any required permits.
- Biggest cost drivers: total square footage, access/height, tear-off disposal, and hidden wood repair behind old siding.
Keeping Disruption Manageable
- Set expectations for daily start/stop times and access to gates and walkways
- Plan for noise and dust around windows and outdoor living areas
- Ask for a clear plan for protecting landscaping and moving materials
How To Get Started In Los Angeles
Start with a clean scope and you’ll save time whether you DIY or hire. In addition, The goal is to avoid guesswork and get to a clear, written plan.
Estimate Request: What To Prepare (So Pricing Is Accurate)
- Photos of each elevation and close-ups of any damage
- Basic measurements (or home size) and number of stories
- Material preference (fiber cement, vinyl, engineered wood, wood, or patching to match)
- Any HOA requirements or design constraints you already know
- Your ideal start window and any access limitations (pets, gates, parking)
If you want to start online, use the estimate form here: Free estimate. Also, If you prefer to talk first, call +1 (916) 234-6696.
Los Angeles Permitting Note (Keep It Simple)
Depending on the scope, exterior work may need permits. In addition, Los Angeles LADBS provides online services for permitting and plan review, and some projects may qualify for online or express permit options. Meanwhile, The safest approach is to confirm requirements early, before materials are ordered.
Trust Checklist Before You Sign
- Verify the contractor’s licensing and insurance status (and keep a copy for your records)
- Get an itemized scope: materials, demo/tear-off approach, trim details, and protection plan
- Clarify who handles permits and how inspections (if needed) will be scheduled
- Confirm how changes are handled in writing so the budget doesn’t drift
- Ask how the finished work will be verified (photos, manufacturer specs, and a punch list)
Related Projects You May Want To Bundle
If you’re planning broader exterior updates, it can be efficient to coordinate them together. You can also explore home remodeling services and decide whether to pair siding with other exterior improvements.
Business Details (No Address Needed)
Quick Decision Recap
DIY makes the most sense when you’re doing small repairs you can safely access and you’re not altering the underlying wall system. Overall, Hiring a contractor tends to pay off when access is difficult, alignment matters, or you want predictable results with the water-management details handled correctly.
Helpful Links
Frequently Asked Questions
Yes—DIY can be a smart choice for small repairs, caulking, and repainting when you can work safely and match existing materials.
full replacement is more than installing boards. Water protection details, consistent layout, and safe access usually decide whether DIY stays practical.
If you’re still weighing siding vs diy los, start by defining the scope and access limits before you commit to materials.
The biggest cost drivers are usually scope and conditions, not just the siding material.
- Total square footage and number of stories
- Access (tight side yards, height, scaffolding needs)
- Tear-off and debris disposal
- Hidden repairs behind old siding (wood rot or damaged sheathing)
- Trim complexity, paint/finish system, and fixture penetrations
It depends on what you’re changing. Some exterior scopes may require permits, while minor repairs may not.
In Los Angeles, LADBS offers online services for permitting and plan review, so it’s smart to confirm requirements early based on your exact scope.
Timeline depends on scope, material lead time, access, and any required permit steps.
- Repairs/refresh: often days to a couple of weekends
- Partial replacement: commonly 1–2 weeks on-site
- Full re-siding: often 1–3+ weeks on-site, plus ordering/permit time
Lower-maintenance options often include vinyl and fiber cement, although each has trade-offs.
- Vinyl: minimal painting, but you commit to color and profiles up front
- Fiber cement: paintable and durable, but needs correct install and periodic repainting
- Engineered wood: attractive finishes, but edges and penetrations need careful detailing
Look for a scope that’s specific enough to compare bids without guesswork.
- Exact material type and visible finish details (trim, corners, transitions)
- Prep and protection plan (landscaping, windows, walkways)
- Tear-off/disposal approach and what triggers additional repair work
- Timeline assumptions and how changes are approved in writing
- Warranty terms and how punch-list items are handled
Licensed, insured & trusted local contractor
US Construction & Remodeling Corp.
4424 Freeport Blvd, Sacramento, CA, 95822
Phone: +1 (916) 234-6696
CSLB License #: 1117562 Fully licensed and insured.
View our Google Business Profile