A roof exhaust vent is the roof-mounted outlet that lets warm, moist air exit from an attic or a fan duct without letting rain blow back in. When the vent is undersized, poorly flashed, or connected to the wrong duct, homeowners often notice moisture stains, odors, or leaks around the penetration.
TL;DR: Match the vent to what you’re exhausting, keep the duct run sealed and direct, and prioritize proper flashing. This guide focuses on the decision points California homeowners run into most.
Quick Checklist:
- Identify what you’re exhausting (bath fan, hood, dryer, attic).
- Measure the duct size and confirm the cap matches it.
- Pick a location that sheds water well (avoid valleys and low spots).
- Confirm backdraft control and pest protection that won’t restrict airflow.
- Seal joints and insulate ducting where condensation can form.
- Ask how flashing integrates with your specific roof material.
- Check whether your local building department needs a permit for the scope.
Roof Calculator
Get a fast roof estimate delivered by email.
Roof Metrics Summary
What Changes The Experience The Most For Roof Exhaust Vent
| Decision | Why it matters | Quick check |
|---|---|---|
| Material system | Affects lifespan, cost, and appearance. | Confirm shingle/tile type, underlayment, and warranty. |
| Flashing & penetrations | Most leaks start at edges and penetrations. | Specify flashing at chimneys, vents, and valleys. |
| Ventilation | Controls heat/moisture and protects decking. | Confirm intake/exhaust balance and vent types. |
| Tear-off & decking | Hidden damage can change cost and timeline. | Include an allowance and photo documentation. |
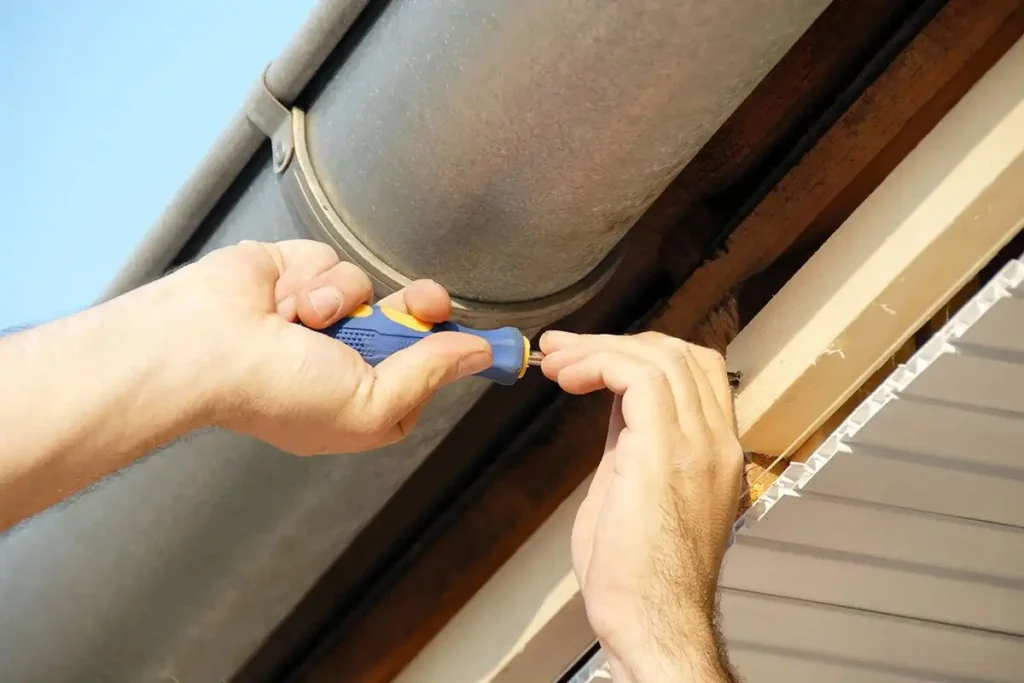
Homeowners usually start searching after one of three things happens: the fan runs but the room stays steamy, they smell stale air that won’t clear, or they spot a stain on the ceiling near an exterior wall. For this reason, In many cases, the root issue sits at the roof line—an aging cap, a loose duct connection, or a penetration that never got a durable flashing detail.
A roof exhaust vent project goes smoothly when airflow, weather protection, and roof integration all match the situation. In addition, Once those line up, the vent does its job quietly and blends into the roofline.
Big Decision Points (And Why They Matter)
- What the duct serves: bathroom fans, also range hoods, dryers, and attic ventilation each need different terminations.
- Duct size and route: long runs and sharp bends reduce airflow; they can also raise condensation risk in cooler months.
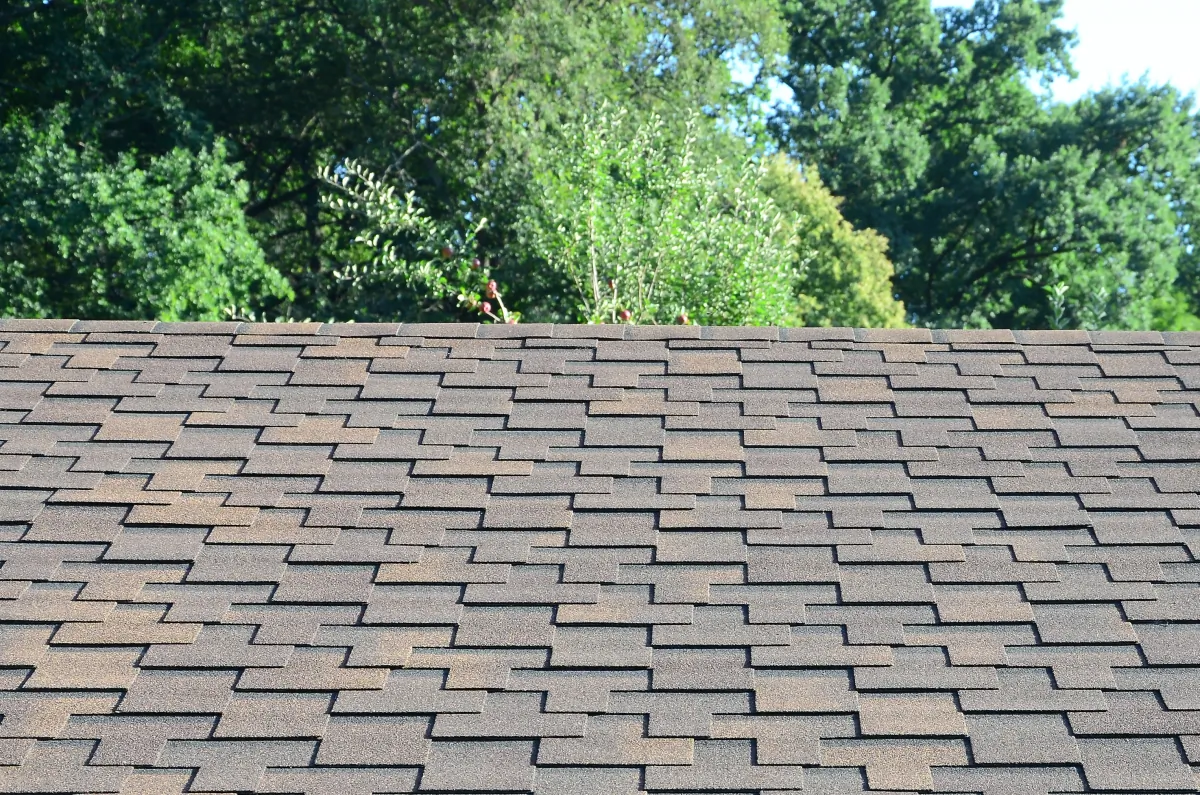
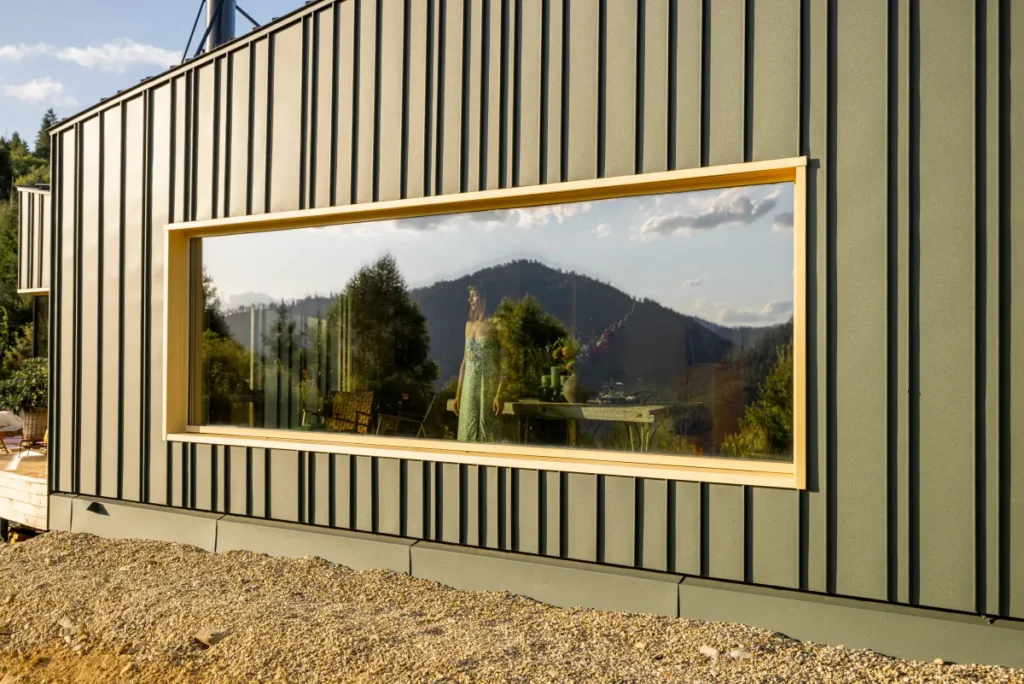
- Roof type: asphalt shingles, tile, metal, and low-slope roofs each use different flashing methods.
- Water management: you want a shingle-by-shingle path for water to shed, not a thick bead of sealant doing all the work.
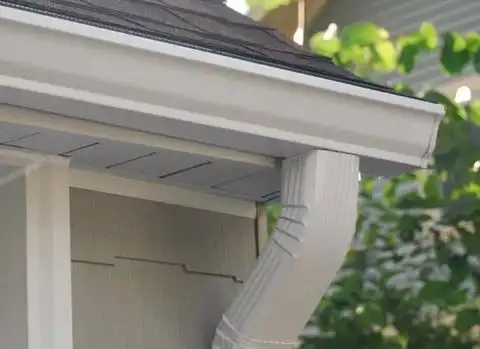
Leak Prevention Comes From Flashing—Not Caulk
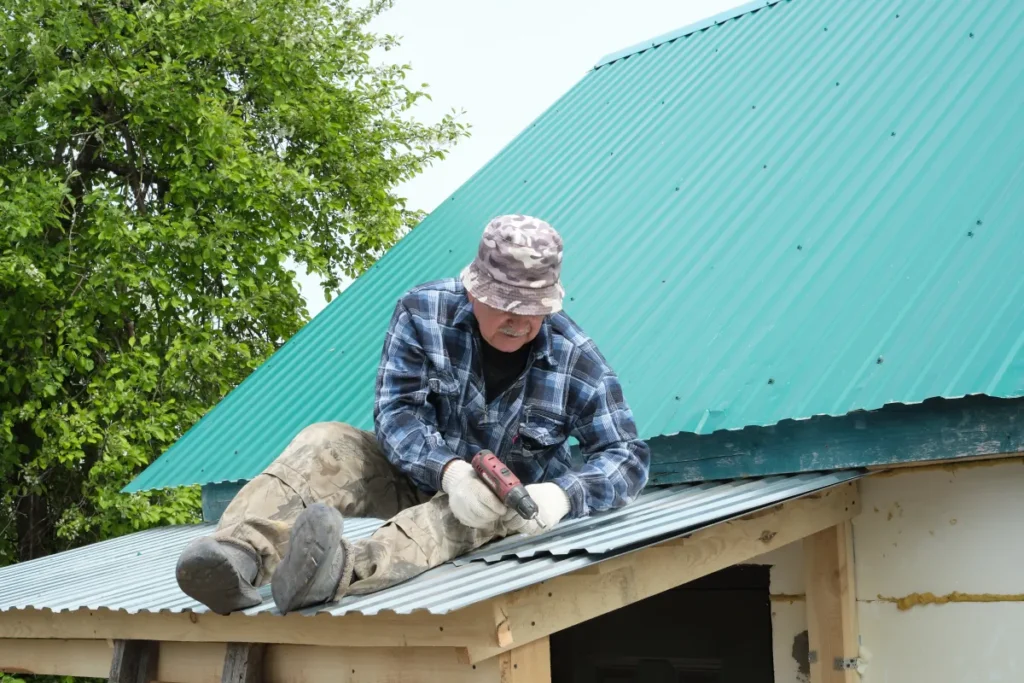
Sealant has a place, yet it shouldn’t carry the whole job. For example, A solid install tucks flashing under the roof covering in the right direction, keeps fasteners out of the wet path, and follows the vent manufacturer’s detail for your roof type. Additionally, If you’ve had repeat leaks, ask the contractor to explain the flashing approach before they cut anything.
Protect Airflow And Your Belongings
Many California homeowners use the attic for seasonal storage. As a result, That’s fine, but stacked boxes can crush insulation and block airflow paths, which traps heat and moisture. As a result, Before the crew arrives, clear a path to the work area and keep insulation pulled back from the duct connection so they can seal it properly. After the work, store items on a raised platform and avoid packing insulation tight against the duct.
Not sure what you have now? Meanwhile, You can request a free estimate online and get clear options based on your roof and duct route.
Layout And Function Improvements
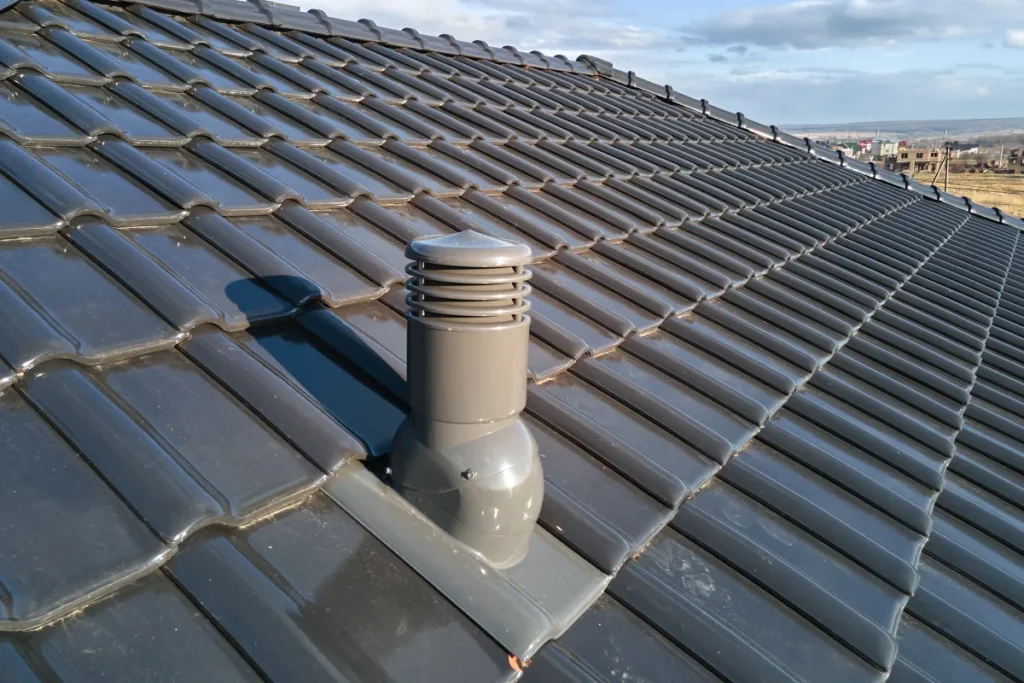
A roof termination does more than “let air out.” Placement and routing determine whether the fan actually moves air, whether the roof sheds water correctly, and whether you get backdraft odors on windy days. Overall, Small layout tweaks often solve the biggest complaints without overcomplicating the project.
Keep Performance High And Risk Low
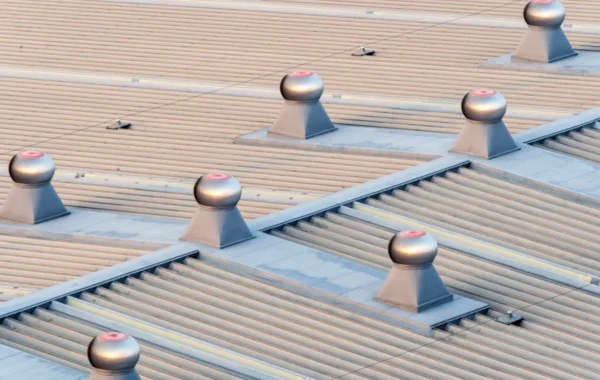
- Choose a spot with good water shed and clearance from valleys and other penetrations.
- Keep the termination away from intake vents when possible, so you don’t recycle moist air.
- Pick a cap profile that fits the visible roof plane; low-profile styles often look cleaner.
Tight Attics And Short Ducts (Small-Space Solutions)
Low-clearance attics, cathedral ceilings, and short rafter bays limit where ducting can run. Additionally, In those cases, keep bends to a minimum and favor smooth-walled duct where you can. Overall, If flexible duct is unavoidable, keep it stretched tight and as short as practical while maintaining service access.

Materials And Finish Options For Roof Exhaust Vent
Selecting a roof exhaust vent cap isn’t just about color. Also, Material choice affects durability, noise, and how the cap handles sun and rain over time. Just as important, the flashing system needs to match your roof material so water keeps moving down and off the roof.
Vent Cap Materials (Pros And Tradeoffs)
- Galvanized steel: strong and common, but it can show corrosion sooner if coatings wear.
- Aluminum: lightweight and corrosion-resistant; a solid fit for many residential roofs.
- Copper: premium look and long life, although it costs more and changes color as it patinas.
- High-temp polymer: can work well for certain exhaust types; confirm UV resistance and manufacturer ratings.
Dampers, Screens, And Backdraft Control
For bathroom fans, a backdraft damper helps stop cold air and odors from pushing back inside. Overall, For dryers, be cautious with any screen at the termination; lint buildup can create a maintenance headache and, for some equipment, a restriction problem. Match the termination to the appliance and follow the manufacturer’s install instructions.
Flashing And Roof Integration
On asphalt shingles, a properly lapped flashing flange usually hides under the upper courses and sheds water naturally. As a result, Tile and metal roofs often need specialty flashings and a more detailed water channel plan. Because that detail varies, ask what materials the installer plans to use around the penetration and how they’ll protect the underlayment.
Example Scenario (Hypothetical)
A homeowner notices that a bathroom stays humid long after showers. Additionally, The fan runs, but the exhaust duct ends in the attic and dumps moist air near stored boxes. A roofer reroutes the duct to a roof exhaust vent cap sized to the duct, seals the connections, and adds insulation around the run where condensation could form. After the change, humidity clears faster and the attic stays drier because the moisture exits the home.
Cost Drivers + Timeline (Typical)
Most projects fall into two buckets: replacing an existing vent cap, or adding a new roof penetration and duct route. Also, Even within those categories, a few choices swing the budget and the schedule.
How The Work Typically Runs In California
- On-site evaluation: confirm what you’re exhausting, measure duct size, and review roof material and slope.
- Scope confirmation: choose the vent style, placement, and any ducting changes; discuss whether local permits apply for the scope.
- Installation: protect the work area, cut the roof opening, integrate flashing/underlayment, connect and seal the duct, and test airflow.
- Wrap-up: verify damper operation, confirm the roof sheds water correctly, and document the finished detail with photos.
Budget Ranges & Timeline (Typical)
- Like-for-like vent cap replacement often takes a few hours once roof access is set.
- New routing from a fan or appliance usually takes half a day to a full day, depending on attic access and duct length.
- Tile, metal, and low-slope roofs can add time because flashing details are more involved.
- If inspections are necessary, lead time depends on your local city or county schedule.
A Quick Decision Summary
| Decision | What to check | Common impact |
|---|---|---|
| Vent purpose | Bath fan vs hood vs dryer vs attic | Cap style, damper needs, maintenance |
| Roof material | Shingle, tile, metal, low-slope | Flashing method and labor time |
| Duct run | Length, bends, insulation | Airflow performance and condensation risk |
| Placement | Away from valleys and intake vents | Leak risk and odor recirculation |
| Local approvals | City/county rules for the scope | Scheduling lead time |

How To Prepare Your Home
US Construction & Remodeling Corp. Overall, helps homeowners in Sacramento and across California plan and install roof exhaust vent terminations that protect the roof system and move air the way it should. We focus on clean flashing details, correct duct sizing, and a clear scope so you understand what’s being installed and why.
Schedule your free estimate online to review your roof, duct route, and vent options. Overall, If you’d rather talk it through, call +1 (916) 234-6696.
To keep the visit efficient, a little prep helps: clear attic access, note which rooms have moisture or odor issues, and take a photo of the existing cap if you can safely see it from the ground.
Home-Prep Checklist
- Clear a pathway to the attic hatch and the work area below it.
- Move stored items away from the duct run and around the penetration location.
- Keep pets secured and plan quiet hours if someone works from home.
- Share any leak history (when it happens, where you saw staining, and after which storms).
- Point out recent roof work, repairs, or re-roof dates if you know them.
- Confirm which fan/appliance the duct connects to (bath fan, hood, dryer, or attic venting).
Trust Signals To Look For (And To Request)
- Licensing and insurance: ask for current proof appropriate to the scope.
- Permit responsibility: clarify whether the contractor will handle permits when your jurisdiction requires them.
- Written scope: vent type, duct size, location, and flashing approach should be spelled out.
- Workmanship verification: request photos of the flashing/underlayment detail before it’s fully covered.
- Communication: get a clear point of contact, update cadence, and change-order approach in writing.
Next Steps For Sacramento
If your home is in Sacramento, permitting and plan review are typically managed through the City of Sacramento Community Development portal (Accela Citizen Access). For example, Depending on the scope (like adding a new exhaust run or modifying mechanical systems), you may need a permit and inspection—your building department can confirm what applies to your address.
Even when a permit isn’t required, a quick professional check can prevent common problems like recirculating moist air into the attic or creating a weak flashing point on the roof. Meanwhile, If you’re ready to get this scoped, book online using the link above or call the office line.
Helpful Links
Frequently Asked Questions
A roof exhaust vent lets air and moisture leave the home through the roof in a controlled, weather-resistant way. It commonly serves a bathroom fan, range hood, dryer, or attic ventilation path, depending on how your home is designed.
It depends on the scope and the local city/county rules. A like-for-like replacement may not require a permit in some jurisdictions, while adding a new penetration or modifying mechanical exhaust often does. When you book an estimate, ask what approvals typically apply for your address and scope.
Replacing an existing vent cap often takes a few hours. Adding a new roof penetration and routing ducting from an appliance or fan can take half a day to a full day, especially when attic access is tight or the roof material needs specialty flashing.
Pricing changes based on a few practical factors:
- New install vs replacement of an existing vent
- Roof material (shingle vs tile/metal/low-slope)
- Duct length, bends, and whether insulation is necessary
- Attic access and working clearance
- Any roof repair needed around the penetration
- Permit/inspection steps when required locally
Aluminum and galvanized steel are common and durable for many homes, while copper offers a longer-life premium option with a distinct look. Some high-temp polymers also perform well for certain exhaust applications. The best choice depends on the exhaust type, sun exposure, and the flashing system used on your roof.
Use these questions to keep the scope clear:
- How will you flash the penetration for my roof material?
- Where will the vent exit, and why is that location best?
- How will you seal and support the duct connection in the attic?
- Will you provide photos of the finished flashing detail?
- Who handles permits if the scope requires one?
- What’s the plan if you uncover damaged decking or wet insulation?
If you want a straightforward scope and pricing, schedule a free estimate online or call +1 (916) 234-6696.
Licensed, insured & trusted local contractor
US Construction & Remodeling Corp.
9821 Business Park Dr, Sacramento, CA, 95827
Phone: +1 (916) 234-6696
CSLB License #: 1117562 Fully licensed and insured.
Explore the full service overview
If you want the big-picture process, pricing factors, and what to expect, start here: Roofing Remodeling (Landing Page).
Frequently Asked Questions
A roof exhaust vent lets air and moisture leave the home through the roof in a controlled, weather-resistant way. It commonly serves a bathroom fan, range hood, dryer, or attic ventilation path, depending on how your home is designed.
It depends on the scope and the local city/county rules. A like-for-like replacement may not require a permit in some jurisdictions, while adding a new penetration or modifying mechanical exhaust often does. When you book an estimate, ask what approvals typically apply for your address and scope.
Replacing an existing vent cap often takes a few hours. Adding a new roof penetration and routing ducting from an appliance or fan can take half a day to a full day, especially when attic access is tight or the roof material needs specialty flashing.
Pricing changes based on a few practical factors:
- New install vs replacement of an existing vent
- Roof material (shingle vs tile/metal/low-slope)
- Duct length, bends, and whether insulation is necessary
- Attic access and working clearance
- Any roof repair needed around the penetration
- Permit/inspection steps when required locally
Aluminum and galvanized steel are common and durable for many homes, while copper offers a longer-life premium option with a distinct look. Some high-temp polymers also perform well for certain exhaust applications. The best choice depends on the exhaust type, sun exposure, and the flashing system used on your roof.
Use these questions to keep the scope clear:
- How will you flash the penetration for my roof material?
- Where will the vent exit, and why is that location best?
- How will you seal and support the duct connection in the attic?
- Will you provide photos of the finished flashing detail?
- Who handles permits if the scope requires one?
- What’s the plan if you uncover damaged decking or wet insulation?
If you want a straightforward scope and pricing, schedule a free estimate online or call +1 (916) 234-6696.


