Skip links

Tyvek house wrap: hiring guide for homeowners

If you’re planning new siding or trying to stop drafts, tyvek house wrap often comes up—and the details matter. Done right, it helps manage wind-driven rain and reduces air leaks behind exterior cladding.

This guide breaks down what California homeowners should expect from a contractor: how the wrap ties into window and door flashing, what materials to specify, and what a clean jobsite looks like. US Construction & Remodeling Corp. handles these exterior envelope upgrades as part of larger home remodeling work, and we’ve included Sacramento-specific permitting notes where they apply.

TL;DR: House wrap works as a weather-resistive barrier (WRB), not a standalone waterproof layer. The critical work happens at seams, penetrations, and flashing transitions. Get the scope in writing before anything is covered.

Quick Checklist:

  • Confirm whether you need a repair, partial re-wrap, or full re-wrap
  • Map window/door flashing details before demolition
  • Specify compatible tape and flashing products (per manufacturer)
  • Decide on a rainscreen gap behind siding when appropriate
  • Clarify who handles permits and inspections if the scope requires them
  • Set a schedule so the WRB isn’t left exposed longer than necessary

When you want a clear scope and pricing, book a free estimate online, or call +1 (916) 234-6696.

Why Homeowners Hire Help For Tyvek House Wrap

DecisionWhy it mattersQuick check
ScopeDefines what is included and prevents surprises.Write a line-item scope and allowances list.
Site constraintsAccess and hidden conditions can change the plan.Check access and existing surfaces before work starts.
SelectionsLong-lead items can drive the schedule.Confirm availability before starting.
PermitsSome scopes require approvals and inspections.Ask your city/county what applies to your project.

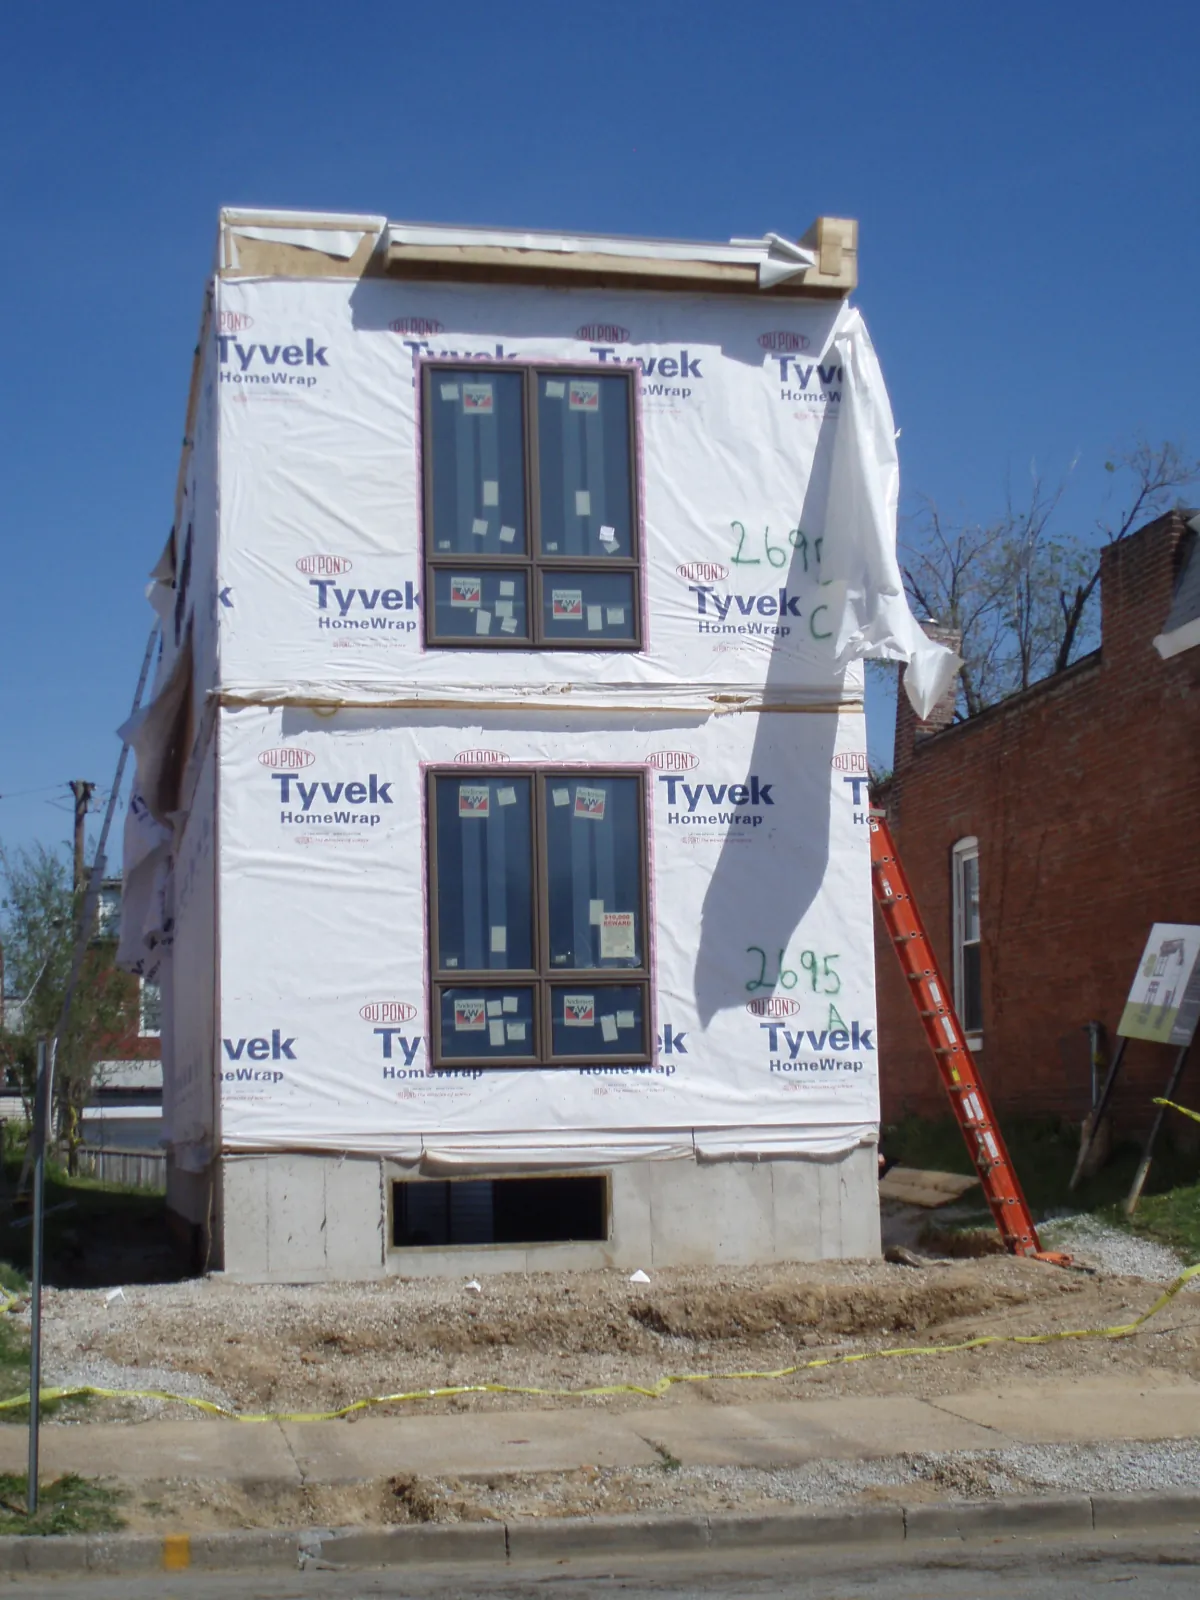
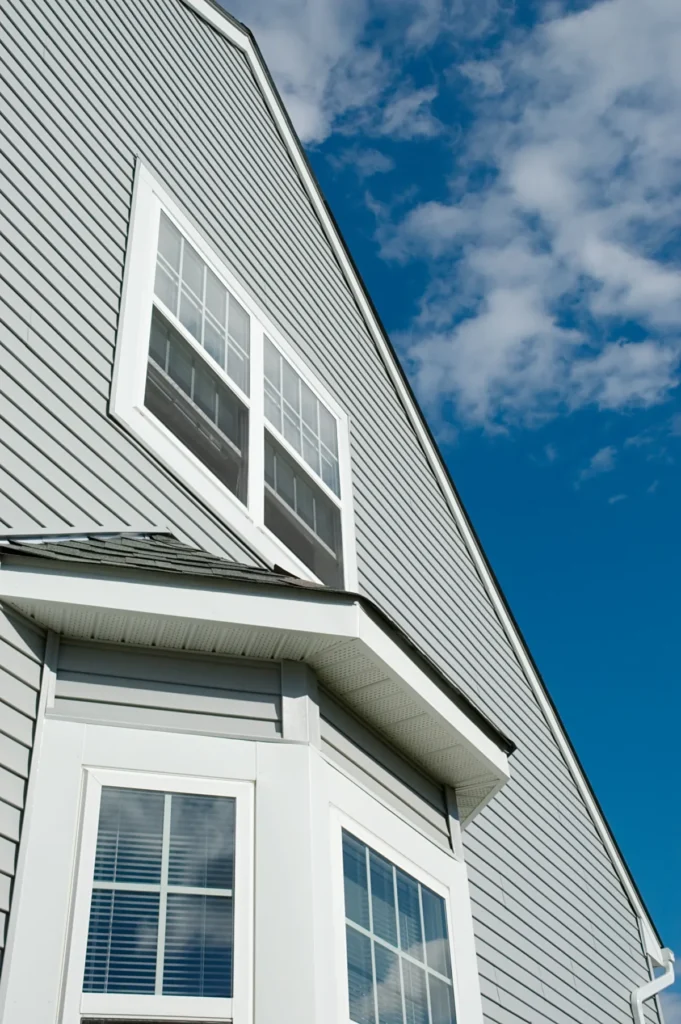
Most homeowners don’t think about the weather barrier until the siding comes off. Also, At that point, you’re looking at the control layer that helps shed water and slow air movement through the wall.

On a tyvek house wrap project, the hidden details matter more than the visible finish. As a result, Clean overlaps, compatible tape, and properly layered flashing keep water moving back to the exterior instead of into the framing.

Common Situations Where Professional Help Makes Sense

  • Siding replacement where the WRB needs upgrading or repair
  • Window or door replacement that requires new flashing integration
  • Water intrusion repairs, also dry rot, or damaged sheathing behind cladding
  • Exterior penetrations being added or moved (vents, hose bibs, lighting)
  • Multi-story elevations where safe access and staging matter
  • Projects where you want a documented, code-aligned installation

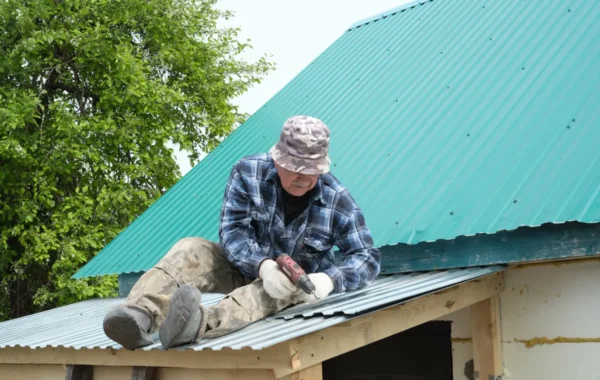
Where DIY Attempts Usually Go Sideways

Homeowners often run into problems with reversed laps, unsealed seams on dusty surfaces, and “patches” that trap water at the edge. Overall, Just as important, many leaks start at window sills, head flashing, and roof-to-wall intersections—areas that require a consistent shingle-lap sequence, not a quick tape job.

Who This Guide Is For

If you’re deciding between patching and re-wrapping, comparing bids, or coordinating wrap work with siding and window changes, you’re in the right place. For broader exterior planning, you can also explore our home remodeling services to align the weather barrier with the rest of the project.

tyvek house wrap

How To Choose The Right Contractor

House wrap can look “fine” on day one and still fail if the contractor skips the hidden details. For this reason, You want someone who treats the wall as a system: weather-resistive barrier, flashing, drainage, and siding working together.

Questions Worth Asking During Bids

  • Will you remove siding to create continuous access, or work from limited openings?
  • How will you flash the window sill, jambs, and head before the wrap gets lapped?
  • Which tape and flashing products will you use, and are they approved for this wrap?
  • How will you handle tricky transitions (decks, ledger boards, roof/wall joints, stucco stops)?
  • Will you add a rainscreen gap behind siding where it’s recommended?
  • Who repairs sheathing if you find damage after demolition—and how is that priced?
  • How will you document the work before siding covers it (photos, checklist, walkthrough)?

What A Solid Proposal Should Spell Out

  • Exact scope: elevations included, removal/disposal, and which openings get detailed flashing
  • Product plan: wrap type, compatible tape, flashing membrane, and fastener approach
  • Sequence: demolition, repairs, wrap install, inspections if needed, and re-installing cladding
  • Site protection: landscaping coverage, debris control, and daily cleanup expectations
  • Change management: how surprises get priced and approved in writing

Trust & Accountability Checklist (No Guesswork)

  • Verify the contractor’s California license status and ask for proof of insurance for the work
  • Confirm who is responsible for permits and inspections when the scope requires them
  • Expect clear communication: start date window, daily updates, and who your point of contact is
  • Ask how the crew checks workmanship (laps, taped seams, and flashing continuity) before siding goes back on
  • Avoid vague “we’ll figure it out” language—good envelope work is planned, not improvised
tyvek house wrap

Planning To Completion

US Construction & Remodeling Corp. In addition, installs tyvek house wrap as part of siding replacement and exterior repair work, so the WRB, flashing, and cladding details all line up before anything gets covered.

Request a free estimate online to get a written scope for your elevations and openings. Additionally, If you’d rather talk it through, call +1 (916) 234-6696.

Layout Planning Before The First Roll Goes Up

A good install starts with a plan for continuity. For example, That means choosing where seams land, how corners will wrap, and how every penetration will drain back out.

  • Work bottom-up with shingle-style laps so water sheds over—not behind—each layer
  • Plan seam locations away from high-risk areas like window corners when possible
  • Detail rough openings so sill flashing directs water to the exterior face of the wrap
  • Map penetrations (vents, hose bibs, electrical) and pre-plan boots or flashing patches
  • Coordinate roof-to-wall and kick-out flashing locations before cladding goes back on

Wrap, Tape, Flashing, And Fasteners

Most failures come from mismatched materials or rushed prep. Meanwhile, Use components that are designed to work together, and follow the manufacturer’s installation guidance for laps and exposure limits.

  • Wrap type: standard vs. Also, drainable wraps; drainable options can help behind certain claddings
  • Seam tape: choose a compatible tape; clean, dry surfaces matter as much as the product
  • Flashing membranes: flexible flashing at sills and corners reduces fish-mouths and leaks
  • Fasteners: cap fasteners improve holding power and reduce tear-through versus staples
  • Sealants: use sealants only where specified; don’t rely on caulk as the main water control

Installation Sequence You Should See On Site

  1. Protect landscaping and set up safe access (ladders/scaffolding) before demolition.
  2. Remove cladding as needed to expose the sheathing and existing weather barrier.
  3. Repair any damaged sheathing or framing so the wall is flat and solid.
  4. Install the wrap with correct overlaps, then tape seams per the product requirements.
  5. Integrate flashing at windows/doors and seal penetrations so water drains outward.
  6. Perform a quality check with photos and a walkthrough before the wall gets closed.
  7. Reinstall or replace cladding, trim, and accessories without puncturing critical flashing.

Keeping The Job Organized (And Your Home Livable)

Exterior work can disrupt parking, entry paths, and daily routines. In addition, A professional crew plans staging so materials stay protected and the site stays safe.

  • Stage wrap, tape, and flashing in a dry spot so adhesives bond consistently
  • Keep walkways and entry doors clear, with debris contained and hauled regularly
  • Label parts for each elevation so window flashing and trim details don’t get mixed
  • Use temporary coverings if weather shifts while walls are open
  • When it makes sense, add simple organization upgrades outside—like clean hose bib placement and tidy utility routing—while access is easy

How To Verify Workmanship Before It’s Hidden

Ask for a photo set of each elevation showing overlaps, taped seams, and window/door flashing layers before siding goes back on. For example, That documentation helps you confirm the work and supports warranty conversations later.

Frequently Asked Questions

Taping seams is common, but the right answer depends on the specific wrap system and manufacturer instructions. In many assemblies, taped seams improve air control while overlaps and flashing handle bulk water.

  • Use tape approved for the specific wrap
  • Apply to clean, dry surfaces and roll it for full adhesion
  • Don’t use tape to “fix” reverse laps or missing flashing

Exposure limits vary by product, so check the manufacturer’s published guidance for the exact wrap being used. As a homeowner, you can still manage risk by scheduling cladding work tightly and asking what protection plan is in place if weather or inspections delay the close-up.

It depends on scope and jurisdiction. If the work is tied to larger changes—like siding replacement, structural or sheathing repairs, or window/door modifications—your local building department may require permits and inspections.

A qualified contractor should explain when permitting is likely and who will handle the paperwork and scheduling if it’s required.

Access and detailing drive most pricing. House wrap work happens behind siding, so labor increases quickly when you need removal, repairs, and careful re-installation.

  • How much siding must come off to create continuous access
  • Sheathing/framing repairs discovered after demolition
  • Number of windows, doors, corners, and penetrations to detail
  • Stories/height and the access method (ladders vs. scaffolding)
  • Whether you add a rainscreen gap and related trim adjustments

Sometimes, but it’s not automatically a good idea. Layering can hide damage, complicate drainage, and make it harder to integrate flashing cleanly at openings.

A contractor should inspect the existing WRB, confirm the wall can dry properly, and follow manufacturer guidance before recommending an overlay approach.

A written scope reduces surprises and makes it easier to compare bids. It should cover both materials and sequencing.

  • Which elevations are included and what gets removed/disposed
  • Wrap type, seam tape, flashing approach, and fastener method
  • How windows/doors and penetrations will be detailed
  • How repairs are handled if damaged sheathing is found
  • Photo documentation and any inspection coordination (if applicable)

Leave a comment

This website uses cookies to improve your web experience.
Explore
Drag