If you’re considering clapboard siding for a California home, the look is only half the decision. The bigger win comes from clean water management—flashing, clearances, and a durable finish—so the exterior stays sharp and dry.
Quick checklist:
- Pick a siding material and finish that matches climate and maintenance goals.
- Confirm moisture management details (housewrap, flashing, caulking) in writing.
- Define the full scope (trim, soffit/fascia, paint, insulation upgrades).
- Confirm access/safety plan and how landscaping/property will be protected.
- Compare 2–3 itemized quotes and verify warranty coverage.
- Check permit requirements if altering exterior walls or doing structural repairs.
TL;DR: Confirm whether you’re doing a repair, a partial replacement, or a full re-side. Pick a material that fits your maintenance tolerance, then lock in the trim, flashing, and paint plan before any tear-off. When the scope triggers permitting, a reputable contractor can coordinate submittals and inspections so the schedule stays realistic.
- Walk the exterior and mark soft spots, swollen boards, and recurring paint failure.
- Decide: repair and repaint, replace one elevation, or re-side the full home.
- Choose an exposure (reveal) size and corner/trim style that fits your architecture.
- Ask how window/door flashing, roof kick-out flashing, and the weather barrier will be handled.
- Plan for sheathing repairs and lead-safe practices when older paint may be present.
- Get an itemized scope, schedule window, and cleanup plan before materials arrive.
Signs It’s Time For Clapboard Siding
| Decision | Why it matters | Quick check |
|---|---|---|
| Material choice | Durability and maintenance differ by material. | Compare fiber cement vs vinyl and verify warranties. |
| Moisture management | Water control prevents rot and mold. | Confirm housewrap and flashing details around openings. |
| Trim & transitions | Details control fit and long-term sealing. | Specify corners, soffit/fascia scope, and finish plan. |
| Access & protection | Staging affects speed, cost, and safety. | Plan scaffolding, landscaping protection, and cleanup. |
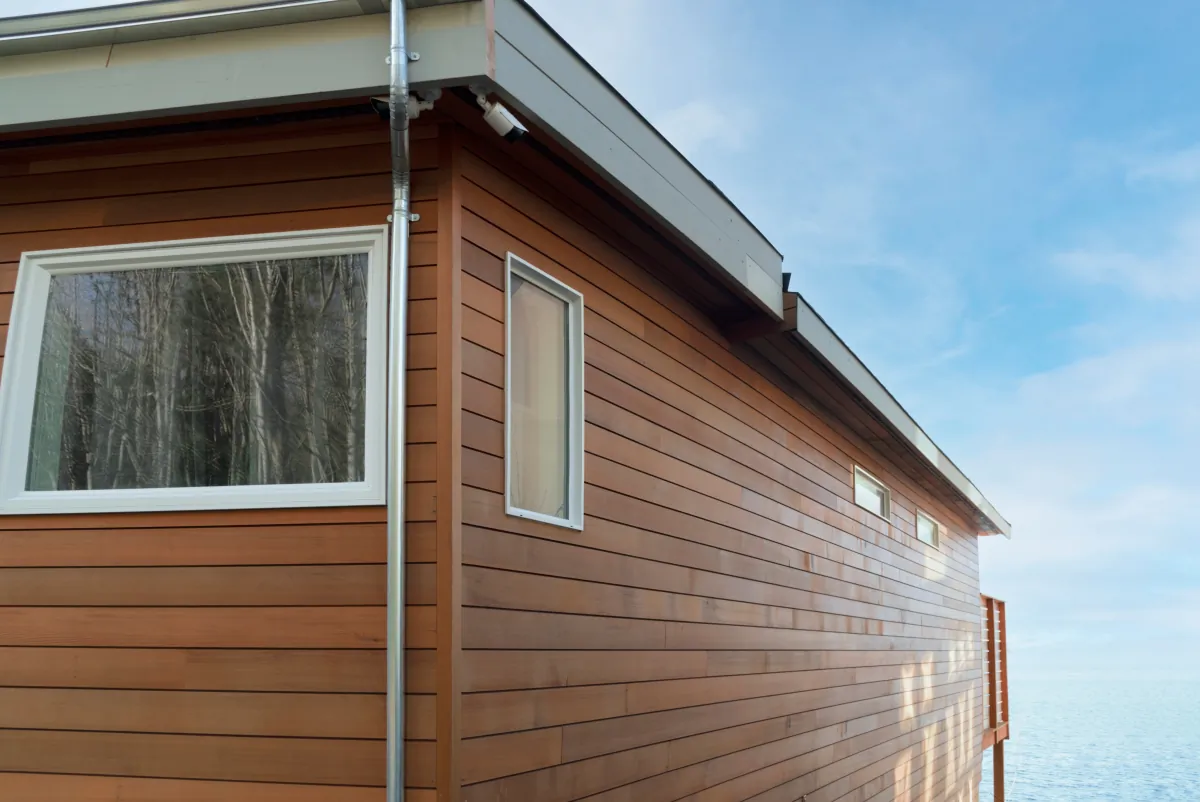
Clapboard can age gracefully, but recurring moisture and sun exposure eventually show up in the boards and the paint film. As a result, A quick walk-around can tell you whether you’re looking at a small repair or a bigger replacement decision.
- Paint that fails fast: peeling, also blistering, or chalking that returns soon after repainting.
- Soft or crumbling edges: especially on the bottom courses and around hose bibs and sprinklers.
- Cupping, splitting, or warping boards: gaps open up and water gets behind the lap.
- Staining and streaks: below windows, at roof-to-wall intersections, or where gutters overflow.
- Loose boards or nail pops: movement can point to fastener failure or damaged backing.
- Repeated caulk cracking: caulk should be a backup, not the main defense at trim joints.
- Interior clues: musty smells near exterior walls or water staining around windows.
Before choosing new siding, look for the reason the old siding failed. For this reason, If water is entering at a roof line, window, or deck detail, replacing boards alone won’t solve it. In addition, A solid plan includes updated flashing and a continuous weather-resistive barrier (WRB) behind the new clapboards.
Before-And-After Example (Hypothetical)
Hypothetical example: A homeowner keeps repainting a sun-baked wall every few years. Meanwhile, The paint looks good for a season, then peels at the lower courses and around two windows.
A contractor removes a small section and finds moisture damage behind the siding where the window flashing ends short. In addition, The revised scope adds proper head flashing, repairs localized sheathing, installs a new WRB, and replaces the wall with a clapboard-style product that holds paint longer. The curb appeal stays classic, but the wall handles water correctly.
Planning Pitfalls That Raise The Bill
- Skipping a moisture check and discovering rot only after teardown starts.
- Choosing an exposure size on a screen, not on the wall in natural light.
- Underestimating trim: corners, window/door casings, and utility blocks add labor and material.
- Relying on caulk instead of proper flashing at penetrations and transitions.
- Ignoring clearance to grade, decks, and roof surfaces, which shortens siding life.
- Not discussing lead-safe containment when older paint may be present.
- Comparing bids that don’t match the same scope (WRB, flashing, sheathing repairs, and paint).
Common Upgrade Paths (What Changes Most)
Most homeowners pick one of these paths based on budget, how much hidden damage they expect, and how much maintenance they want long term.
- Repair and repaint: best when the siding is mostly sound and failures are isolated to a few areas.
- Partial replacement: replace one elevation or problem zone, then blend paint and trim for a consistent look.
- Full re-side: remove existing siding, repair sheathing as needed, install a new WRB, then install new clapboard-style siding.
- Full re-side plus performance upgrades: add insulation or a rainscreen gap for better drying and comfort where the design allows.
Choosing The Right Clapboard Look
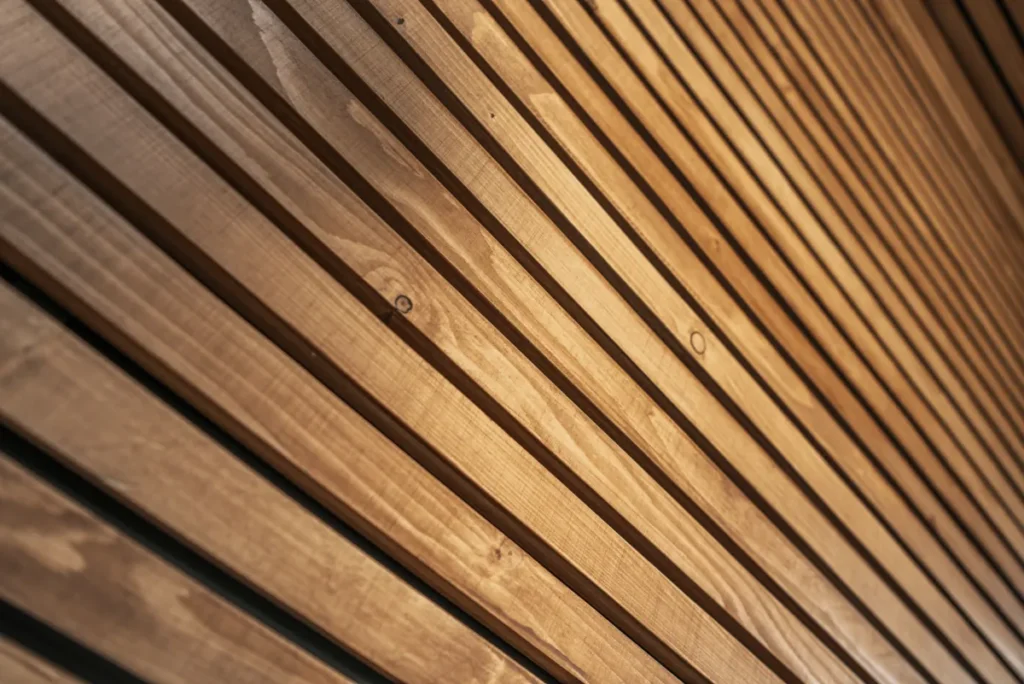
Clapboard describes the horizontal lap profile, not a single material. Also, The best choice depends on how you want the home to look five to ten years from now, and how often you’re willing to repaint.
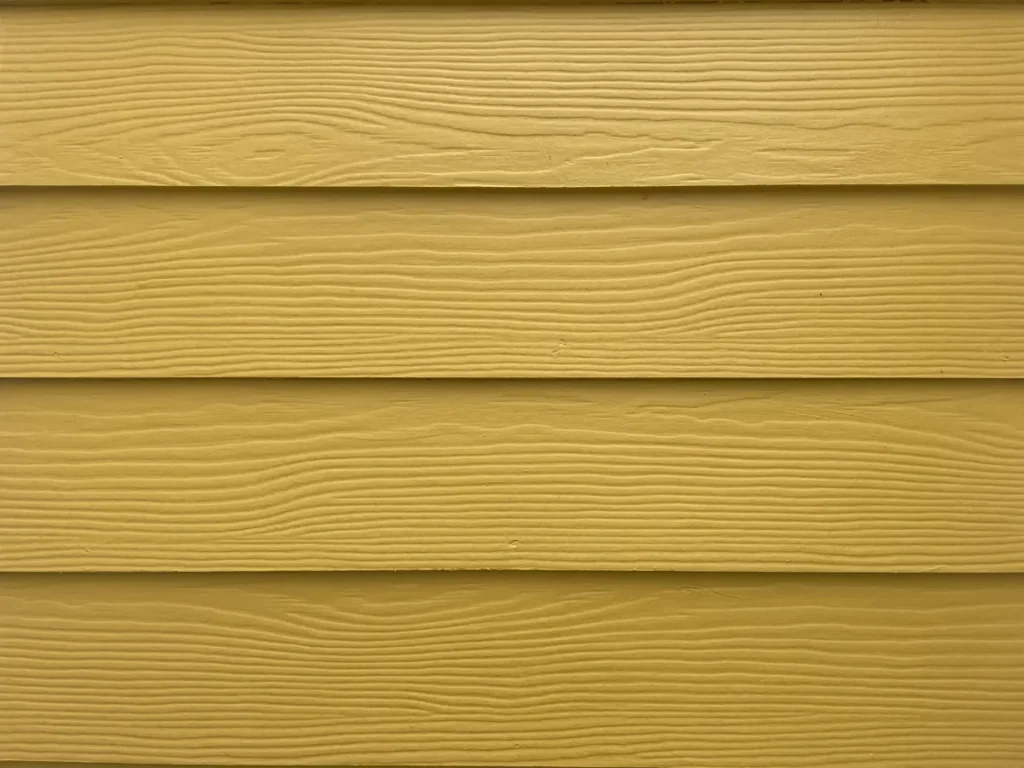
- Wood clapboard: the most traditional look and easy to customize on site. Overall, It needs disciplined maintenance, and it’s less forgiving in wet or high-sun exposures.
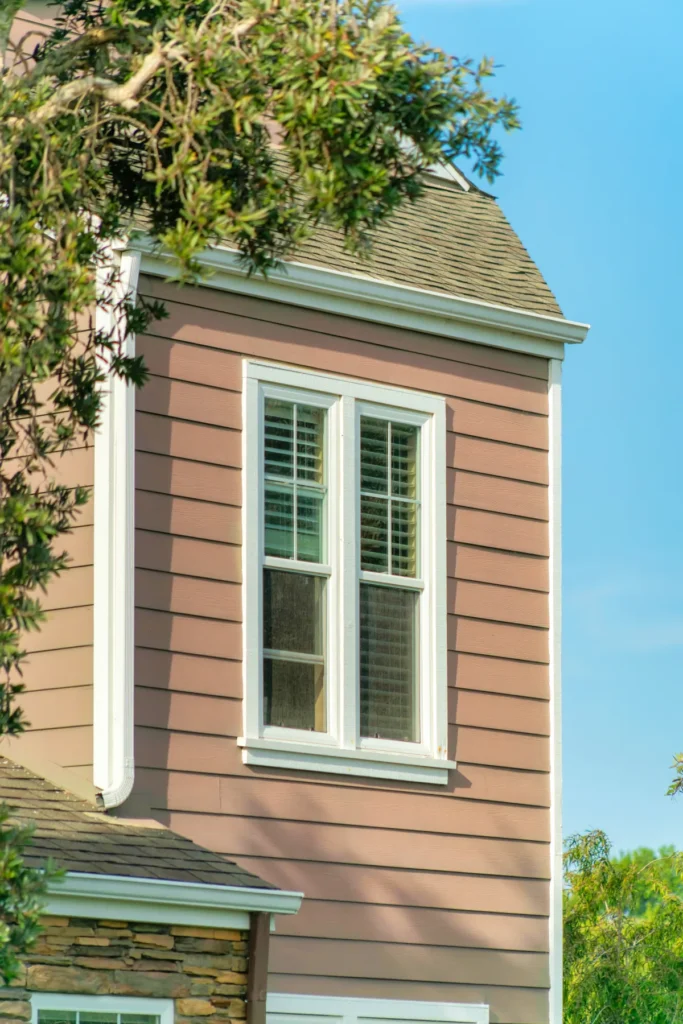
- Fiber cement: stable and impact-resistant, with fire performance that matters in many California areas. Additionally, It’s heavier and needs careful cutting and dust control, but it can deliver long paint cycles when installed to spec.
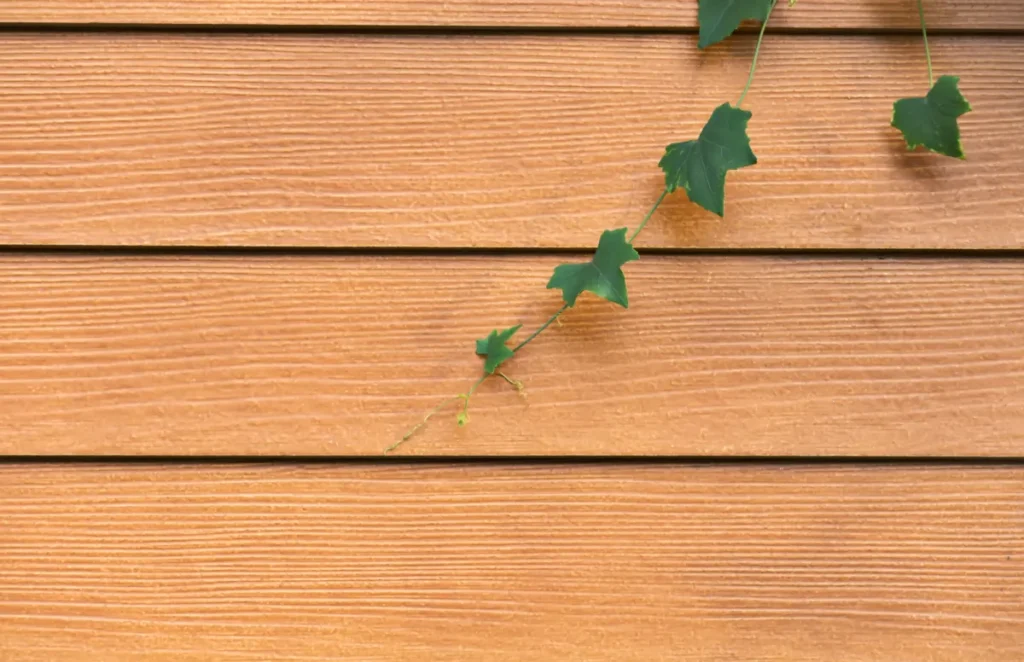
- Engineered wood: lighter than fiber cement and often easier to detail around trim. For example, Long-term results depend on edge sealing, fasteners, and following the manufacturer’s install requirements.
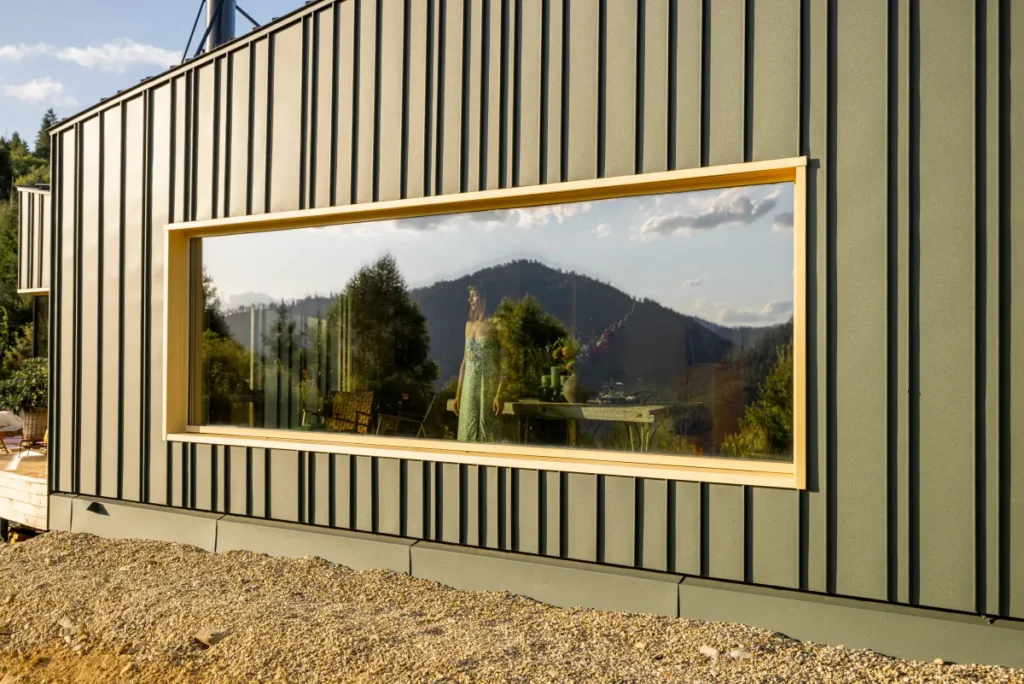
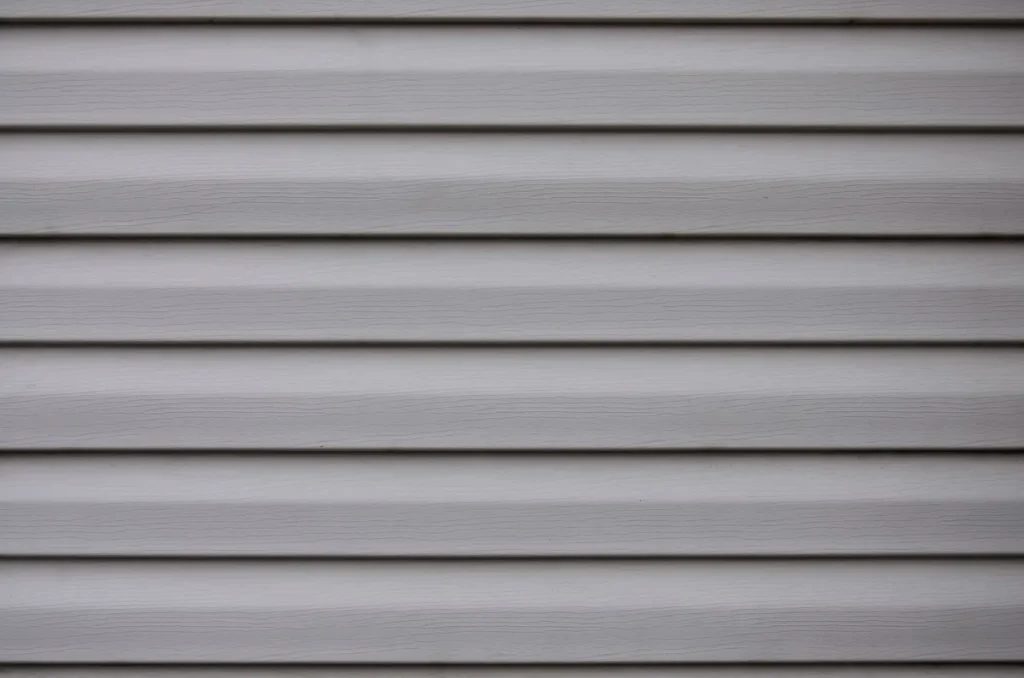
- Vinyl (clapboard-style): low-maintenance color-through options exist, but the look and feel differ from painted clapboards. It can also move more with temperature, so detailing matters.
Reveals, Trim, And Transitions
Good siding looks intentional because the details line up. Meanwhile, Before ordering materials, decide how you’ll handle the visual rhythm and the water details at every edge.
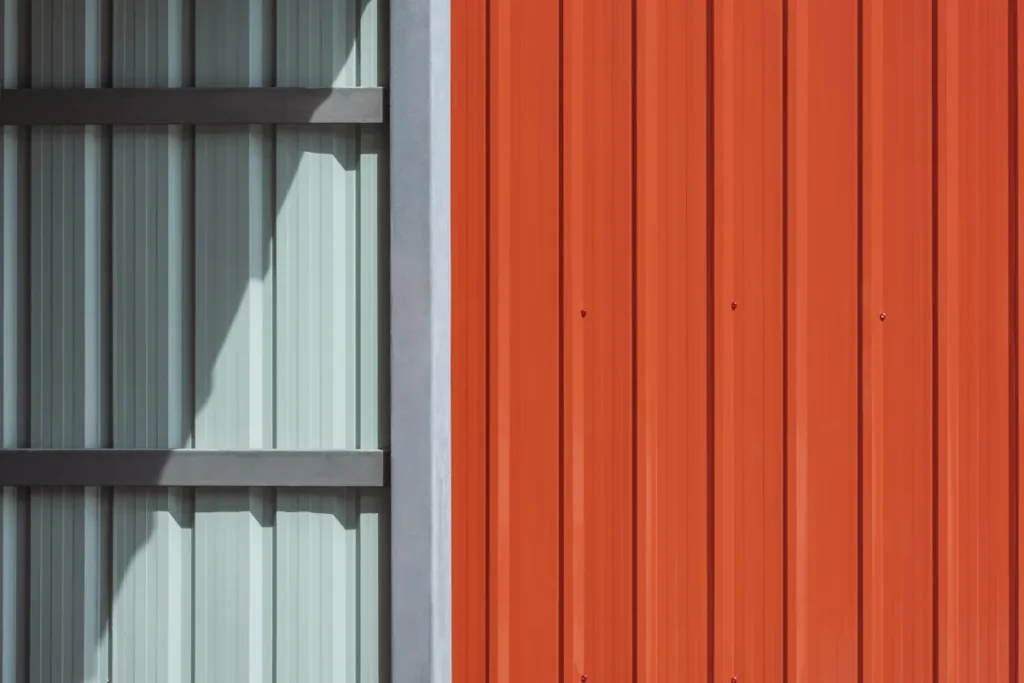
- Exposure (reveal) size: smaller reveals read more traditional; larger reveals can look cleaner and more modern.
- Corners: corner boards create a framed look; mitered corners look sleek but demand tight craftsmanship.
- Window and door trim: match casing depth to your siding thickness and any added insulation layer.
- Transitions: plan belly bands, water tables, or transitions to stone/brick so joints shed water.
- Penetrations: pre-plan blocks for lights, vents, hose bibs, and electrical to avoid patchwork later.
- Roof and deck clearances: keep consistent gaps so the siding can dry and you can maintain it.
Explore Related Exterior Work
If you’re bundling siding replacement with exterior painting, window upgrades, or other home remodeling work, start with a single scope so the details stay consistent. For example, You can browse our services at USConstructionCali.com.

Budget Ranges And Timeline (Typical)
Across California, the price range for a clapboard siding project depends less on the board and more on access, tear-off, and repair work uncovered once the old material comes off. Meanwhile, Multi-story walls, steep lots, and lots of trim and corners push labor up quickly.
Budget Ranges & Timeline (Typical)
Use these as planning ranges for professional work, not as a substitute for a site-specific bid.
- Repair, prep, and repaint: $3,000 to $12,000; roughly 3 to 10 working days.
- Replace one elevation: $6,000 to $20,000; roughly 1 to 2 weeks.
- Full re-side on a single-family home: $25,000 to $75,000+; roughly 2 to 6 weeks.
- Performance add-ons: insulation, rainscreen gaps, and trim upgrades can extend both budget and schedule.
| Scope | Key cost drivers | Timeline (typical) | What to confirm |
|---|---|---|---|
| Repair + repaint | Prep time, accessibility, lead-safe containment when applicable | 3 to 10 days | Root cause of damage, primer/paint system, caulk and flashing touch-ups |
| Replace one elevation | Tear-off, sheathing repair, scaffolding, trim matching | 1 to 2 weeks | How the new wall ties into the old WRB and flashing |
| Full re-side (like-for-like) | Square footage, number of stories, trim package, paint or factory finish | 2 to 6 weeks | WRB type, window/door flashing details, disposal and cleanup |
| Full re-side + insulation/rainscreen | Detailing at openings, thickness changes at trim, inspection steps | 3 to 8 weeks | How trim depths and flashing adapt to the new wall thickness |
Cost Drivers You Can Control
You can’t control hidden rot, but you can make choices that keep the project efficient.
- Pick the exposure, corners, and trim package early so orders stay clean.
- Decide whether you want paint-on-site or a factory-finished product before bidding.
- Walk the exterior with your contractor and list every penetration (lights, vents, cameras) so blocking is planned, not improvised.
- Ask for an allowance or unit price for sheathing repairs so changes follow a clear rule.
Permits And Scheduling Notes
Permit needs depend on the exact scope and the jurisdiction. Overall, Many cities and counties treat full siding replacement as an alteration, especially if you touch sheathing, add insulation, or change openings. Your contractor should confirm requirements for your address before demo.
- Permits are more likely when you remove and replace most exterior siding, not just a few boards.
- Sheathing repair or structural work often triggers inspection requirements.
- New or resized windows/doors can bring additional plan review and energy-code considerations.
- Exterior foam or a rainscreen assembly may change wall thickness and detailing, which jurisdictions may review.
- HOAs and historic districts can add review steps even when building permits stay simple.
- Electrical moves (new exterior lights, relocating outlets) may require trade permits.
How The Work Usually Unfolds
- Site visit and exterior assessment (including moisture-prone areas and drainage patterns).
- Material and detail selection: exposure, trim, corners, penetrations, and finish.
- Written scope and bid that spells out WRB, flashing, tear-off, disposal, and repair allowances.
- Permit confirmation and submittal when required for the scope.
- Jobsite setup: protection for landscaping, windows, and walkways; staging and waste plan.
- Tear-off and inspection of sheathing; repair damaged areas.
- Install WRB and flashing details at openings, roofs, and penetrations.
- Install new siding, trim, and accessory blocks; seal joints as specified.
- Finish work: paint or touch-ups, cleanup, walkthrough, and closeout documentation.
Keep Outdoor Areas Organized During The Job
Exterior work touches driveways, side yards, and patios. Meanwhile, A small amount of preparation helps the crew move faster and keeps your routine smoother.
- Clear 3 to 6 feet around the home where possible so ladders and scaffolds can be set safely.
- Move patio furniture, grills, and potted plants away from work walls; cover what can’t move.
- Plan for driveway use if dumpsters or material drops are necessary.
- Set a daily path for pets and kids away from cutting areas and debris.
- Ask where materials will be staged overnight and how the crew secures the site.
- Confirm how noise, dust, and work hours will be handled so you can plan ahead.
If you want a quick gut-check before committing to a full site visit, photos of each elevation and close-ups of problem areas can help a contractor flag likely scope items.

Serving Sacramento Homeowners
US Construction & Remodeling Corp. Also, helps Sacramento homeowners repair and replace clapboard-style siding with clear options, careful site protection, and straightforward communication. We’re Sacramento-based, and we also take on projects in parts of the Bay Area and Los Angeles depending on scope.
Book an estimate online, or call +1 (916) 234-6696 to talk through materials, timing, and the condition of your existing exterior.
Sacramento Permitting, In Plain English
For homes inside the City of Sacramento, permitting and plan review typically run through the Community Development online portal (Accela Citizen Access). For this reason, Applications, payments, and status checks are handled online, and inspection scheduling may be coordinated through the same system depending on the permit type.
Addresses near city limits can fall under a different jurisdiction, so confirm the permitting office early. In addition, That small step keeps inspection dates and job scheduling realistic.
Licensing, Permits, And Quality Checks
A reliable siding contractor should make the technical details easy to verify. As a result, Use this checklist to keep the conversation grounded in workmanship, not sales talk.
- Proof and paperwork: Ask for current licensing and insurance documentation, plus a written scope and payment schedule.
- Permit responsibility: Clarify who pulls permits (when needed) and who schedules inspections.
- Water management: Review flashing at windows/doors, roof-to-wall intersections, and every penetration before installation begins.
- Installation standards: Confirm clearances, fasteners, and joint treatment will follow the selected product’s instructions.
- Final verification: Walk the exterior together and check alignment, trim transitions, caulk joints, and cleanup before sign-off.
Compare Bids With A Clear Scope
Pricing is only meaningful when the scope matches. Additionally, When you collect bids, ask each contractor to spell out these line items so you can compare like-for-like.
- Is the bid a full tear-off or an overlay?
- What WRB and flashing details are included around windows, doors, and roof lines?
- How are sheathing repairs handled (unit price, allowance, or included up to a limit)?
- Are corner boards, trim wraps, and utility blocks included or treated as extras?
- Is painting included, and if so, what primer/paint system is specified?
- How will debris disposal, daily cleanup, and site protection be managed?
- What warranty applies to labor, and what warranty comes from the material manufacturer?
Company Contact
Phone: +1 (916) 234-6696 • Company website
Helpful Links
Frequently Asked Questions
Most full replacements land in the 2 to 6 week range for a single-family home, while one elevation can often be done in 1 to 2 weeks. Weather, inspections, and how much repair work shows up after tear-off can change the timeline.
- Multi-story access and scaffolding needs
- Sheathing and framing repairs once siding is removed
- Window/door flashing revisions
- Finish choice: on-site paint vs factory finish
Labor and prep usually drive the budget more than the board itself. The biggest cost swings come from access and the amount of repair work hidden behind the existing exterior.
- Number of stories, steep grades, tight side yards
- Tear-off and disposal vs installing over existing siding
- Extent of sheathing repair and trim replacement
- Amount of detailed cutting around penetrations and roofs
Sometimes, yes. Many jurisdictions require permits when you replace most of the exterior siding, repair sheathing, add insulation, or change openings. Requirements vary by city and county, so confirm rules for your address before materials arrive.
If your home is in the City of Sacramento, permit applications and plan review commonly run through the Community Development online portal (Accela Citizen Access).
Both can look great, but they behave differently over time. If you want the most traditional appearance and don’t mind maintenance, wood can be the right fit. If you want a stable product with strong durability and fire performance, fiber cement is often the practical choice.
- Choose wood for authentic detail and easy on-site customization.
- Choose fiber cement for stability and long paint cycles when installed to spec.
A good estimate makes it easy to compare bids and understand what you’re paying for. Ask for these items in writing.
- Material type, exposure size, trim package, and finish
- WRB and flashing details (windows, doors, roofs, penetrations)
- Scope for tear-off, disposal, and daily cleanup
- How sheathing repairs are priced (allowance or unit rates)
- Permit handling when required
- Warranty terms for labor and materials
Often, yes—especially during a full re-side. Exterior insulation can improve comfort, and a rainscreen gap can help the wall dry. Both options change wall thickness, which affects trim depth, flashing, and detailing at windows and doors.
Have your contractor confirm the assembly details and any code or inspection requirements before you commit to the added layers.
Licensed, insured & trusted local contractor
US Construction & Remodeling Corp.
9821 Business Park Dr, Sacramento, CA, 95827
Phone: +1 (916) 234-6696
CSLB License #: 1117562 Fully licensed and insured.
Frequently Asked Questions
Most full replacements land in the 2 to 6 week range for a single-family home, while one elevation can often be done in 1 to 2 weeks. Weather, inspections, and how much repair work shows up after tear-off can change the timeline.
- Multi-story access and scaffolding needs
- Sheathing and framing repairs once siding is removed
- Window/door flashing revisions
- Finish choice: on-site paint vs factory finish
Labor and prep usually drive the budget more than the board itself. The biggest cost swings come from access and the amount of repair work hidden behind the existing exterior.
- Number of stories, steep grades, tight side yards
- Tear-off and disposal vs installing over existing siding
- Extent of sheathing repair and trim replacement
- Amount of detailed cutting around penetrations and roofs
Sometimes, yes. Many jurisdictions require permits when you replace most of the exterior siding, repair sheathing, add insulation, or change openings. Requirements vary by city and county, so confirm rules for your address before materials arrive.
If your home is in the City of Sacramento, permit applications and plan review commonly run through the Community Development online portal (Accela Citizen Access).
Both can look great, but they behave differently over time. If you want the most traditional appearance and don't mind maintenance, wood can be the right fit. If you want a stable product with strong durability and fire performance, fiber cement is often the practical choice.
- Choose wood for authentic detail and easy on-site customization.
- Choose fiber cement for stability and long paint cycles when installed to spec.
A good estimate makes it easy to compare bids and understand what you're paying for. Ask for these items in writing.
- Material type, exposure size, trim package, and finish
- WRB and flashing details (windows, doors, roofs, penetrations)
- Scope for tear-off, disposal, and daily cleanup
- How sheathing repairs are priced (allowance or unit rates)
- Permit handling when required
- Warranty terms for labor and materials
Often, yes—especially during a full re-side. Exterior insulation can improve comfort, and a rainscreen gap can help the wall dry. Both options change wall thickness, which affects trim depth, flashing, and detailing at windows and doors.
Have your contractor confirm the assembly details and any code or inspection requirements before you commit to the added layers.


