
Garage Conversion 3D Design (Sacramento): Layout Guide
Seeing a garage conversion on paper can still feel like guesswork. With garage conversion 3d design, you can test layout, storage. And lighting choices before you open walls in a Sacramento home.
TL;DR:Use 3D to lock the layout and utility locations early. Then pick durable finishes that match how you’ll live in the space. When the plan is clear, permitting and construction get simpler.
Quick Checklist:
- Define the use: guest suite, office, rental, or flex room.
- Decide if you need a bathroom and/or kitchenette.
- Map utilities: electrical, plumbing access, and an HVAC plan.
- Choose window and door placement for light and privacy.
- Pick one style direction and keep it consistent.
- Plan storage so the new room stays uncluttered.
- Set a ballpark budget and timing target before plan submittal.
If you want a fast sanity-check on your concept, call Call.
10 Design Ideas Homeowners Actually Use For Garage Conversion 3d Design
| Decision | Why it matters | Quick check |
|---|---|---|
| Scope | Defines what is included and prevents surprises. | Write a line-item scope and allowances list. |
| Site constraints | Access and hidden conditions can change the plan. | Check access and existing surfaces before work starts. |
| Selections | Long-lead items can drive the schedule. | Confirm availability before starting. |
| Permits | Some scopes require approvals and inspections. | Ask your city/county what applies to your project. |
- Start with a purpose-zone plan: Show real-scale furniture in the 3D model so you can also see whether the room actually functions day to day.
- Put storage on one continuous wall: Full-height closets or built-ins keep the room tidy and make the conversion feel like part of the home.
- Design the entry like a real room: A small drop zone (bench, hooks, closed cabinet) prevents clutter from taking over the living area.
- Keep the kitchenette footprint simple: A single-wall or galley setup controls plumbing and electrical runs while still supporting daily use.
- Choose a compact three-quarter bath layout: A walk-in shower, pocket door, and smart vanity storage often fit better than forcing a tub.
- Plan daylight on purpose: Place windows where you’ll actually sit and work, then plan privacy with shades instead of blocking the glass.
- Commit to one ceiling strategy: A clean drywall ceiling with recessed lighting reads finished fast; exposed structure only works when you detail it carefully.
- Build comfort into the mechanical plan: A dedicated mini-split or well-planned ducting usually beats decorative upgrades you’ll stop noticing.
- Use sound control as a design feature: Solid-core doors, insulation, and acoustic choices help the space feel calm, especially when the main house stays busy.
- Hide the tech early: In the rendering, place outlets, data points, and charging niches so you don’t rely on extension cords later.
Most homeowners want the conversion to look intentional, not like a garage with new paint. Meanwhile, Clarity solves that: decide what the room must do every day, then let the 3D plan prove it works.
This guide is for Sacramento homeowners who want to reduce surprises—layout conflicts, awkward door swings. As a result, And last-minute finish changes that drive delays.
Choose A Style Direction (Modern, Warm, Classic)
A consistent style direction keeps your selections focused. In addition, A garage conversion 3d design rendering is the right place to test big visual moves—floor tone, cabinet style. And lighting temperature—before you buy materials.
- Modern: clean lines, simple trim, flatter cabinet fronts, and fewer mixed metals.
- Warm: natural wood tones, softer whites, textured fabrics, and lighting that leans slightly warmer.
- Classic: balanced trim profiles, timeless hardware shapes, and neutral finishes that won’t date quickly.
Limit your palette to one main finish (floor + wall) and one accent (hardware or tile). That constraint makes the room feel cohesive, and it also speeds up quoting.

Layouts That Improve Flow And Storage For Garage Conversion 3d Design
Good 3D visuals start with an efficient plan. Additionally, When you can walk the room in your head—from entry to seating to storage—you avoid the most expensive changes.
Choose The Core Plan
Pick the layout that matches daily use, not rare occasions. These patterns cover most conversions:
- Open studio: One flexible space with a defined sleeping zone and a clear living zone.
- One-bedroom: Adds privacy with a real door and closet; helpful when guests stay over or when you plan long-term use.
- Work-first plan: Keeps the center open for a desk, workout area, or hobby space, with storage wrapping the perimeter.
In your garage conversion 3d design model. For example, Draw the paths people take: entry to seating, seating to bath, bath to closet. If those paths cut through furniture, tighten the plan before you price the build.
Kitchenette Layouts That Stay Functional
If you include a kitchenette, the layout shape determines how cramped (or calm) it feels:
- Galley: Two opposing runs; efficient for cooking, but you need enough aisle width to pass comfortably.
- L-shape: Great when you can’t spare a full wall; it also leaves room for a small dining table.
- U-shape: Maximum counter space in a compact footprint; it can feel tight without good lighting.
- Island-centered: Works only when the room has enough depth; otherwise, it steals circulation space.
Bath Placement Without Wasted Square Footage
A walk-in shower often gives you the best function per square foot. Overall, Use 3D to confirm door swings, towel storage, and where the toilet sits so the room doesn’t feel squeezed.
How Sacramento Conversions Typically Move From 3D To Permits
- Measure + feasibility: Confirm the slab, framing, and utility access so the 3D plan matches reality.
- Concept options: Test two or three layouts in 3D (studio vs one-bedroom, bath location, kitchenette footprint).
- Permit drawings: Convert the concept into a scaled plan set that addresses structural, energy, and life-safety requirements.
- Plan review + revisions: In Sacramento, plan review and status checks commonly run through the City’s Community Development portal (Accela Citizen Access).
- Build + inspections: Construction follows approved plans, with inspections scheduled at required milestones.
Finishes That Look Good Longer (Practical Picks)
Finishes matter most when they solve real problems: durability, easy cleaning, and a look that stays current. For this reason, Use 3D to see how materials meet at transitions—floor to baseboard. Shower tile to paint, countertop to backsplash—because those seams define finished.
Floors, Cabinets, Counters, Tile, Fixtures
Flooring:Luxury vinyl plank handles wear and moisture well; tile gives you the hardest surface. Also, Engineered wood looks warm but needs careful moisture management. Choose one flooring across the main room when possible to make the conversion feel bigger.
Cabinet door styles:Shaker doors work in modern, warm, or classic schemes; slab doors read modern and clean. In addition, Raised-panel doors lean traditional but can feel busy in small spaces.
Countertops:Quartz stays low-maintenance and consistent; solid-surface offers seamless backsplashes. For this reason, Laminate costs less and works well in clean, simple designs; butcher block adds warmth but needs regular care.
Tile and wet-area finishes: In showers, use larger-format tile to reduce grout lines, and pick a slip-aware floor tile. In addition, For walls outside the shower, a washable satin paint often performs better than flat paint.
Layered lighting: Plan ambient (general), task (work areas), and accent (sconces or under-cabinet) lighting together so the room looks good in renderings and feels comfortable at night.

Small Details That Change The Feel (Lighting/Hardware)
US Construction & Remodeling Corp. Overall, helps Sacramento homeowners use garage conversion 3d design to make buildable decisions—layout, lighting, and finishes—before construction starts.
Talk it through by phone: Call Call, or Free estimate to schedule a site visit.
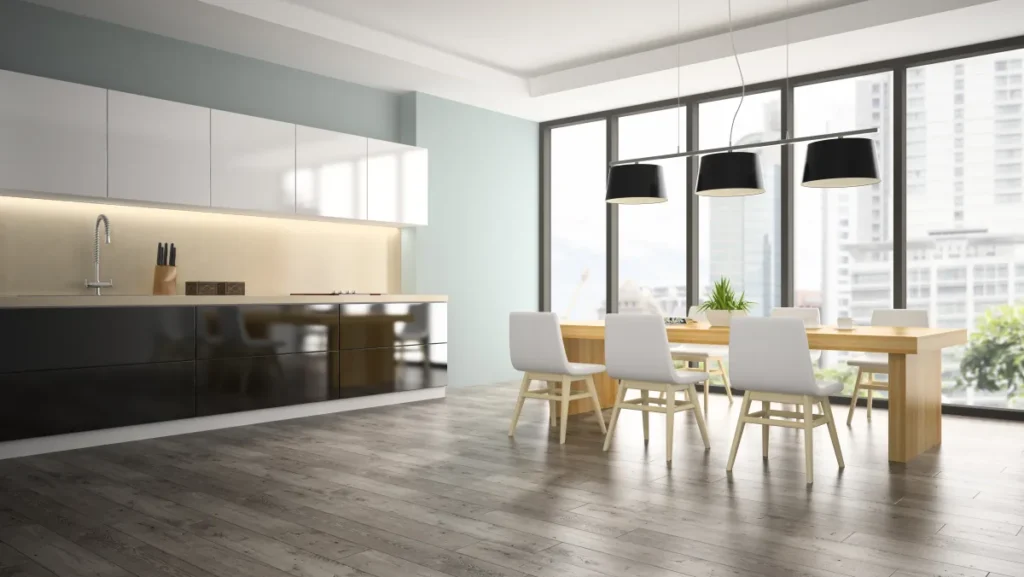
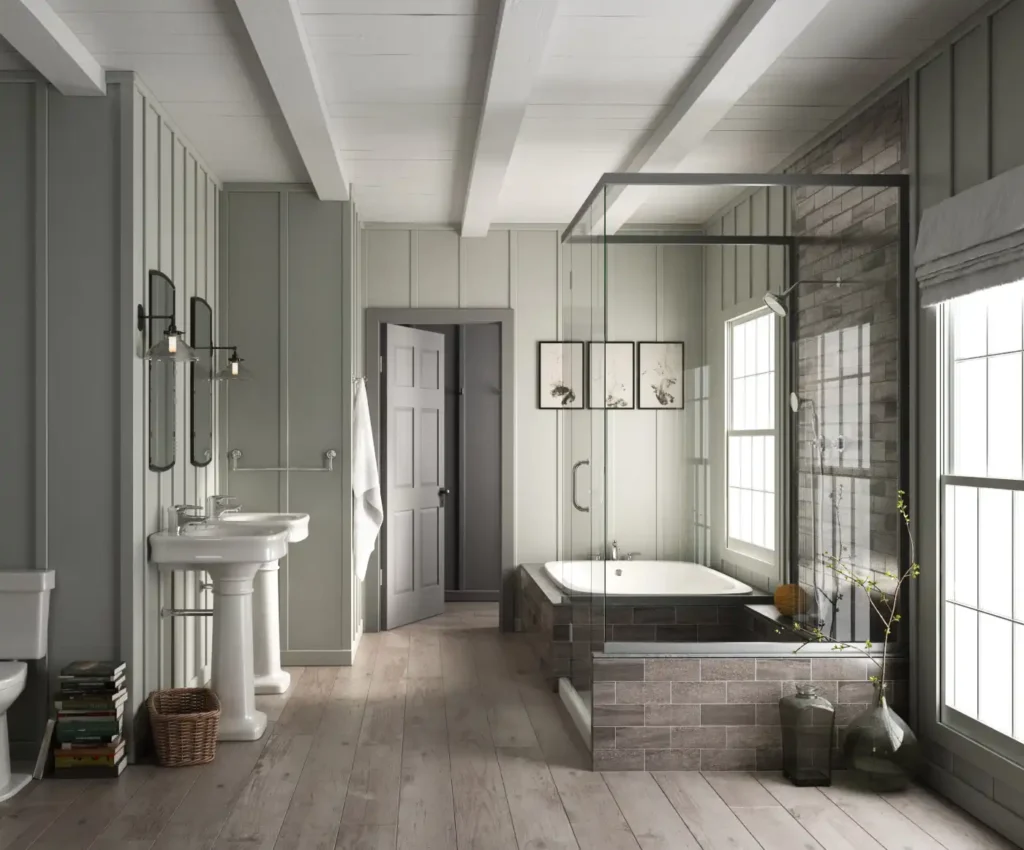
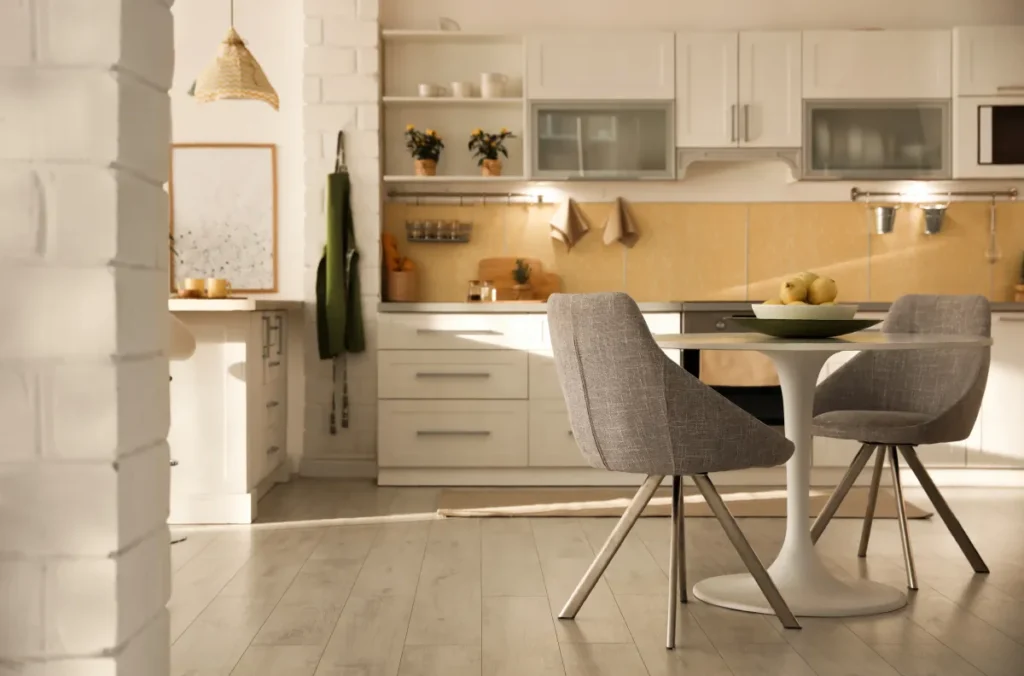
Lighting That Reads Finished
Start with a clean ceiling lighting grid, then add task lighting where you work (desk. Overall, Kitchenette) and soft accent lighting where you relax. In 3D, check glare: a light directly over a TV or monitor can look fine on screen but feel harsh in real life.
Match color temperature across fixtures. Overall, Mixing warm and cool bulbs in a small room makes surfaces look inconsistent.
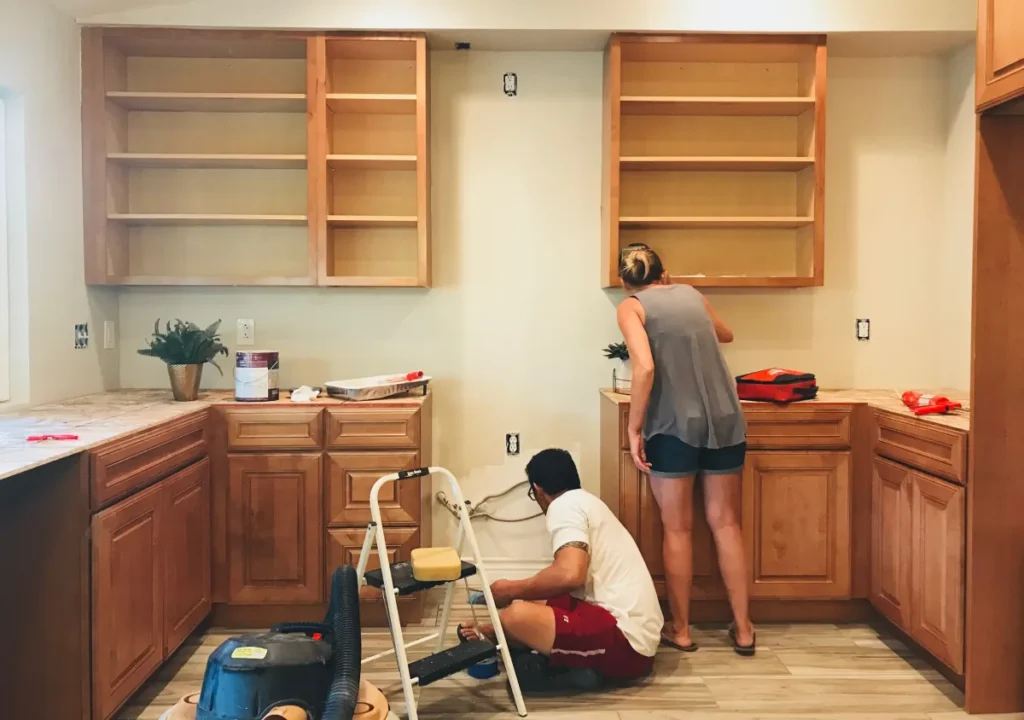
Hardware, Doors, And Trim: Keep It Consistent
Pick one hardware finish and repeat it. As a result, Use the same door style and trim profile as the main house when you want the conversion to feel integrated.
Space-saving doors matter. Overall, Pocket and sliding doors can free up floor area. But plan the wall framing early so the 3D design reflects the real rough-in.
Comfort Details People Notice Daily
- Sound control: Add insulation and solid doors where you need privacy.
- Ventilation: If you add a bath, plan the fan path early so it doesn’t fight the ceiling design.
- Storage lighting: A simple closet light or LED strip keeps storage usable, not dark.
Budget & Timeline Snapshot (Typical)
Use this snapshot for early planning. Meanwhile, Your real budget depends on plumbing additions, electrical capacity, window and door changes, and finish level.
Budget Ranges & Timeline (Typical)
- Concept + plans: about 2–6 weeks, depending on how many 3D options you want to explore.
- Permits + plan review: often 4–12+ weeks; timing varies with scope and review cycles.
- Construction: commonly 6–12 weeks once permits are approved and materials are on site.
- Ballpark budget: many garage conversions land roughly $50,000–$200,000+ depending on bathroom/kitchenette and utility work.
| Decision | Good default | What changes cost or timeline |
|---|---|---|
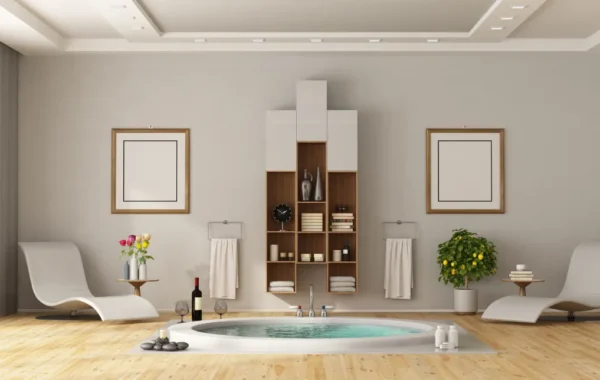
| Bathroom scope | Three-quarter bath with walk-in shower | Relocating drains, premium tile, custom glass, upgraded fixtures |
| Kitchenette layout | Single-wall or galley | Island adds depth needs; moving plumbing far from existing lines |
| Heating and cooling | Dedicated mini-split | Electrical upgrades, extended ducting, added zones |
| Windows and doors | One large window + insulated entry door | Reframing openings, specialty sizes, upgraded glazing |
Common Mistakes That Cause Redesigns
- Rendering an ideal layout without confirming where utilities can realistically run.
- Forgetting storage, then adding bulky wardrobes that block natural light.
- Skipping a lighting plan and relying on one ceiling fixture for the entire room.
- Choosing delicate wall paints or high-gloss floors that show every scuff.
- Underestimating the impact of door swings, especially around bathrooms and closets.
ROI & Resale: What Buyers And Appraisers Notice
Conversions tend to show better when they look like intentional living space: consistent ceiling height, continuous flooring, real closets. And comfortable heating and cooling. Permitted work and clean documentation also matter at resale because they reduce buyer uncertainty.
If you still need storage, build it in. Overall, A well-designed closet wall or small storage room often protects resale value better than an all-open layout with nowhere to put seasonal items.
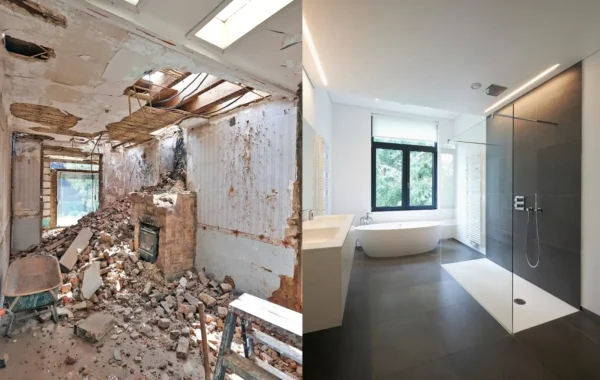
Before/After (Anonymized Example)
Hypothetical example: A homeowner wants a guest-ready space without making the room feel cramped.
Before: The garage has open framing, a single bare bulb, and scattered storage. For example, The only plan is a couch against one wall, which blocks the best location for a future window.
After:The 3D plan shifts storage into a full-height closet wall, adds a small kitchenette in a galley layout. And places a three-quarter bath near existing utilities. Recessed ambient lights plus a pair of sconces make the room feel like a studio, not a garage.
Takeaway: The rendering isn’t just for looks—it’s a coordination tool that keeps layout, lighting, and finishes aligned before construction starts.
Helpful Links
Related reading
Frequently Asked Questions
Most garage conversions that create habitable space require permits and inspections. The City of Sacramento typically handles applications and plan review through its Community Development online portal, so you can track status and revisions.
A contractor or designer can confirm the exact requirements once you share the scope (bathroom, kitchenette, structural changes, new windows or doors).
3D renderings help you make decisions, but permit approval usually requires scaled construction drawings (plans, details, and notes). Treat the 3D model as the decision layer, then convert it into a permit plan set.
- Keep utility locations consistent between the rendering and the drawings.
- Document materials and fixture sizes so the plan set matches what you intend to build.
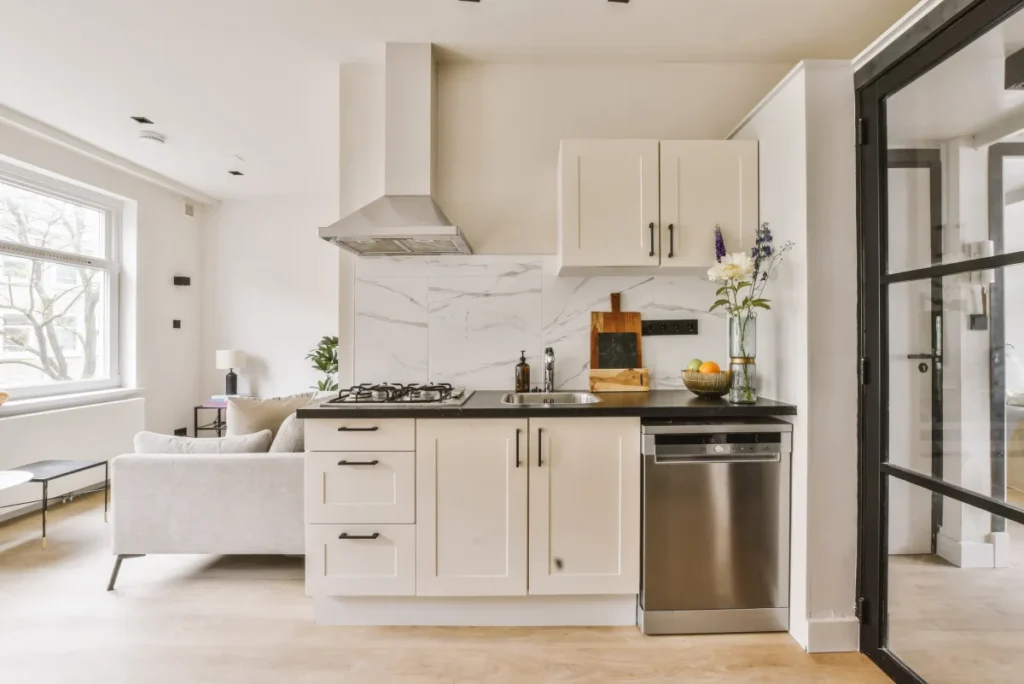
Start with a clear spine for storage and utilities, then keep the center open for living. A studio layout with a galley kitchenette and a compact three-quarter bath often feels larger than a plan with too many partitions.
Use a single wall or L-shape, size the appliances appropriately, and plan tall pantry storage instead of extra base cabinets. In 3D, test clearances with doors and drawers open so you don’t block circulation.
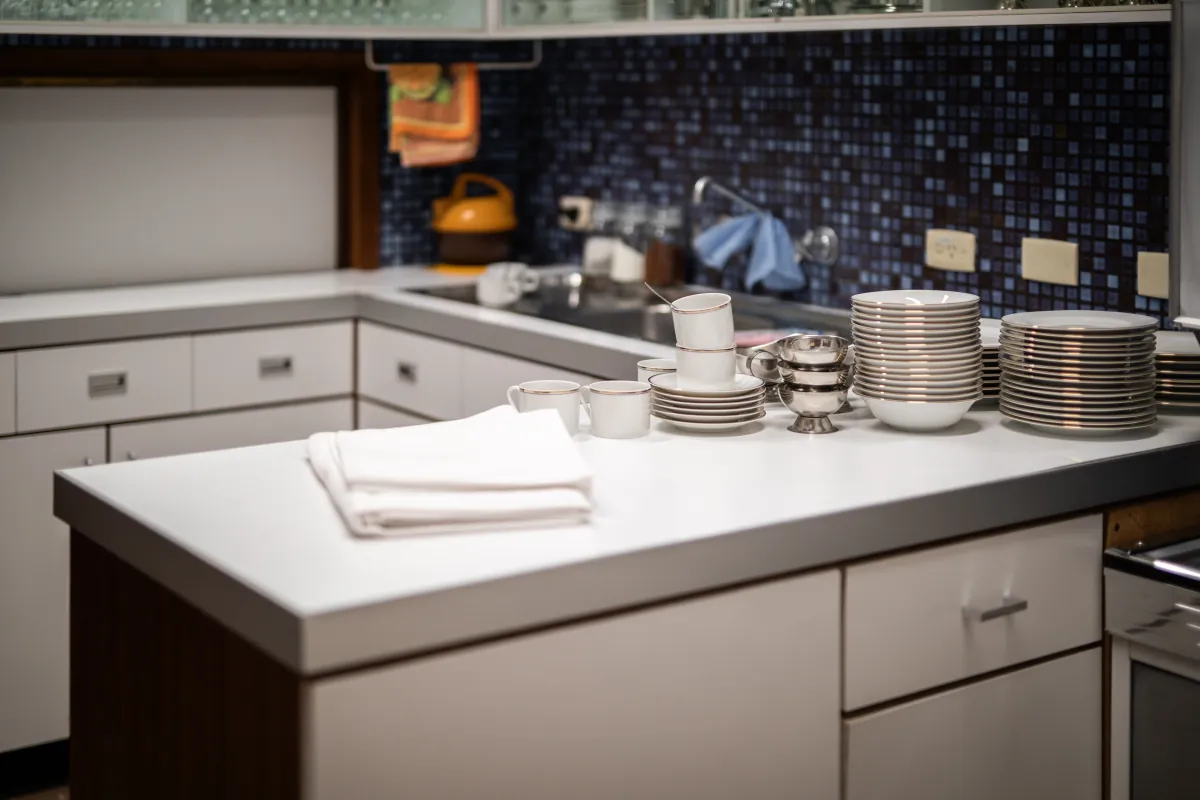
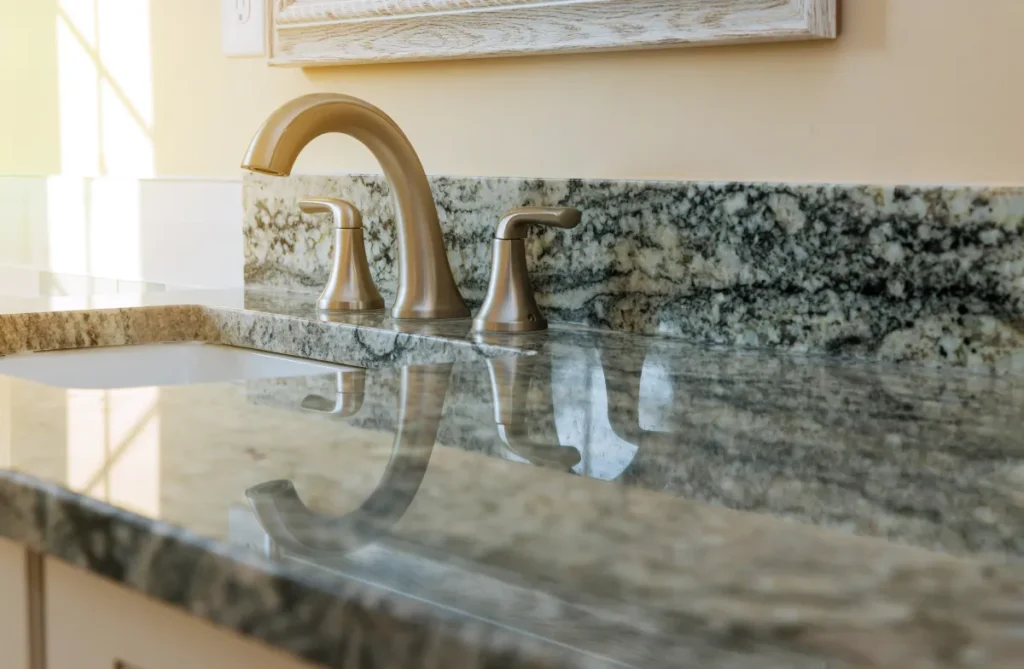
Durability usually comes from simple, proven materials:
- Flooring: quality luxury vinyl plank or tile for easy cleaning.
- Cabinets: Shaker or slab doors with sturdy hinges.
- Counters: quartz or solid-surface for low maintenance.
- Paint: washable satin on walls, moisture-resistant finishes in wet areas.
Yes—when you use garage conversion 3d design to lock the layout and finishes early, you reduce mid-project changes that create labor and material waste. The key is to tie the rendering to real dimensions and to document the selections you plan to install.
If you want a quick budget reality check, call Call.
Licensed, insured & trusted local contractor
US Construction & Remodeling Corp.
9821 Business Park Dr, Sacramento, CA, 95827
Phone: +1 (916) 234-6696
CSLB License #: 1117562 Fully licensed and insured.
Related articles
- Roofing Contractor in Arden: Homeowner Checklist
- Kitchen Remodeling Cost in Placer: Budget Ranges + Timeline
- Roofing Permit Requirements In Arden


