Skip links

Kitchen Remodel 3D Ideas: Layout Planning Guide

A good kitchen plan feels obvious when you live in it, but it rarely looks obvious on paper. With kitchen remodel 3d design, you can test traffic, clearances, and sight lines before you commit to cabinets or move plumbing.

Quick checklist:

  • Define the scope and your must-have outcome (performance, budget, timeline).
  • Confirm what work is involved and the order of operations.
  • Finalize measurements and key selections before ordering long-lead materials.
  • Collect 2–3 quotes and compare line-by-line (scope, allowances, cleanup, warranty).
  • Create a simple schedule and pre-order the items that most often cause delays.

This guide shows practical 3D-driven decisions that stay realistic for California budgets and timelines. TL;DR: Build your layout in 3D and check clearances, storage zones, and lighting layers. Choose materials from real specs so pricing and lead times stay accurate.

  • Sketch the room and note doors, windows, and soffits.
  • List must-keep items: appliances, sink location, pantry needs.
  • Choose a layout to compare in 3D: galley, L-shape, U-shape, or island-centered.
  • Pick a cabinet door style direction (Shaker, slab, or raised panel).
  • Decide your countertop and flooring priorities (durability, maintenance, budget).
  • Plan lighting in layers: ambient, task, and accent.

Practical Ideas To Consider For Kitchen Remodel 3d Design

DecisionWhy it mattersQuick check
ScopeDefines what is included and prevents surprises.Write a line-item scope and allowances list.
Site constraintsAccess and hidden conditions can change the plan.Check access and existing surfaces before work starts.
SelectionsLong-lead items can drive the schedule.Confirm availability before starting.
PermitsSome scopes require approvals and inspections.Ask your city/county what applies to your project.
  • Model appliance and door swings (fridge, also dishwasher, oven) so openings never collide.
  • Build clear landing zones beside the sink, cooktop, and fridge for real daily use.
  • Try an island-centered plan, then test it against a no-island version for traffic flow.
  • Use a coffee or beverage station to keep guests out of the main prep zone.
  • Choose one focal point (hood wall, backsplash, or countertop) and simplify the rest.
  • Layer lighting early: ambient, under-cabinet task, and a modest accent layer.
  • Specify outlet locations in the model to avoid awkward backsplash cuts and visual clutter.
  • Plan hardware and faucet finishes as a set (brushed nickel, chrome, matte black, or mixed metals).
  • Extend cabinet heights or add glass uppers selectively to balance storage and openness.
  • Pick a flooring direction that can handle water and dropped pans, and confirm how it meets adjacent rooms.

Use these ideas as variables in your model, not just inspiration. As a result, When you view the same kitchen remodel 3d design from multiple angles, the best choices usually become the ones that keep walkways clear, prep space open, and storage intentional.

Storage Optimization You Can Model In 3D

3D planning works best when you assign every cabinet a job. Overall, Instead of guessing, map storage to zones: prep, cooking, cleanup, and pantry.

  • Deep drawer stacks for pots, pans, and small appliances (often easier than base cabinets with shelves).
  • Pull-out trash and recycling near the main prep area.
  • Tall pantry options: roll-outs, tray dividers, or a mix of open shelves and drawers.
  • Corner solutions (lazy Susan or pull-outs) that match how you actually reach into the space.
  • Appliance garage or a dedicated landing counter to keep cords and clutter off the main run.
  • Ceiling-height uppers where the room can handle it; use the top shelf for seasonal items.

If the 3D view shows crowded aisles or blocked doors, treat that as a design constraint, not a minor annoyance. For example, Fixing circulation on screen is far cheaper than fixing it after cabinets arrive.

kitchen flooring man woman sit kitchen choose recipe

What To Prioritize First (Function Vs Style) For Kitchen Remodel 3d Design

Style gets attention, but function makes the kitchen feel calm every day. Additionally, Start by deciding how many people cook, where you drop groceries, and which paths must stay open.

Galley, L-Shape, U-Shape, And Island-Centered

In 3D, compare layouts by how they handle traffic and how they concentrate your work zones.

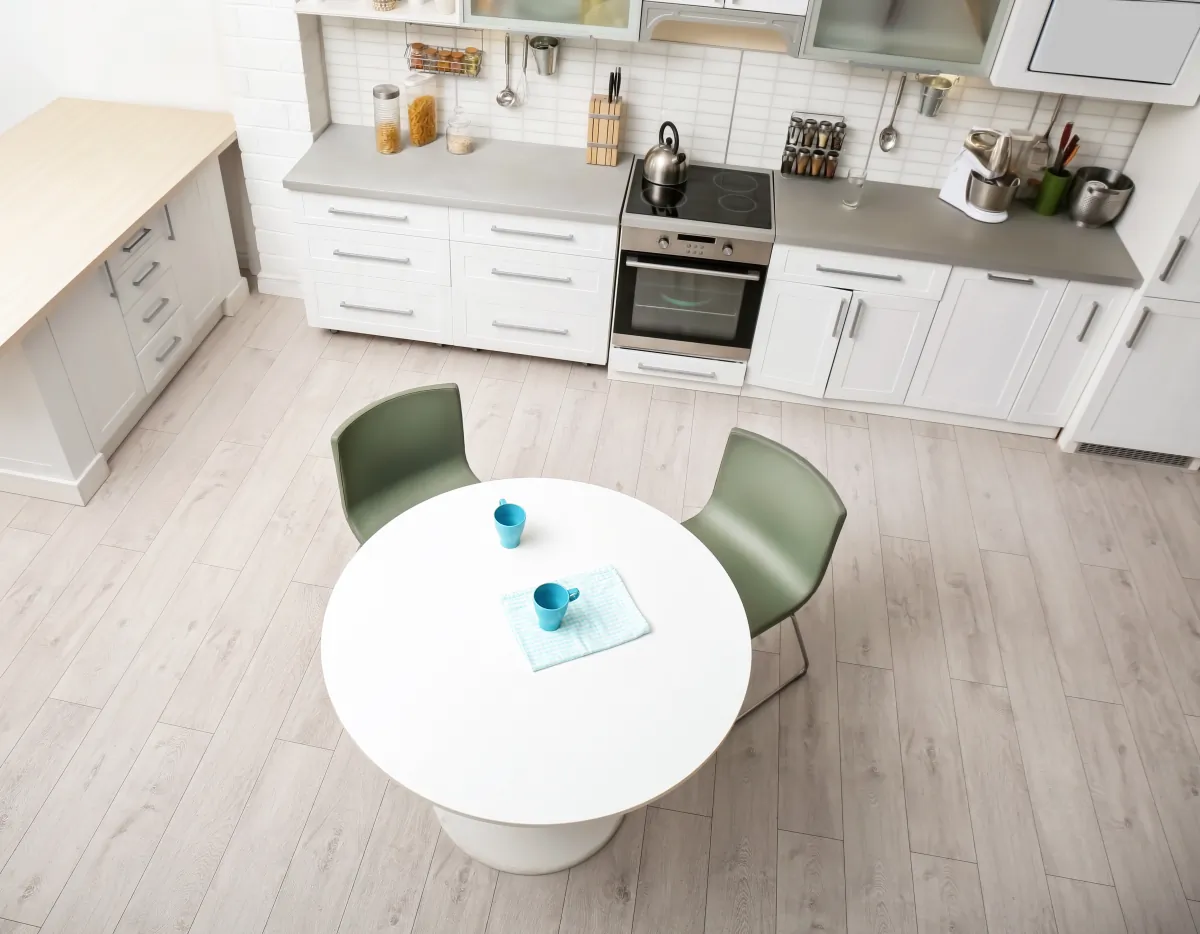
  • Galley: Great for narrow rooms and serious cooks; keep the two runs aligned and avoid putting seating in the main aisle.
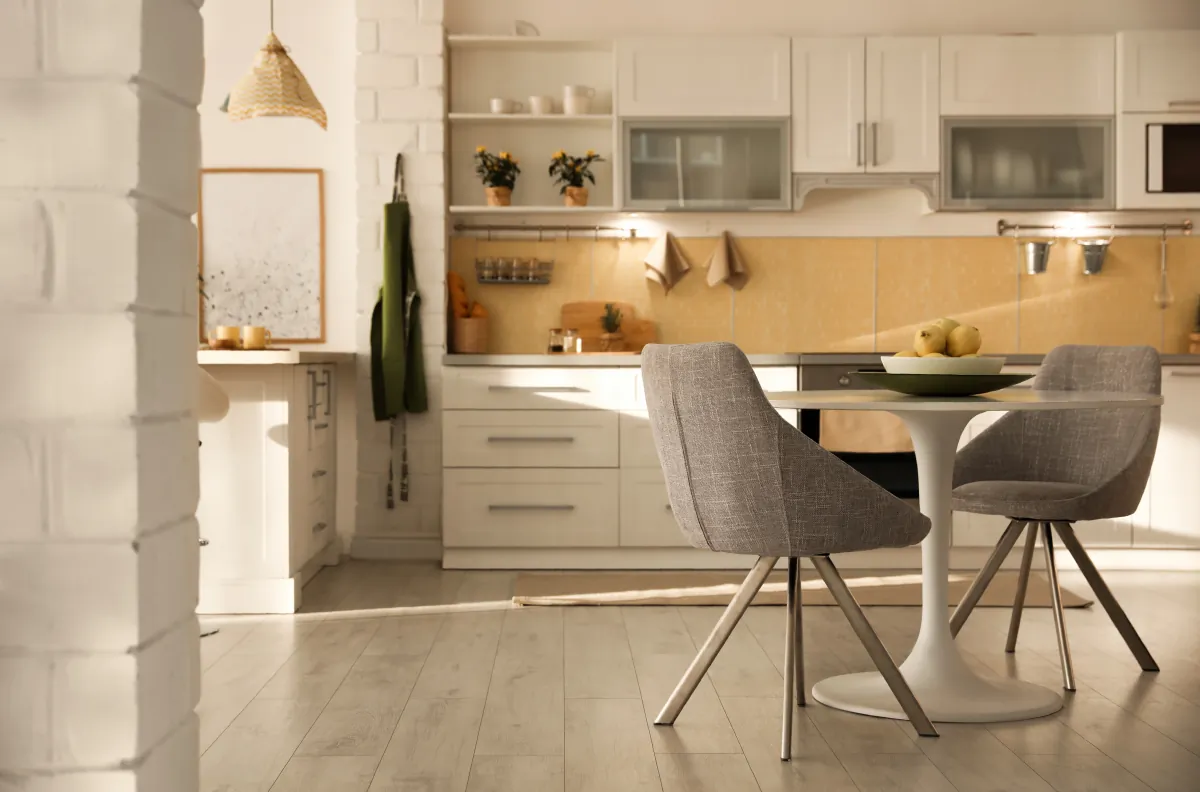
  • L-shape: Flexible for open plans; it leaves one side open for an island or dining, while keeping prep and cleanup close.
  • U-shape: Maximizes counter and storage; it works best when one leg stays short enough to prevent a closed-in feel.
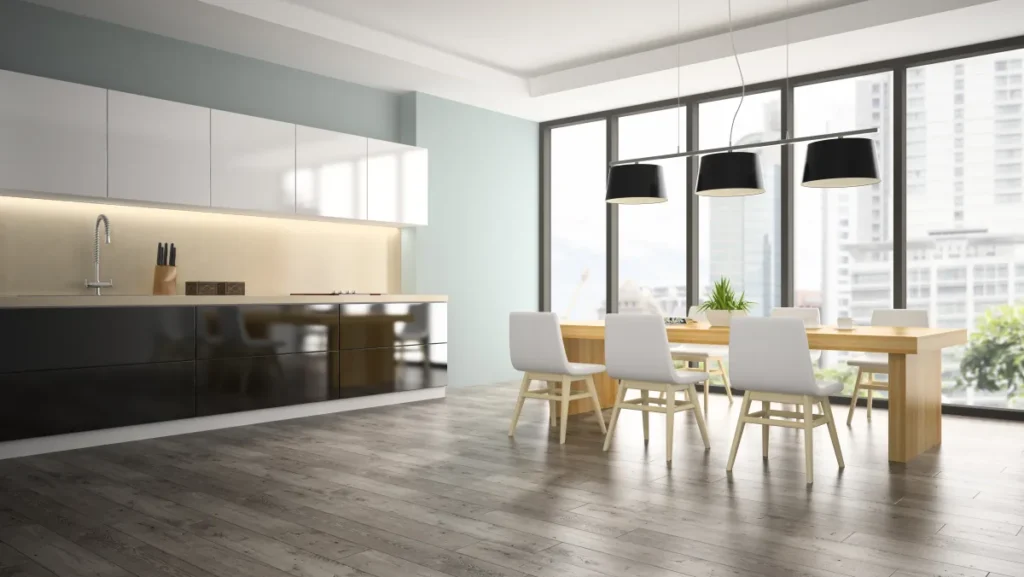
  • Island-centered: Strong for entertaining and storage, but only if walkways stay clear and appliance doors can open fully.

When you evaluate a kitchen remodel 3d design, treat the invisible items as first-class decisions: venting, trash pull-out location, landing space, and where small appliances live.

Hypothetical Before-And-After Walkthrough

Hypothetical example: A homeowner starts with a tight kitchen where the fridge blocks the main counter run and the dishwasher opens into the walkway. Also, In the 3D model, they test a simple swap: move the fridge to an end wall, widen the primary prep zone, and add a narrow island with storage instead of a deep peninsula.

The after plan feels bigger without adding square footage because the paths stay open, the sink gets a real landing counter, and storage moves closer to where it's used. In addition, That kind of improvement usually comes from small layout moves, not expensive finishes.

From 3D Plan To Construction

A 3D concept becomes buildable when you translate it into specs, drawings, and a coordinated scope for each trade.

  1. Share goals, constraints, and inspiration photos (including what you dislike).
  2. Verify existing conditions on site so the model matches the real room.
  3. Create 3D layout options and choose the one that solves traffic and storage.
  4. Select cabinet style, countertop type, sink/faucet, and tile so dimensions and cuts are known.
  5. Confirm electrical and plumbing updates, plus any permit requirements for your city or county.
  6. Schedule materials with lead times in mind, then start demo and rough-ins.
  7. Install cabinets, counters, backsplash, flooring, and fixtures; finish with a punch-list check.

Material & Fixture Combinations That Work

Materials should match the way you live. For this reason, A kitchen that looks great in renderings still needs surfaces that resist stains, heat, and daily cleaning. Additionally, When you compare kitchen remodel 3d design options, think in terms of maintenance and replacement, not just color.

Cabinets, Counters, Tile, Fixtures

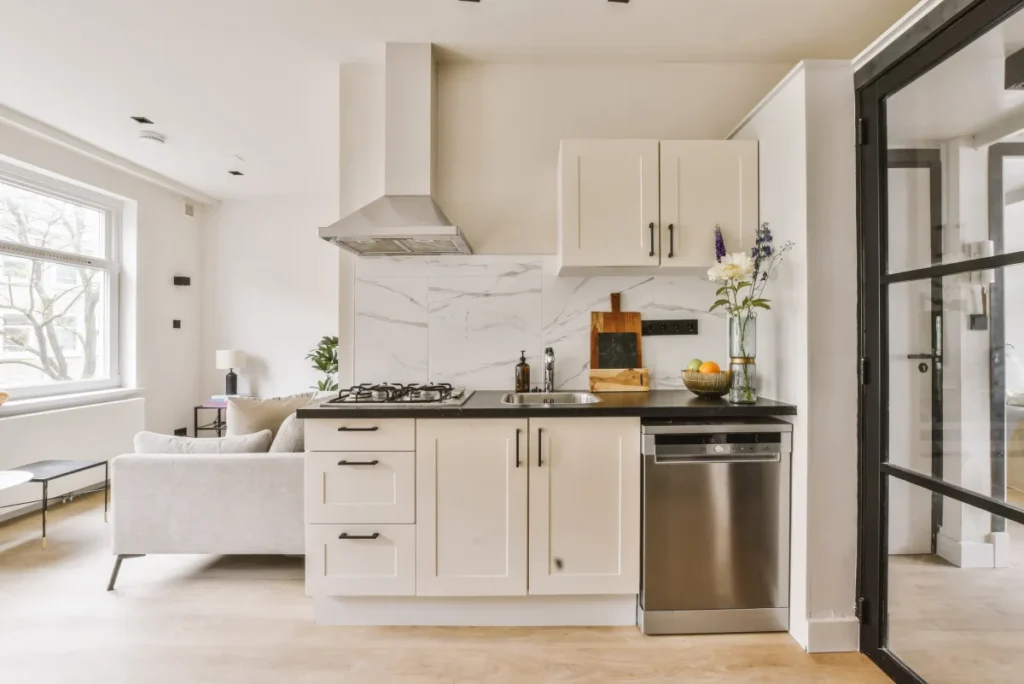
Cabinets and door styles

  • Shaker: Timeless, easy to pair with most countertops and hardware; great for resale-minded choices.
  • Slab/flat-panel: Clean and modern; fingerprints show more on high-gloss finishes, so pick sheen carefully.
  • Raised panel: Traditional look; can feel busy in small kitchens, but works well with simpler counters.

Painted cabinets brighten a space, while stained wood can hide wear and add warmth. Meanwhile, In 3D, check how your cabinet color looks under your lighting plan, not just in daylight.

Countertop options

  • Quartz: Consistent patterns and low maintenance; avoid placing hot pans directly on the surface.
  • Granite: Natural variation and strong heat resistance; seal as recommended to reduce staining.
  • Porcelain slab: Durable and heat-friendly with a modern look; edges and fabrication details matter.
  • Butcher block: Warm and forgiving; needs regular care and works best away from heavy water exposure.
  • Laminate: Budget-friendly and improved in recent lines; seams and edge details are the trade-off.

Flooring choices

  • Porcelain tile: Tough and water-resistant; can feel hard underfoot without anti-fatigue mats.
  • LVP: Comfortable and quick to install; choose a quality wear layer and manage transitions well.
  • Engineered wood: Adds warmth; protect it near sinks and keep cleanup habits realistic.

Layered lighting (ambient, task, accent)

Good lighting solves half the 'my kitchen feels small' problem. Use ambient lighting for overall brightness, add task lighting at counters, and include a modest accent layer (toe-kick or in-cabinet) for depth.

Material pairings that stay current without trying too hard often follow a simple rule: keep one element bold and keep the rest quiet. For example, Here are a few combinations that translate well from 3D to real life:

Planning Notes And What To Expect

  • White Shaker cabinets + warm quartz + brushed nickel hardware + soft under-cabinet lighting.
  • Light wood lowers + matte white uppers + thin-profile pulls + large-format tile backsplash.
  • Slab cabinets in a satin finish + porcelain slab counter + minimal grout backsplash for easier cleaning.
  • Painted perimeter cabinets + a contrasting island + durable LVP + simple pendant accents.

Common Mistakes To Avoid

Most kitchen regrets come from decisions that seemed small during design. For example, A 3D model helps, but only if you use it to test real behavior.

  • Choosing an oversized island that looks great but pinches walkways and blocks appliance doors.
  • Forgetting the landing space next to the fridge, sink, or cooktop, which creates daily clutter.
  • Underestimating electrical needs (small appliances, charging, and dedicated circuits).
  • Picking a backsplash pattern without planning outlet and switch placement.
  • Locking in finishes before confirming cabinet sizes, filler panels, and trim details.
  • Assuming every change is minor after demo; moving plumbing or walls can trigger permits and inspections.

If you're using kitchen remodel 3d design to plan the build, treat each revision as a cost-control tool. Meanwhile, When you resolve conflicts on screen, you avoid change orders and delays in the field.

kitchen flooring modern kitchen interior security cctv camera view

Budget Ranges And Timeline (Typical)

US Construction & Remodeling Corp. Overall, helps homeowners turn a kitchen remodel 3d design concept into a buildable plan with clear specs, realistic allowances, and a scope that accounts for permits when required. As a result, Based in Sacramento, we take on Kitchen Remodeling projects across our California service areas.

Call +1 (916) 234-6696 for a quick consult, or Free estimate and share your inspiration and rough dimensions.

Budget Ranges & Timeline (Typical)

  • Planning + selections: often 2-6 weeks, depending on how quickly you decide on cabinets, counters, and appliances.
  • On-site build time: roughly 3-6 weeks for a refresh; 6-12+ weeks for a full remodel with layout and trade updates.
  • Budget ranges: a wide spread is normal, about $25k-$50k for a basic refresh, $50k-$100k for mid-range, and $100k+ for full remodels. As a result, Your exact scope sets the number.
  • Big cost drivers: cabinet level, countertop material, moving plumbing/electrical, and any wall or window changes.
DecisionWhat it affectsWhat to confirm in 3D
Layout changesLabor, permits, inspectionsTraffic paths, door swings, landing zones
Cabinet build levelCost, lead time, storage optionsExact widths, drawer stacks, filler panels
Countertop materialBudget, maintenance, seamsEdge profile, overhangs, sink cutout
Lighting + electricalFunction, comfort, rework riskAmbient/task/accent locations and switch plan
Appliance choicesClearances, power, ventingModel numbers, opening arcs, ventilation path

Where To Spend, Where To Simplify

Resale value depends on buyer taste, but you can protect ROI by prioritizing function and durability over trendy details. For example, In most markets, buyers notice storage, lighting, and finish quality more than a complicated pattern.

  • Keep the layout intuitive and the work zones efficient; awkward circulation hurts daily use and resale.
  • Choose durable, easy-clean surfaces for the work areas (countertops, sink, and flooring near water).
  • Spend on lighting and ventilation; a bright, odor-controlled kitchen feels higher-end immediately.
  • Limit statement materials to one focal area so the kitchen ages well.

Local Notes For Sacramento Homeowners

If your kitchen remodel changes plumbing, electrical, walls, or ventilation, Sacramento may require permits and inspections. Additionally, Many residential permit steps in Sacramento run through the city's online portal (Accela Citizen Access), so you can typically submit plans, pay fees, and track status online.

  • Expect more review time when you move walls, relocate plumbing, or change windows/doors.
  • Bring appliance specs and a clear lighting plan; those details help avoid rework during inspections.
  • If you're outside Sacramento, check your local city or county building department for the correct online portal and submittal rules.

Helpful Links

Related Service Page

Frequently Asked Questions

Start with a measured room outline (walls, windows, doors), plus the exact appliance models you plan to install. Then add cabinet widths, filler panels, and clearances so the 3D view matches what can actually be built.

  • Appliance model numbers and sizes
  • Sink size, faucet type, and any accessories
  • Vent hood type and venting path
  • Lighting plan (ambient, task, accent) and switch locations
  • Flooring thickness and transitions to nearby rooms

Use the 3D model to compare traffic and work zones, not just looks. The best layout keeps the main path clear while giving you uninterrupted counter space where you prep and clean up.

  • Choose galley when the room is narrow and you want efficient two-run work zones.
  • Choose L-shape when you want an open side for dining or an island.
  • Choose U-shape when you need maximum counter and storage in a compact footprint.
  • Choose island-centered only when you can maintain comfortable walkways on all sides.

Shaker doors are the safest long-term choice because they fit traditional and modern finishes. Slab doors can look great in contemporary kitchens, while raised-panel doors lean more traditional and can feel busy in smaller spaces.

Use the model to verify how the kitchen moves when everything is open at once. Small conflicts often show up when you overlay door swings and daily routines.

  • Walkway width around the island and between cabinet runs
  • Fridge and dishwasher doors opening without blocking the main path
  • Landing space next to the sink, cooktop, and fridge
  • Drawer and pull-out clearance at corners and near doorways

It depends on scope. Projects that change plumbing, electrical, walls, windows/doors, or ventilation often require permits and inspections through your local city or county. A licensed contractor can help you confirm what applies to your address and plans.

Yes. We can review your goals, verify field conditions, and help translate the 3D layout into real-world selections, drawings, and a construction-ready scope. Call +1 (916) 234-6696 or Free estimate.

Licensed, insured & trusted local contractor

US Construction & Remodeling Corp.
9821 Business Park Dr, Sacramento, CA, 95827
Phone: +1 (916) 234-6696

CSLB License #: 1117562 Fully licensed and insured.

View our Google Business Profile

Start with the pillar guide

For a complete overview (scope, timeline, and planning tips), see our main page: 3D Visualization & Design Confidence.

Related articles

Leave a comment

This website uses cookies to improve your web experience.
Explore
Drag