Skip links

Bathroom Remodel 3D Design: Tile, Fixtures & Lighting Preview

Choosing tile and lighting from thumbnails is risky. A bathroom remodel 3d design lets you preview how tile, fixtures, and lighting look together before you commit.

Quick checklist:

  • Define the scope and prioritize daily function (shower, storage, ventilation).
  • Confirm what trade work is involved (plumbing, electrical, drywall) and the order of work.
  • Choose finishes that hold up in wet areas and are easy to clean.
  • Collect 2–3 quotes and compare line-by-line (scope, allowances, cleanup, warranty).
  • Decide what needs to be ordered first (tile, fixtures, vanity) to keep the schedule moving.

TL;DR: Build a simple 3D model, lock the layout, and test a tight set of finishes under realistic light. You make faster decisions and avoid expensive rework.

  • Confirm what stays: tub vs shower, vanity size, toilet location
  • Measure the room and note ceiling height, windows, and door swing
  • Pick one main tile + one accent tile, then choose grout color
  • Select a fixture finish and repeat it across trim and hardware
  • Plan layered lighting (ambient, task, accent) with dimmers
  • Collect photos and priorities before requesting a written estimate

Tile, Fixtures, And Lighting Preview: Modern Choices Without Over-Complicating It For Bathroom Remodel 3d Design

DecisionWhy it mattersQuick check
Wet-area finishesWet zones need durable, easy-clean surfaces.Choose materials rated for bathrooms and simple maintenance.
VentilationHelps prevent humidity and long-term damage.Confirm fan sizing and vent routing.
LayoutGood layout improves daily usability.Verify clearances and door swings.
Budget controlKeeps scope creep from blowing up the price.Use allowances and a written change-order process.
  • Choose one shower wall hero tile and keep the rest calm
  • Use large-format porcelain on walls to reduce grout lines
  • Pick grout on purpose: match for seamless, also contrast for pattern
  • Preview two metal finishes at most and repeat them throughout
  • Decide on shower glass style early (panel vs enclosure)
  • Place vanity sconces at face height to cut down shadows
  • Add a niche or ledge and preview trim, tile wrap, and spacing
  • Layer lighting: dimmable ambient plus vanity task plus a soft night light
  • Favor drawer-heavy vanity storage and preview pull sizes
  • Test warm vs neutral white bulbs (about 2700-3000K) on your tile

3D previews work best when you limit options. Meanwhile, Instead of 15 tiles, pick two or three and test them at full scale. Then check how fixture finishes and light color shift the look from day to night.

This approach fits homeowners who want modern updates without overthinking every detail. For this reason, You see the whole room, spot conflicts early, and price the scope with fewer unknowns. Use the bathroom remodel 3d design as a decision filter, not a decoration contest.

bathroom

What To Upgrade First (High Impact) For Bathroom Remodel 3d Design

A 3D preview is only helpful if it drives decisions. In addition, Start with the layout and the hard-to-change rough-ins, then use finishes to support those choices. That keeps the tile, fixtures, and lighting preview realistic.

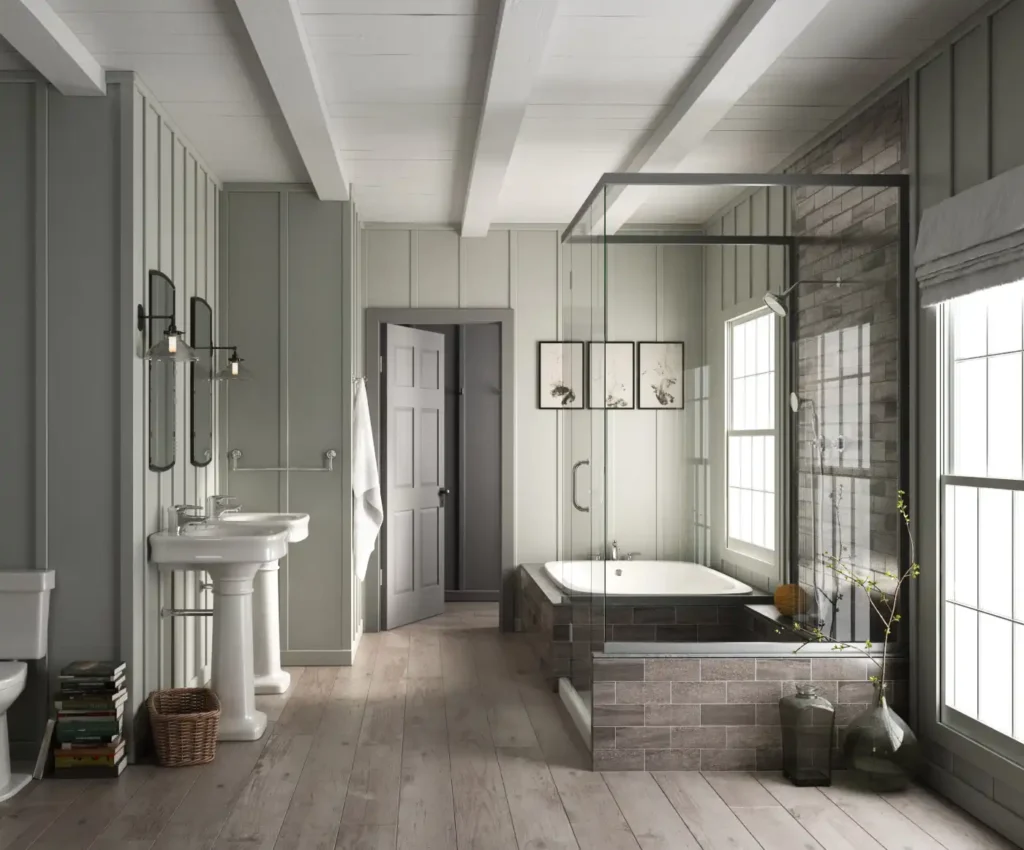
Layout Planning In 3D

Model the room with real dimensions, including the door swing and window placement. Overall, Then test common layouts so you can see circulation and sightlines.

  • Galley: long and narrow, with fixtures along one or both sides
  • L-shape: fixtures wrap one corner, often with the shower on the short leg
  • U-shape: fixtures on three sides with a clear center path (best in larger rooms)
  • Island-centered: a freestanding tub or vanity centered with walking space all around

Even when you keep the same locations, 3D helps you right-size the shower, vanity depth. Additionally, And clearances so the room does not feel crowded.

Upgrade Order That Reduces Rework

  • Lock the layout and confirm any wall moves
  • Decide plumbing locations (valve height, shower head, tub filler, drain)
  • Plan waterproofing details (curb, niche, bench, drain type)
  • Select tile size and pattern, then choose grout color
  • Choose vanity, mirror, cabinet door styles, and countertop options
  • Finalize lighting locations and layered lighting (ambient, task, accent)

If you change plumbing or electrical, permits may apply in many California jurisdictions. Also, Your city or county will confirm what is necessary for your scope.

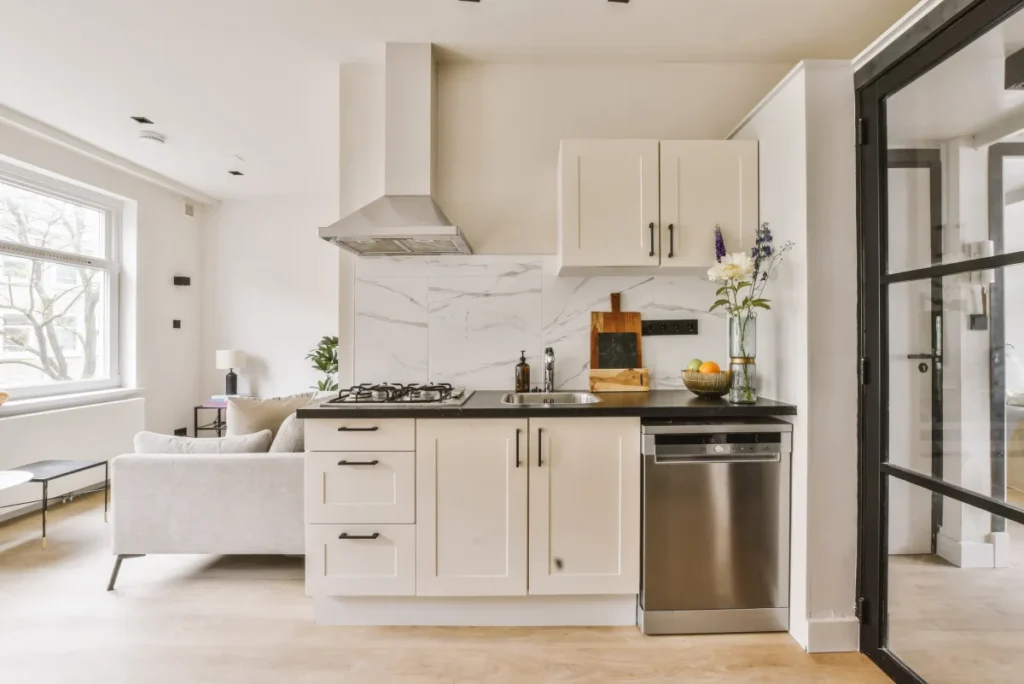
Cabinet Door Styles + Countertop Options

Vanity choices drive both storage and style, so preview them at the right scale. For example, In a bathroom remodel 3d design, a shallow vanity or oversized mirror shows up immediately.

  • Cabinet door styles: Shaker (classic), slab (modern), raised-panel (traditional), inset (custom look)
  • Countertop options:quartz (low maintenance), granite (natural variation), marble (high-end look, more care). As a result, Solid surface (seamless), porcelain slab (thin and modern), laminate (budget-friendly)

Flooring Choices That Handle Water

Bathrooms need traction and easy cleaning. Meanwhile, Match the material to the room size and how you use it.

  • Porcelain or ceramic tile: durable and flexible on style
  • Natural stone: premium look, often needs sealing
  • Waterproof LVP: warmer underfoot, check slip resistance
  • Small mosaics on shower floors: help with slope, add grout lines to maintain

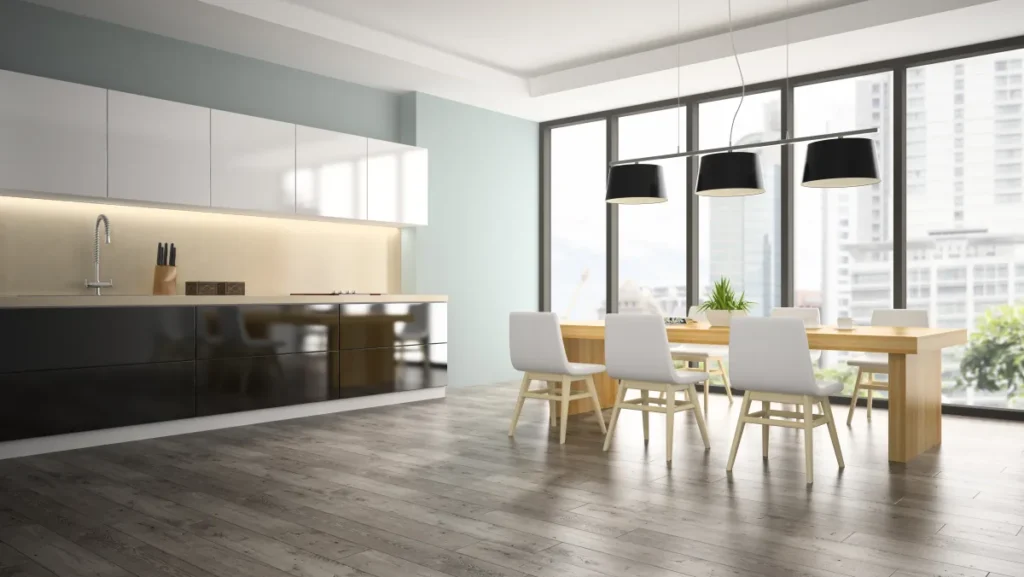
Layered Lighting That Flatters The Finishes

Plan three layers so the space works at every hour. Overall, Use dimmers where possible, and keep bulb color consistent so your tile does not shift unexpectedly.

  • Ambient: ceiling light or recessed lights for overall brightness
  • Task: vanity sconces or mirror lighting for shaving and makeup
  • Accent: niche light, toe-kick light, or a soft night light

Small-Space Layouts That Still Breathe

In tight bathrooms, remove visual clutter and protect clear walking space. Also, These moves often feel bigger than adding square footage.

  • Swap a swing door for a pocket door when the wall allows it
  • Use a wall-hung vanity or a slimmer depth cabinet
  • Choose a clear glass panel instead of a heavy framed enclosure
  • Run the same floor tile into the shower for a larger look
  • Build storage into the wall: recessed medicine cabinet or niche

Quick Way To Build A Useful 3D Preview

  1. Take straight-on photos and a few measurements
  2. Drop in fixtures at real sizes (not placeholders)
  3. Test two tile palettes and one backup option
  4. Set lighting layers and compare day vs night
  5. Save screenshots so you can price the scope accurately
Bathroom remodeling cost guide 2024

Storage And Organization Upgrades

US Construction & Remodeling Corp. Also, helps homeowners in Sacramento and across California use a 3D preview to plan storage, fixture locations. And lighting so the finished bathroom functions as good as it looks.

Want a written estimate? In addition, Use this link to request one: schedule an estimate, or call +1 (916) 234-6696. It goes faster if you have:

  • Photos of the current bathroom and the doorway/hallway
  • Rough room dimensions and ceiling height
  • Notes on what stays vs changes (tub, shower, vanity location)
  • A couple of tile or fixture inspiration images
  • Your target budget range and ideal start window

Storage Optimization That Feels Built-In

3D design makes storage decisions easier because you can see door swings, drawer clearance, and countertop clutter before the build.

  • Choose drawers over doors for daily items (hair tools, toiletries)
  • Add a recessed medicine cabinet instead of a surface-mount box
  • Use a tall linen cabinet when the layout allows it
  • Build a shower niche or ledge at a practical height
  • Include a pull-out trash or hamper cabinet in larger bathrooms
  • Add open shelving only where it will not collect splash
  • Plan towel hooks near the shower exit, not behind the door
  • Reserve one drop zone for phones and small items

Frequently Asked Questions

You do not need it for every project, but it helps when you are changing tile, fixtures, or lighting. A 3D preview lets you catch scale issues (vanity depth, shower size), finish conflicts (mixed metals). And lighting problems (glare and shadows) before you spend money on materials.

If you are doing a simple fixture swap with no layout changes. You may be fine with samples and a basic plan. When choices stack up, a model usually saves time and second-guessing.

Bring enough info so the estimate matches what you actually want to build. If you are using a bathroom remodel 3d design, screenshots help a lot.

  • Photos of the current bathroom and the doorway/hallway
  • Rough dimensions and ceiling height
  • What is staying vs changing (tub, shower, vanity location)
  • Two or three inspiration images for tile and fixtures
  • Your budget range and timing goals

It is a strong decision tool, but it is not perfect. Screens and render settings can shift color, sheen, and contrast. Use the 3D preview to confirm layout, pattern. And finish coordination, then verify color with real samples in the room at different times of day.

That combination reduces surprises without overcomplicating the process.

Most shower floors work best with smaller tile because it follows the slope to the drain. Mosaic tile also adds traction, which matters in wet areas.

  • Choose a slip-resistant surface when possible
  • Expect more grout lines and plan for routine cleaning
  • Use a grout color that supports the look and is easy to maintain

Yes. Keeping plumbing in place often shortens the schedule and reduces cost. You can still get a major visual and functional change by updating the shower surround to full height, switching to a drawer vanity, improving mirror lighting. And selecting a cohesive tile and hardware palette.

A 3D preview helps you see those upgrades together so they feel intentional.

Often, yes. When you move plumbing lines, add circuits, or change ventilation, many California jurisdictions require permits and inspections. That can add steps for plan review and scheduling.

If you want a faster path, keep the layout similar and focus upgrades on finishes, storage. And lighting placement within the existing footprint.

Related service

Looking for a step-by-step overview before you choose materials? Read 3D Visualization & Design Confidence.

Leave a comment

This website uses cookies to improve your web experience.
Explore
Drag