
3D Visualization for Remodeling: Materials + Finishes
choose materials finishes using 3D visualization turns finish selection into a decision you can see, not a guess. If you’re planning a remodel and want to choose materials finishes using 3D visualization, start by modeling real measurements and real lighting so colors, textures, and proportions work together. US Construction & Remodeling Corp. uses this approach to help homeowners compare options before anything gets ordered.
Quick checklist:
- Define the scope and your must-have outcome (performance, budget, timeline).
- Confirm what work is involved and the order of operations.
- Finalize measurements and key selections before ordering long-lead materials.
- Collect 2–3 quotes and compare line-by-line (scope, allowances, cleanup, warranty).
- Create a simple schedule and pre-order the items that most often cause delays.
TL;DR: Build the model from field measurements, narrow choices to a few finish families, and review the design under multiple lighting scenes. You’ll spot conflicts early and keep the build moving.
- Collect photos, inspiration, and rough dimensions.
- Decide what stays vs. what can move (layout, plumbing, electrical).
- Pick 2–3 finish directions to test in 3D.
- Check cabinet, countertop, and tile scale at true size.
- Review layered lighting (ambient, task, accent).
- Ask for a written estimate tied to your selections.
How To Choose Materials And Finishes Using 3D Visualization For Remodeling: Options And What Each Includes For Choose Materials Finishes Using
| Decision | Why it matters | Quick check |
|---|---|---|
| Scope | Defines what is included and prevents surprises. | Write a line-item scope and allowances list. |
| Site constraints | Access and hidden conditions can change the plan. | Check access and existing surfaces before work starts. |
| Selections | Long-lead items can drive the schedule. | Confirm availability before starting. |
| Permits | Some scopes require approvals and inspections. | Ask your city/county what applies to your project. |
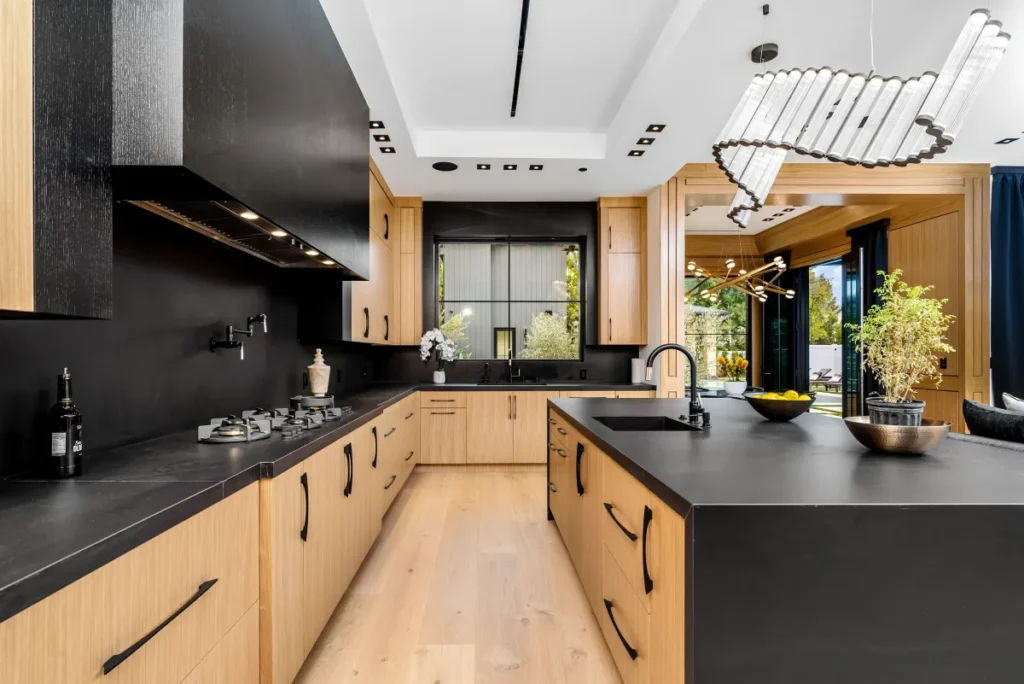
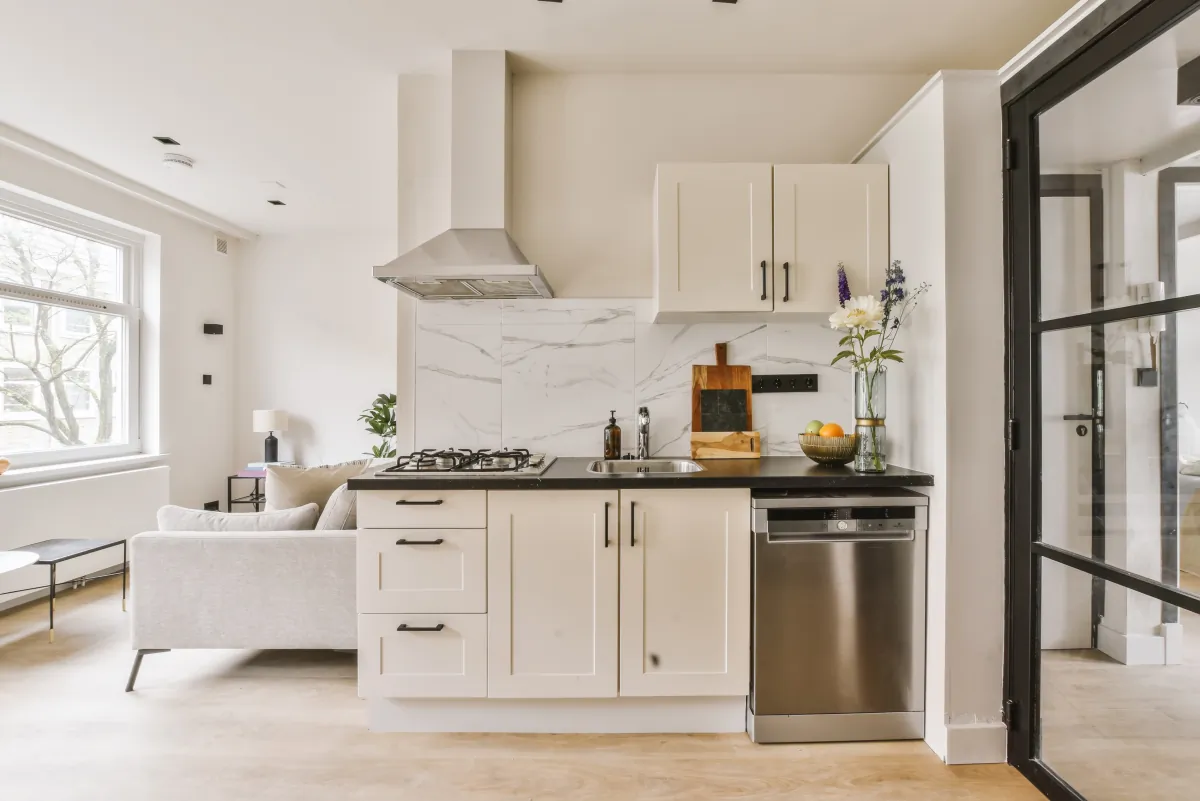
- Swap cabinet door styles (Shaker vs. For example, slab) to see how the room’s details read.
- Test countertop thickness and edge profiles against cabinet reveals and overhangs.
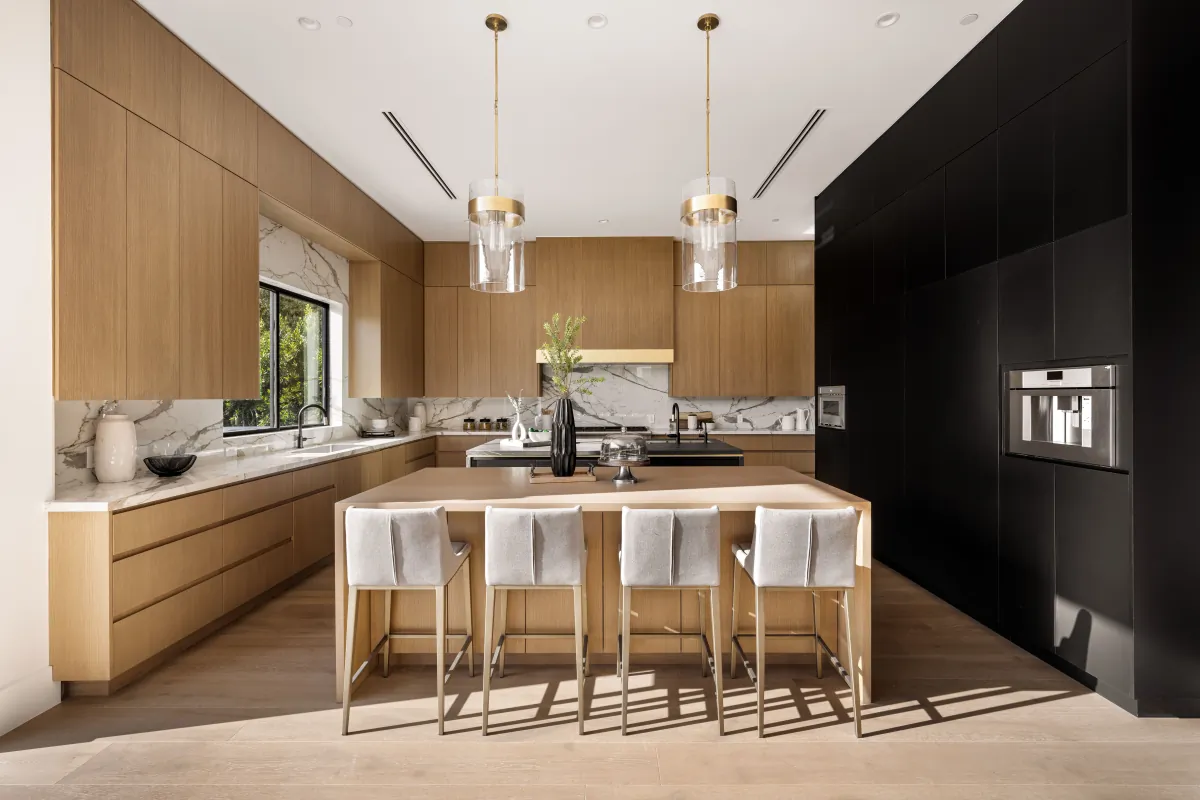
- Preview backsplash tile size and pattern (stacked, also brick, herringbone) on a full wall.
- Compare flooring tones and grout colors so the palette doesn’t turn muddy.
- Try paint and trim colors with realistic shadows at windows, soffits, and corners.
- Place lighting layers (recessed, under-cabinet, vanity, pendants) and toggle day/night.
- Check hardware and fixture finishes (chrome, brushed nickel, matte black) for consistency.
- Model storage add-ons (pull-outs, tall pantry, niche shelves) and confirm clearances.
- Simulate sightlines from key viewpoints to catch awkward material transitions early.
- Validate appliance and fixture sizes, door swings, and drawer reach so nothing gets compromised.
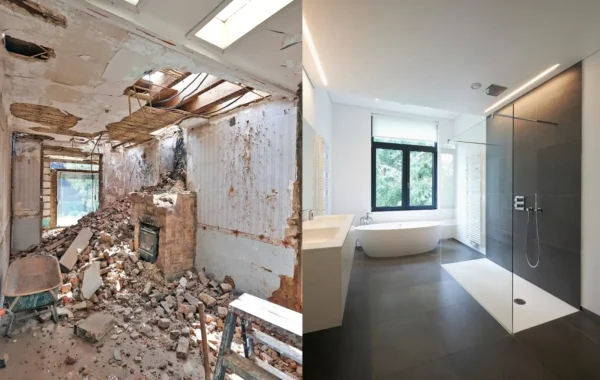
Not all 3D is the same, and you don’t always need a photorealistic rendering. For this reason, For many remodels, a measured 3D layout plus a short list of finish combinations is enough to make confident decisions and prevent expensive rework.
Common 3D Deliverables Homeowners Ask For
- Measured 3D layout: Walls, windows, doors, and key fixtures modeled to real dimensions.
- Finish sets: Two to four curated material palettes you can toggle (cabinet, counter, tile, paint, hardware).
- Elevations: Straight-on views of cabinetry, showers, or feature walls so scale and grout lines make sense.
- Lighting scenes: Daytime and evening views to test sheen, glare, and shadows.
To choose materials finishes using well, ask for at least one daylight view and one evening view for the same angle. Meanwhile, That makes sheen and undertones much easier to judge.
Hypothetical example: A “white” cabinet can read creamy next to warm tile, but look stark next to a cool gray floor. Also, Seeing it together in 3D makes that decision obvious before you commit.
Even with great visuals, keep one foot in the real world: bring home physical samples and check them in the actual room at different times of day. Overall, The goal is alignment between what you see on screen and what will be installed.

Scope Options (Refresh Vs Full Remodel) For Choose Materials Finishes Using
Scope drives everything: how detailed the 3D needs to be, which finishes matter most, and how many decisions you’ll make before work starts. Additionally, A refresh keeps the layout mostly intact and focuses on surfaces and fixtures. In addition, A full remodel opens the door to layout changes, new cabinetry, and updated plumbing or electrical.
Small-Space Layouts Worth Testing
3D helps you judge what actually fits, especially in smaller kitchens and baths where inches matter. In addition, Use the model to review clearances, sightlines, and storage so you don’t pick finishes that look great but live poorly.
- Galley: Great for tight footprints; test aisle width and where task lighting lands on counters.
- L-shape: Efficient work triangle; check corner storage and whether seating crowds the flow.
- U-shape: Maximum counter space; confirm you can open appliances and drawers without collisions.
- Island-centered: Powerful upgrade when space allows; model stool spacing, walkway paths, and pendant placement.
Storage Upgrades You Can Model In 3D
- Deep drawer bases for pots, pans, and small appliances (less bending, cleaner look).
- Pull-out trash and recycling (plan the cabinet width so it doesn’t steal prep space).
- Corner solutions like swing-out trays (use the model to confirm door clearance).
- Tall pantry cabinets or pantry walls (test door swing vs. walking path).
- Bathroom niches, medicine cabinets, and vanity drawer organizers (confirm depth and lighting).
Materials And Lighting Choices That Benefit Most From 3D
When you toggle finishes in a 3D model, you see relationships that samples can’t show on their own. As a result, That’s the fastest way to coordinate cabinet style, countertop tone, flooring direction, and fixture finish as one set.
- Cabinet door styles: Shaker (classic), slab (modern), raised panel (traditional). In addition, In 3D you can judge how “busy” the room feels.
- Countertop options: Quartz (consistent), granite (natural variation), solid surface (seam options), laminate (value), butcher block (warm but needs care).
- Flooring choices: Porcelain tile (durable), LVP (comfortable underfoot), engineered wood (warm), or other room-appropriate surfaces based on moisture and wear.
- Layered lighting: Ambient for overall brightness, task where you work, and accent to highlight texture (like tile or a feature wall).
When homeowners choose materials finishes using, we recommend limiting comparisons to two or three palettes at a time. Additionally, That keeps decisions clear and avoids option fatigue.

Materials And Finish Selections
US Construction & Remodeling Corp. Additionally, helps Sacramento-area and California homeowners choose materials finishes using with 3D visualization by translating real measurements and real products into a coordinated plan you can review room by room. You’ll know how materials interact before you approve orders, which reduces change requests mid-build.
Request a written estimate and include your address, a few photos, and any inspiration images you like. Prefer to talk it through? Call Call.
Estimate-First: What To Send
- Your must change / must keep list (layout, fixtures, storage priorities).
- Any finish notes that matter to you (matte vs. glossy, warm vs. cool).
- If you’re deciding between two looks, say so—3D comparisons work best in pairs.
If you want to choose materials finishes using with less back-and-forth, share any must-have brands or products you already picked. For this reason, That helps us estimate accurately and model what you’ll actually buy.
Contact Details
Practical Tradeoffs
3D makes the look clearer, but performance still matters. In addition, Use these checkpoints when you compare materials:
- Cabinets: Ask about box material, shelf thickness, and drawer hardware; in 3D, confirm door swing and handle scale.
- Countertops: Compare edge profiles and thickness; consider how a glossy surface reflects light near windows and pendants.
- Tile: Large-format tile reduces grout lines; smaller tile can add grip and pattern. For example, In 3D, test grout color because it changes the whole read.
- Fixtures and hardware: Keep finishes consistent across the room; mixed metals can work when the mix is intentional and limited.
What Buyers Notice
No finish guarantees a return, yet some choices hold value better than others. For this reason, If resale is a priority, lean toward durable, timeless materials and avoid highly specific colors that are hard to live with.
- Choose mid-tone, low-contrast floors that hide daily dust and wear.
- Keep one hero material (like a feature backsplash) and let the rest support it.
- Prioritize good lighting; a bright, even room tends to feel more expensive than it is.
Maintenance Planning Before You Commit
- Confirm whether surfaces need sealing (some natural stone and certain grout types may).
- Pick finishes that match your cleaning style—matte can hide fingerprints but may show mineral deposits.
- Ask how to handle chips or scratches for your chosen countertop and flooring material.
Trust Signals To Look For In A Contractor
When you’re hiring help for kitchen remodeling, Bathroom Remodeling, or a whole-home upgrade, keep the selection process transparent from day one.
- Verify licensing and insurance appropriate to the scope, and get it in writing.
- Clarify who will pull permits when the work triggers them and how inspections get scheduled.
- Insist on a written scope tied to the actual products and finishes you approved in 3D.
- Set a communication rhythm (who you contact, how often, and how changes get priced).
- Walk the site regularly and keep a punch list so details don’t get lost at the end.
Related Services (For Internal Linking)
See an overview of our remodeling services at US Construction & Remodeling Corp., then request an estimate for your kitchen, bath, or whole-home scope.
Frequently Asked Questions
Not always. A measured 3D layout with a few finish palettes is often enough to compare options. Photorealistic renders help most when lighting, sheen, or complex tile patterns are hard to picture.
Keep it tight: two or three palettes at a time. That makes it easier to spot what’s working, and it prevents decision fatigue.
Cost usually moves with scope changes, custom sizes, and product lead times. Materials also vary by durability and installation complexity (for example, large-format tile, specialty edges, or custom cabinetry).
Lock long-lead items early—typically cabinetry, specialty tile, custom glass, and any made-to-order fixtures. In practice, 3D helps when you choose materials finishes using because you can see how everything works together before you commit.
It depends on what changes. Purely cosmetic updates may not need permits, but moving plumbing, altering wiring, changing windows/doors, or touching structure often does. Check with your local building department for your exact address and scope.
Use a written scope, confirm insurance, and verify the contractor’s license status through the California Contractors State License Board. Also ask how communication works during the build and how change requests get documented.
Related service
Looking for a step-by-step overview before you choose materials? Read 3D Visualization & Design Confidence.
Related articles
- MEP Rough-in Coordination For Bar And Cafe Build-outs
- Restaurant Tenant Improvement Closeout Punch List Checklist
- Roofing Permit Requirements In San Mateo


