
Scope and selections
Define what changes, what remains and which products control rough dimensions.
Bathroom remodeling process · Sacramento
Follow the project from measured planning and selections through demolition, concealed-condition review, rough inspections, waterproofing, finishes and documented handover.

Define what changes, what remains and which products control rough dimensions.
Document damage, structure and systems before repair assumptions become hidden.
Complete required checks, inspections and waterproofing hold points.
Test the room, close inspections and finish the agreed correction list.
Requirements and related guides
The property address, approved scope, selected products and conditions exposed during demolition determine the actual permit and inspection path. This guide shows decision order; it does not replace project documents.
Author: Emin Çelik. Process statements are limited to documented project planning and general contractor coordination; address-specific requirements control the work.
Ten connected stages
The sequence may overlap when the approved project permits it. A later finish should not hide an unresolved rough-work, waterproofing or inspection requirement.
Measure the room, document existing conditions, establish the layout, confirm the permit path and write the intended scope. Review bathroom remodeling mistakes to avoid before finalizing the plan.
Approve the layout, retained items, product direction, allowances and known exclusions. Use our bathroom material comparisons to review cleaning and maintenance alongside the finish.
Selected products, responsibilities and required approvals are sufficiently defined to schedule work.
Confirm availability, delivery sequence, access, dust control, temporary bathroom arrangements and protection routes.
Approve substitutions before ordering and confirm access, pets, parking and household constraints.
Required products, protection plan and start conditions are ready.
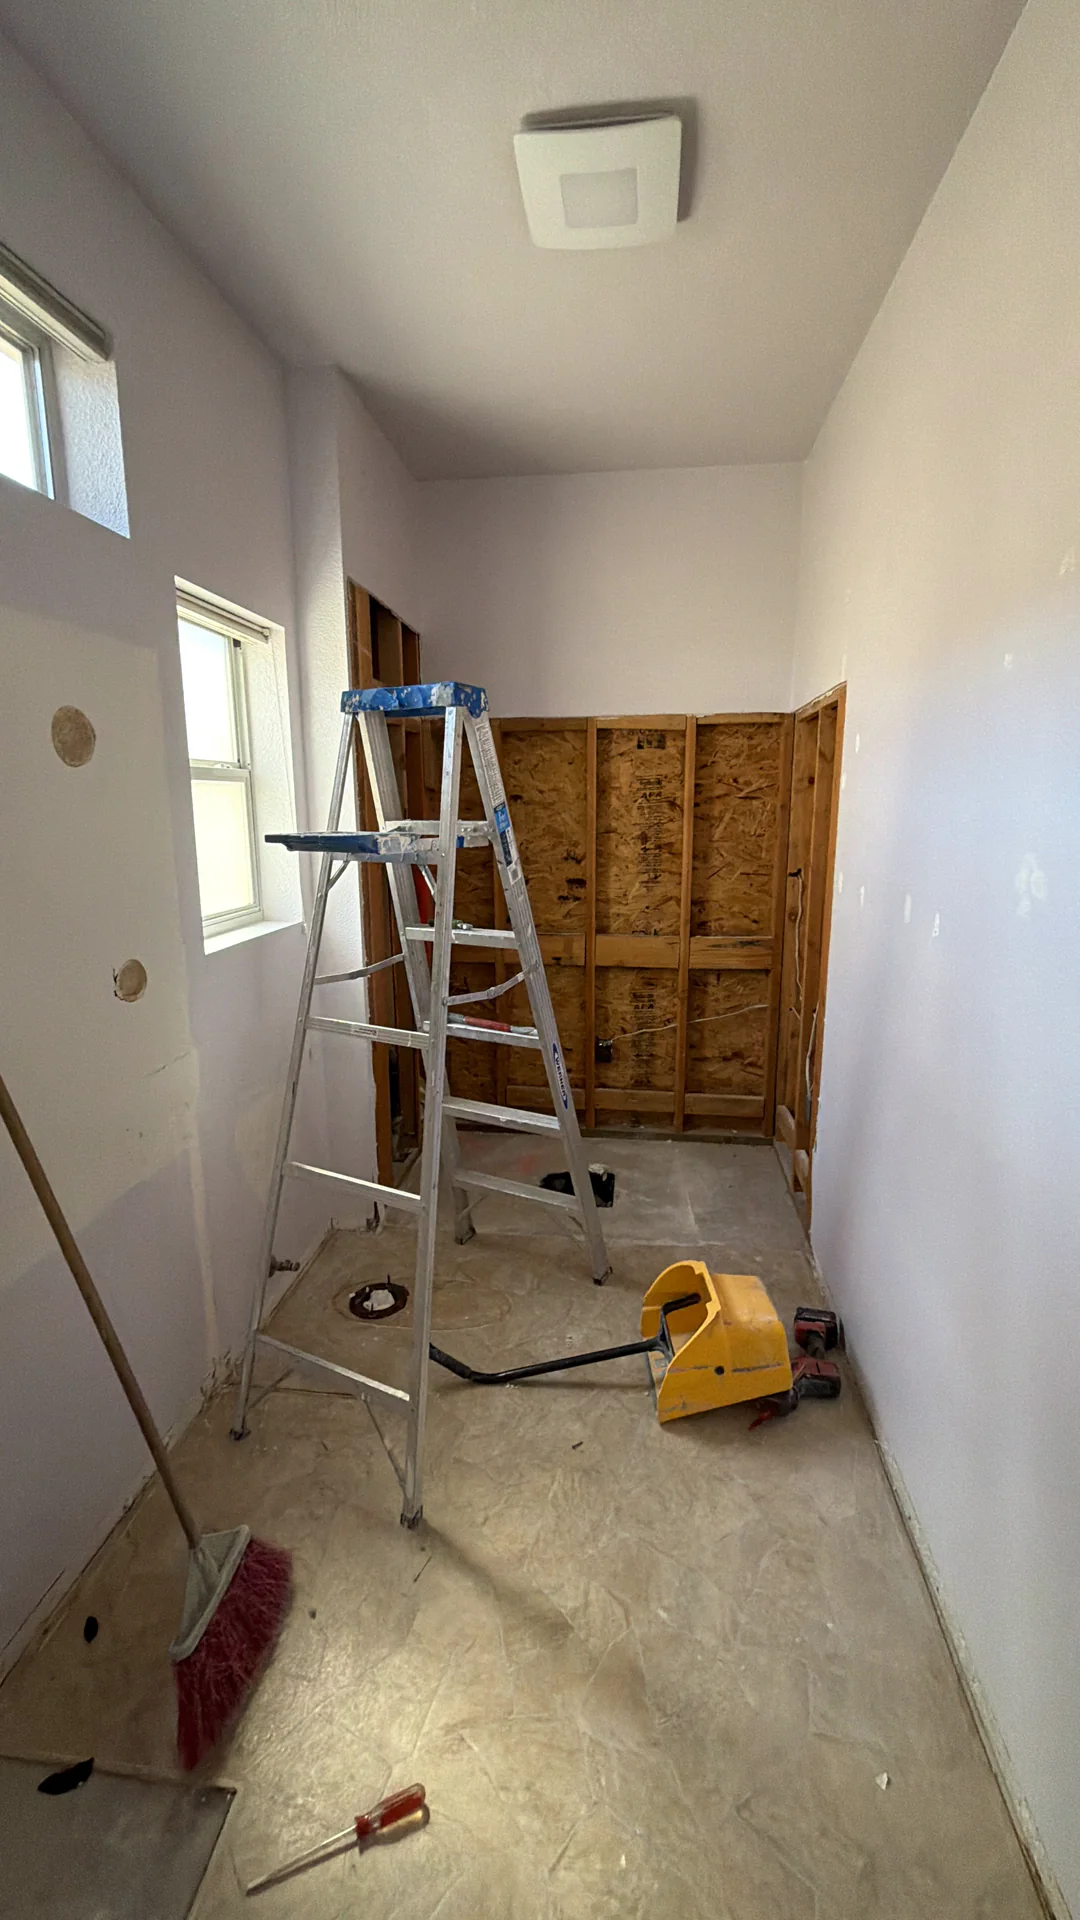
Remove only the work identified in the proposal while protecting adjacent finishes and keeping the site controlled.
Confirm any item intended for salvage, reuse or homeowner retention before removal.
The room is open enough to see framing, plumbing, subfloor and signs of previous moisture.
Photograph exposed conditions and compare them with the approved assumptions before added repair work proceeds.
Review repair options and any written change to cost, schedule or connected work.
Required changes are documented and authorized before they are concealed.
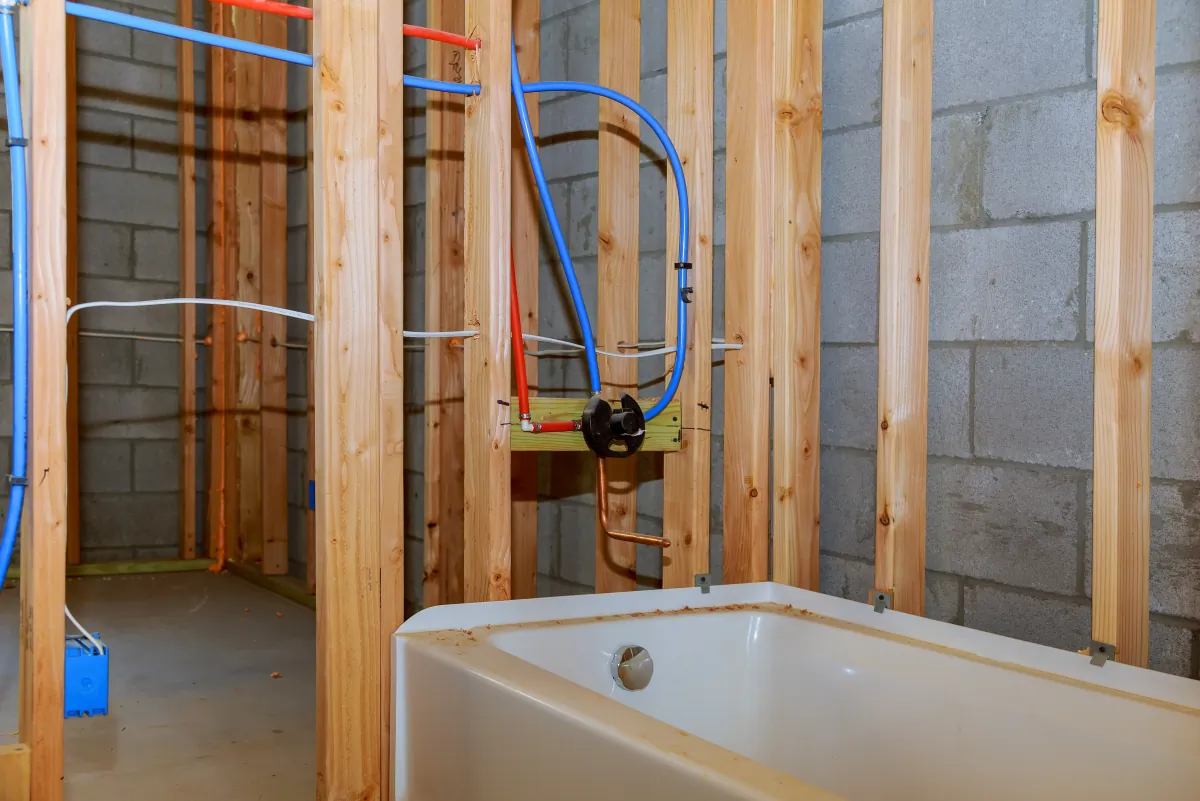
Coordinate framing, backing, plumbing, electrical and ventilation around the approved layout and actual product specifications.
Confirm final control heights, niches, support locations, lighting, outlets and accessory positions.
Rough work matches the approved scope and remains visible for required review.
Check required pressure, connection, framing, electrical and ventilation items and complete the applicable rough inspection path.
Resolve documented corrections or product conflicts before walls close.
Applicable rough approvals are complete and required evidence is retained.
Install the selected shower or tub assembly, substrate, membrane, drain transitions, corners and sealed penetrations as one compatible system.
Confirm tile layout priorities, finish transitions and visible edge conditions before covering begins.
Required waterproofing checks, test information and inspection status are complete before tile.
Set finish materials according to the approved layout while coordinating vanities, tops, wall transitions and cure requirements.
Approve field layout questions, grout or sealant colors and any unavoidable finish adjustments.
Surfaces are ready for fixtures without concealing unresolved defects.
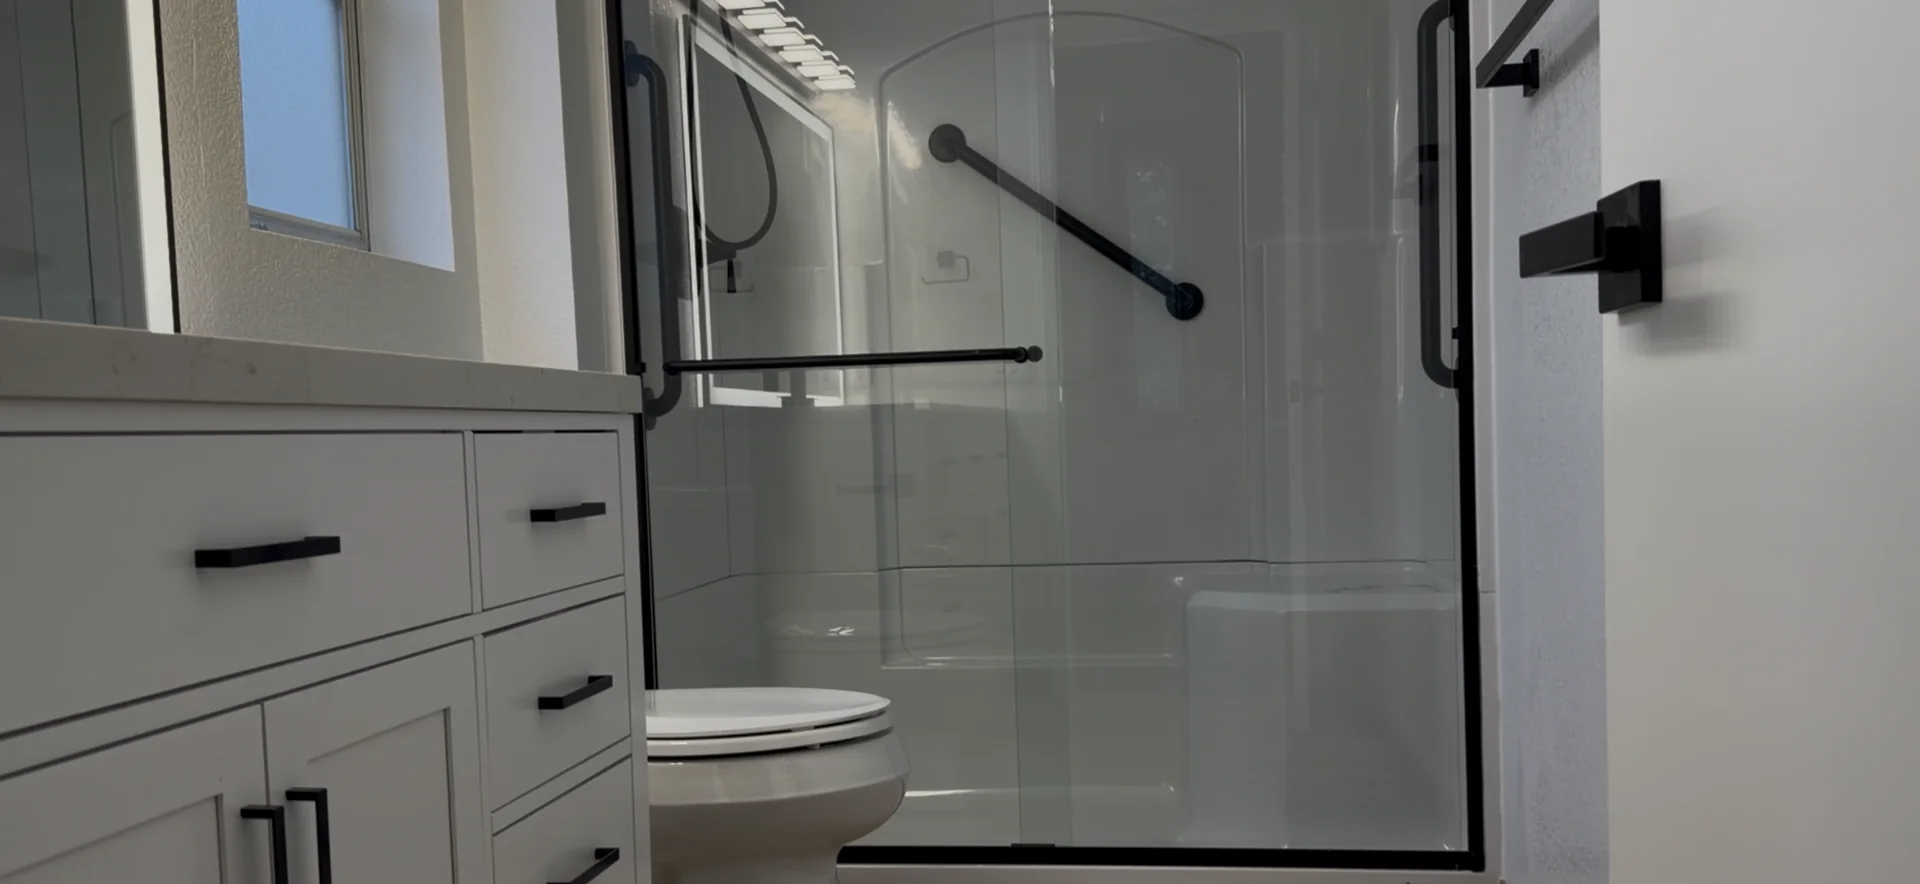
Install plumbing trim, lighting, devices, accessories, glass, mirrors and remaining finish work; test operation and protect completed surfaces.
Confirm accessory heights and review manufacturer care or cure restrictions.
Systems operate, required final inspections can proceed and the room is ready for closeout review.
Complete the final walkthrough, required corrections, inspection closeout, cleaning and delivery of relevant product and warranty information.
Review operation, care, remaining punch items and the process for reporting a problem.
The approved punch list and applicable final requirements are complete before normal use.
Visible field checkpoints
Photographs help explain what was exposed and what remains visible before closure. They support the project record but do not replace inspection or approved construction documents.
Scope before budget
A bathroom size alone does not define demolition, plumbing, electrical, waterproofing, cabinetry, glass, permits or concealed repair. A low public band can be mistaken for a company starting price even when the scope is different.
Use the linked cost guide for cost-planning methodology. A measured review and written proposal establish the price for a specific property.
Approved next reading
These links point only to approved live service and planning pages. Staging review pages are excluded.
Bathroom planning tool
Use the Bathroom Remodel Budget Estimator to record room size, project level, layout work, wet-area scope and finish assumptions.
The calculator supports early planning and does not replace field verification, permit review or a written proposal.Bathroom process FAQ
The approved scope, layout, permit path, site protection, access plan and critical product decisions should be defined. Long-lead products and temporary bathroom needs should also be addressed.
The condition should be documented and explained. Any added repair, price or schedule effect should follow the written change process before affected work is concealed.
Required framing, backing, plumbing, electrical and ventilation work remains visible for the applicable verification and inspection path. Product conflicts and documented corrections are resolved first.
Tile follows completion of the approved substrate and waterproofing assembly plus required checks, test information and applicable inspection status.
Waiting can create conflicts. Exact valves, drains, faucets, tubs, toilets, vanities and accessories may control rough dimensions, backing and connections and should be selected at the stage stated in the project schedule.
After required inspections and corrections, operational testing, cure-time restrictions, cleaning, closeout review and the agreed punch list are complete.
Share room photographs, approximate dimensions, the current layout, problems to solve, items to retain, fixture or accessibility goals and any known leak, ventilation or electrical concerns.
Send bathroom photographs, approximate dimensions, known problems and the result you want. We will explain the next planning step and what must be defined before construction.