
What Happens in a 3D Design Consultation for Remodeling? (Guide)
If you’re wondering what happens 3d design during a remodeling consultation. Think of it as a working session where ideas turn into a visual plan you can react to. You’ll review layout options, finish choices, and lighting concepts in a way that sketches rarely capture.
Quick checklist:
- Define the scope and your must-have outcome (performance, budget, timeline).
- Confirm what work is involved and the order of operations.
- Finalize measurements and key selections before ordering long-lead materials.
- Collect 2–3 quotes and compare line-by-line (scope, allowances, cleanup, warranty).
- Create a simple schedule and pre-order the items that most often cause delays.
The goal isn’t to sell a look. It’s to help you choose a direction that fits your home, habits, and timeline. In California, this planning step also helps you flag changes that may require permits or trade coordination.
TL;DR: A 3D design consultation lets you compare layout and finish options before construction starts. You make clearer decisions, faster, with fewer surprises.
- Bring photos of the current space and adjacent rooms
- Note what must stay (windows, appliances, plumbing locations)
- List daily pain points (traffic, storage, lighting, noise)
- Share inspiration images and what you like about them
- Set a comfort range for finishes and scope (basic to premium)
- Call out timeline constraints (events, travel, work-from-home)
Layout + Materials Guide (What Happens 3d Design)
| Decision | Why it matters | Quick check |
|---|---|---|
| Scope | Defines what is included and prevents surprises. | Write a line-item scope and allowances list. |
| Site constraints | Access and hidden conditions can change the plan. | Check access and existing surfaces before work starts. |
| Selections | Long-lead items can drive the schedule. | Confirm availability before starting. |
| Permits | Some scopes require approvals and inspections. | Ask your city/county what applies to your project. |
- Swap between galley, also L-shape, U-shape, or island-centered kitchens to compare work zones
- Test a walk-in shower vs. In addition, tub/shower combo with real clearances and door swings
- Place appliances and fixtures to confirm landing space and reach
- Try cabinet door styles (Shaker vs. Meanwhile, slab) with color samples in the same view
- Compare countertop materials (quartz, granite, laminate) and edge profiles side-by-side
- Preview flooring transitions between rooms (tile, LVP, engineered wood) and align heights
- Model backsplash heights and grout color to see how “busy” a wall feels
- Layer lighting (recessed, pendants, under-cabinet, vanity) and check shadows at tasks
- Add storage upgrades like pull-out trash, deep drawers, and a tall pantry tower
- Plan comfort features like dimmers, quiet fans, towel warming options, or niche shelving
- Review sightlines from entry points so the space feels intentional, not cluttered
These ideas work best when you pair them with real-life constraints: how you cook, who needs accessibility, where clutter piles up. As a result, And which walls or plumbing runs you want to avoid moving. A 3D design consultation lets you test those constraints early, so the final direction isn’t based on guesswork.
Who Benefits Most From A 3D Session
A 3D consult is especially useful when you’re changing layout. Additionally, Combining spaces, or debating finishes that look similar on a small sample. It also helps when you want a calm look but still need serious storage.
- Kitchen or bathroom remodels where clearances matter (doors, appliances, shower entry)
- Open-concept changes where sightlines and furniture placement affect the result
- Small spaces where every inch needs a job
Keep in mind: 3D visuals support decisions. Overall, But final construction drawings and permits (when required) depend on the exact scope and local jurisdiction.

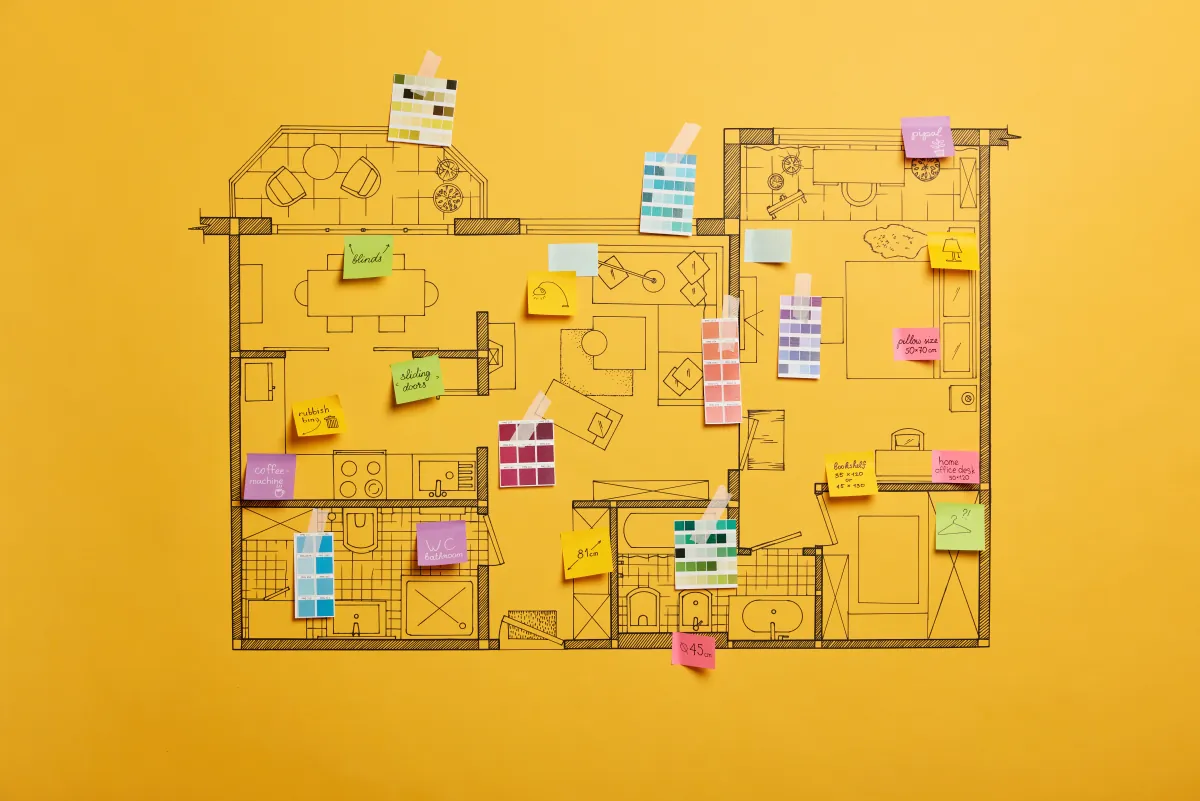
Layout Options And When They Work Best
In a 3D consultation, layout comes first because it drives everything else: cabinet sizes. For this reason, Plumbing locations, tile lines, and where light lands. You’ll usually look at more than one arrangement so you can compare flow and storage, not just aesthetics.
How A 3D Consultation Typically Runs
- Confirm goals, must-keep items, and any accessibility needs.
- Review existing constraints (windows, doors, utilities, and adjacent rooms).
- Build or adjust a base 3D model, then test a few layout directions.
- Overlay finish palettes and cabinet styles, then narrow to a shortlist.
- Map a lighting approach (ambient, task, accent) and comfort upgrades.
- End with a decision list: what’s set, what’s open, and what you need next.
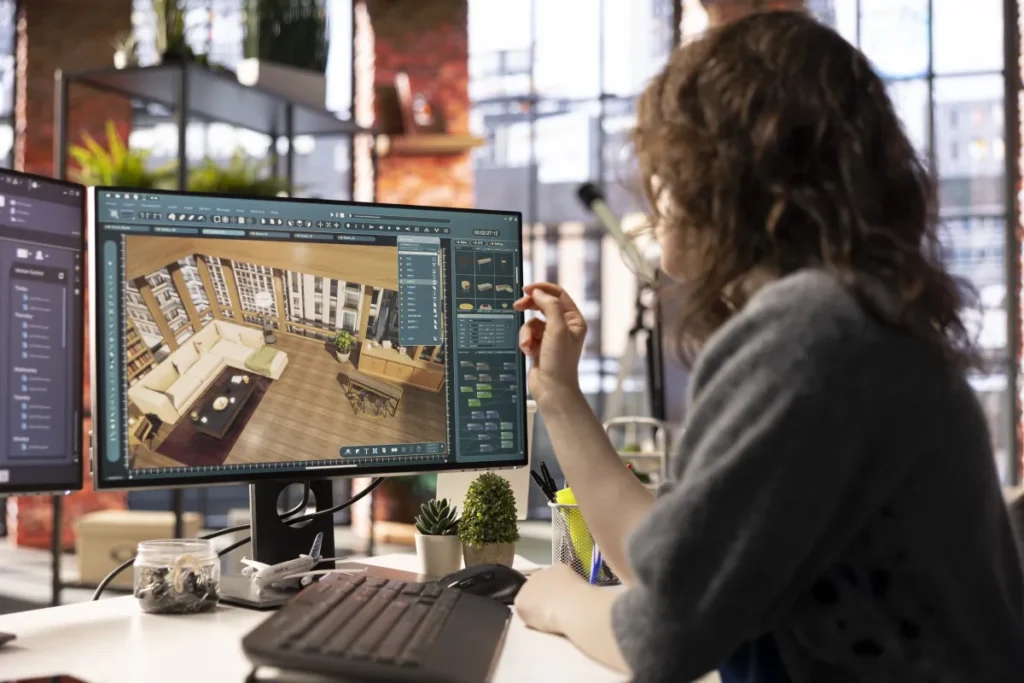
What We Test In 3D
Good 3D planning focuses on how the room works at full scale. Also, You can “walk” the space, check reach, and spot pinch points before anything gets built.
- Circulation paths around islands, vanities, and door swings
- Work zones (prep, cook, clean) and landing space next to appliances
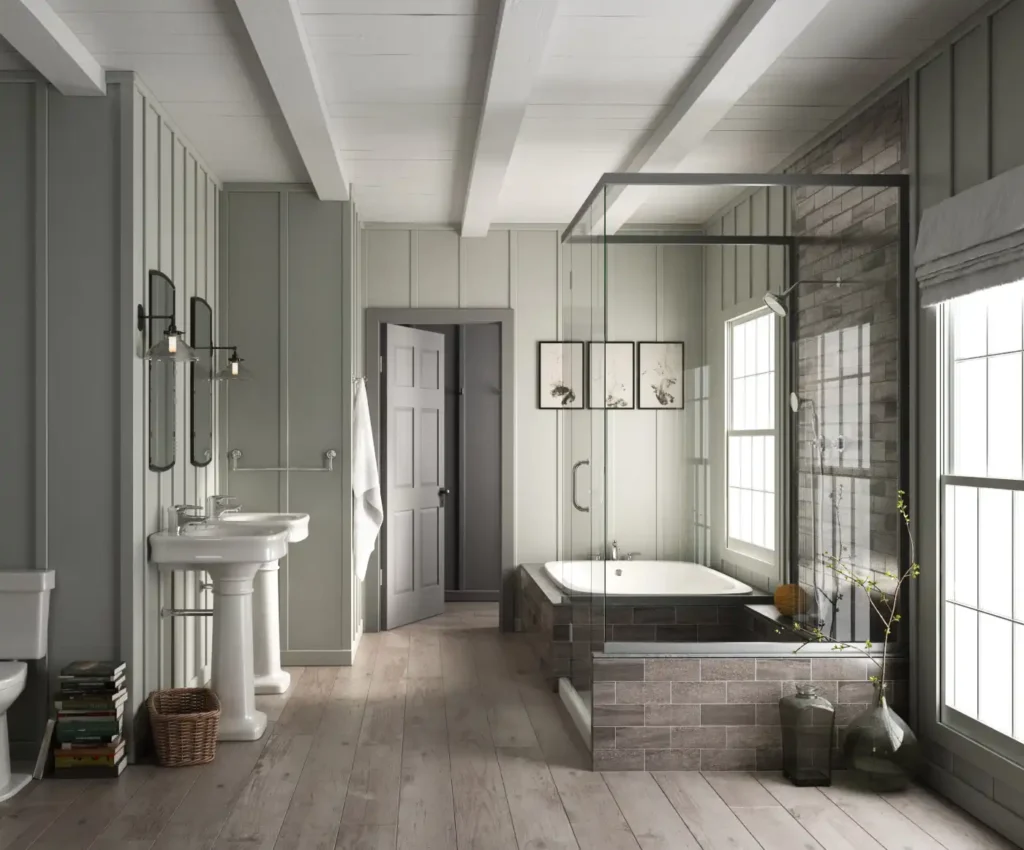
- Shower, toilet, and vanity clearances for everyday comfort
- Where to keep or relocate plumbing to control complexity
Common layout options you may review include a galley plan (strong for tight kitchens), an L-shape (great for open sightlines), a U-shape (max storage and counter run). For example, And an island-centered layout when you have enough width for safe walkways.
Small-Space Layouts That Still Breathe
Small kitchens and bathrooms benefit the most from seeing clearances and storage in scale. As a result, The 3D view helps you spot which move solves the biggest bottleneck.
- Use a pocket door or outswing door where it improves clearance
- Choose a walk-in shower with a fixed panel to open floor space
- Go with deep drawers instead of lower cabinets with shelves
- Run tile to the ceiling in wet zones for easier cleanup and a taller feel
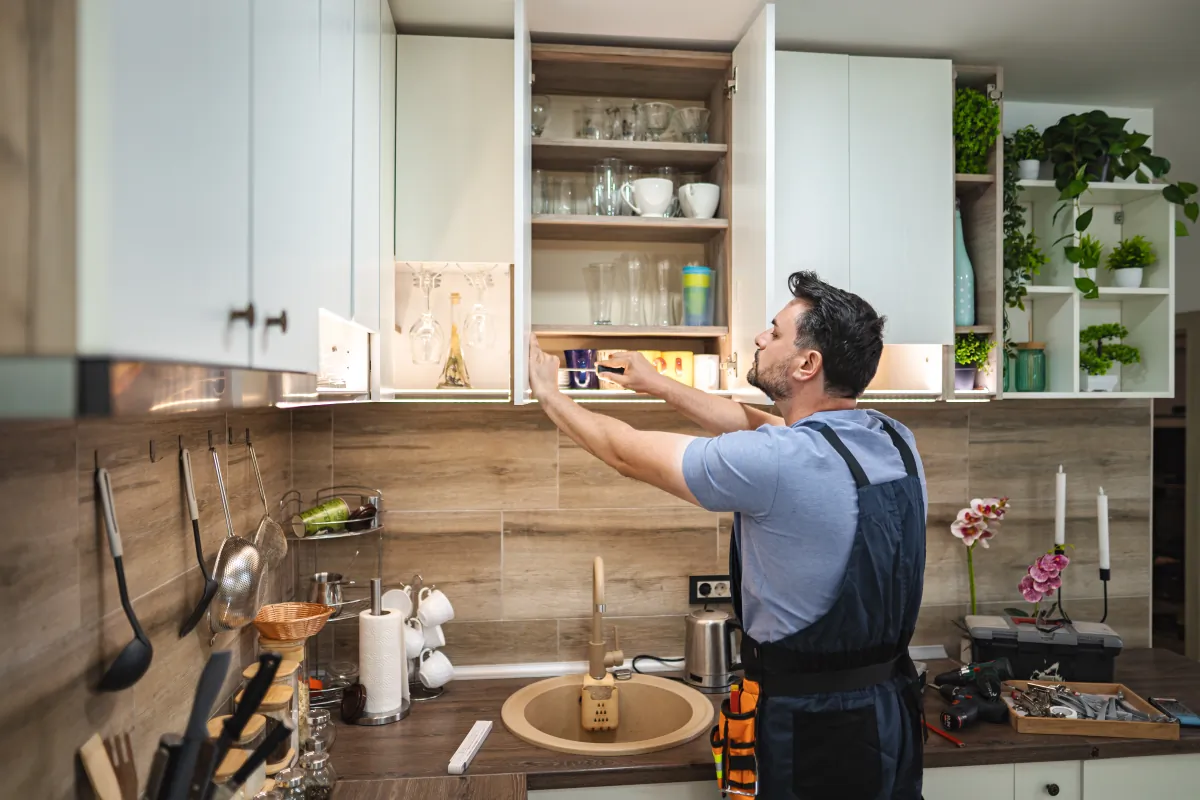
Keep Counters Clear
Storage doesn’t mean more cabinets everywhere. Also, A targeted set of upgrades often works better, and you can see the impact in the 3D model.
- Full-height pantry or linen tower for bulky items
- Pull-out trash/recycling and tray dividers near prep zones
- Toe-kick drawers, niche shelving, or recessed medicine cabinets
- A dedicated drop zone near entries to reduce clutter spread
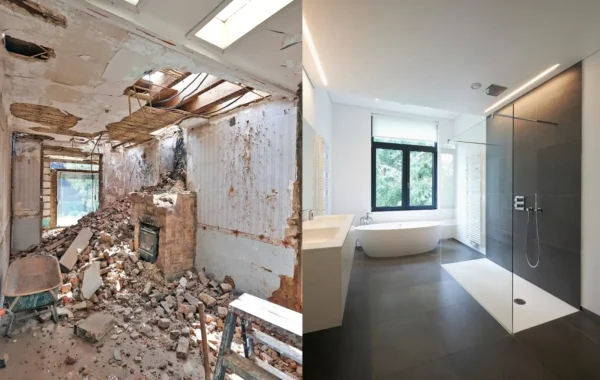
Hypothetical Before/After Walk-Through
Hypothetical example: A homeowner starts with a narrow galley kitchen that forces two people to bump into each other. As a result, The wish list includes more prep space, better lighting, and a place to hide countertop appliances.
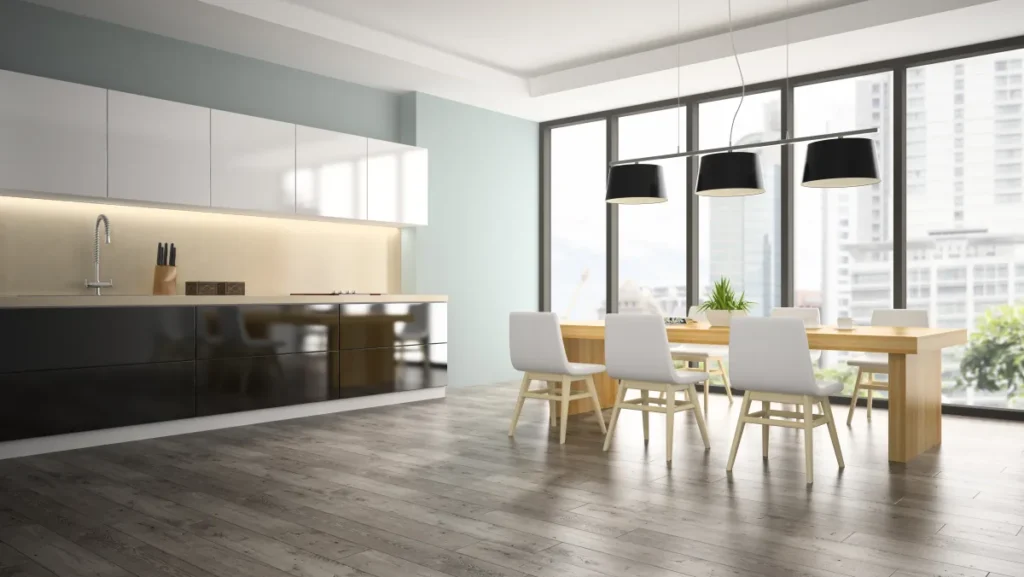
During the 3D session, the galley stays as a baseline. In addition, An L-shape with a short peninsula becomes option two, and an island-centered plan becomes option three. Seeing the walk paths in 3D makes the trade-off clear: the island looks great. But it steals clearance near the fridge. The peninsula plan keeps the room open while adding seating and storage.
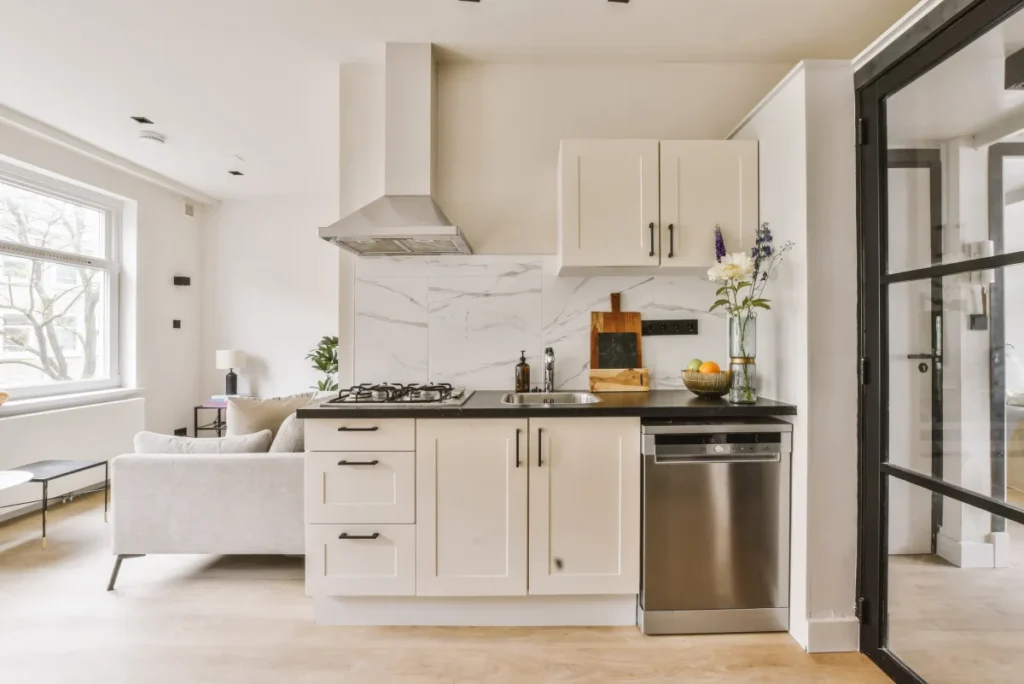
The “after” direction pairs Shaker-style cabinets in a light. For example, Warm tone with a durable quartz countertop and a simple, full-height backsplash behind the range. Under-cabinet lighting and a focused prep light solve the shadow problem without overloading the ceiling with fixtures.
Budget And Schedule Snapshot (Typical)
- Lowest complexity: keep walls and plumbing where they are, upgrade finishes
- Mid complexity: adjust layout within the same footprint, add storage features
- Highest complexity: move plumbing or remove walls; plan for added coordination and permits
- Lead times matter: cabinet and fixture availability can shape the calendar as much as construction
Materials Comparison (Pros/Cons)
A 3D consultation is the right time to compare materials in the context of your lighting and cabinet color. Not in a showroom aisle. You can also talk durability, cleaning, and how each choice affects edges, seams, and transitions.
Cabinets, Counters, Floors
- Cabinet doors: Shaker reads classic and forgiving; slab looks modern and clean; raised-panel adds detail but can feel busy in small rooms.
- Countertops:Quartz offers consistency and low maintenance; granite brings natural variation; laminate controls cost. For example, Solid-surface supports seamless sinks; butcher block adds warmth but needs regular care.
- Flooring:Porcelain tile handles water well; luxury vinyl plank can feel softer underfoot. For this reason, Engineered wood works in dry areas when you manage moisture.
- Tile: Large-format reduces grout lines; mosaics add grip in showers; contrasting grout highlights pattern but shows buildup sooner.
- Fixtures: Matte finishes hide fingerprints; polished finishes show water spots faster; quality valves matter for long-term service.
| Decision | What you test in 3D | What it can change |
|---|---|---|
| Keep vs. move plumbing | Fixture placement options | Complexity, permitting, schedule |
| Cabinet door style | How light hits fronts | Visual “busy” level, cleaning effort |
| Countertop material | Color and edge profile | Maintenance needs, seam strategy |
| Flooring transition | Room-to-room continuity | Trip risk, moisture protection |
| Lighting plan | Shadow patterns at tasks | Comfort, usability, electrical scope |
If you feel stuck, narrow finishes to two palettes: one warm and one cool. In addition, The 3D views make it easier to choose without overthinking every sample.
Lighting Layers And Comfort Features
Lighting is where many remodels disappoint because it’s hard to imagine shadows on a countertop or in a shower. Overall, A strong plan uses layers: ambient light for general brightness, task light where you work, and accent light for depth.
- Ambient: recessed cans, surface mounts, or a central fixture sized to the room
- Task: under-cabinet strips, vanity lighting at face level, dedicated prep lights
- Accent: toe-kick glow, niche lights, or a statement pendant in the right spot
Comfort features can also be previewed and placed logically—dimmers, quiet ventilation fans, towel warming options, and smart switches. Overall, When electrical changes are part of the scope. Plan them early so you don’t end up cutting into finished surfaces later.
Want clarity on what happens 3d design in your specific space? Meanwhile, Bring your must-haves and deal-breakers, and use the 3D view to decide where to spend and where to simplify.

Maintenance And Durability Notes
US Construction & Remodeling Corp. helps Sacramento-area homeowners use 3D planning to choose materials and details that hold up to real life. That means balancing the look you want with cleanability, moisture resistance, and realistic access for future repairs.
Talk timeline early: Book a planning call to map your timeline and the decisions that unlock pricing and scheduling. Prefer the phone? Call +1 (916) 234-6696.
Maintenance Tips After The Remodel
- Use pH-neutral cleaners on stone and grout; skip harsh abrasives on polished finishes.
- Seal grout or stone when the product requires it, and re-check high-splash areas over time.
- Wipe down fixtures and glass after heavy use to reduce spotting and buildup.
- Keep ventilation running during and after showers or cooking to manage moisture.
- Save a small bin of touch-up materials (paint name, grout color, spare tile).
Durability isn’t just the surface. Ask about substrates, waterproofing methods in wet areas, and how access panels or shutoffs will be handled if your scope includes plumbing changes.
Next Step For Sacramento Homeowners
When you’re ready to move from ideas to a buildable plan, schedule a planning call and bring your top constraints: must-keep items, must-have features, and your preferred timeline. If your project needs permits, Sacramento homeowners typically track submittals and status through the City of Sacramento’s Accela Citizen Access portal, although requirements vary by project and address.
- Pick one room (or one phase) to design first so decisions don’t sprawl.
- Decide what you’re willing to move: walls, plumbing, or neither.
- Choose a finish direction (warm vs. cool) before you compare materials.
- List any accessibility needs and who uses the space day-to-day.
If you’re still asking what happens 3d design in a consultation, the best answer is simple: you make the tough decisions on screen before you pay for them on site.
Helpful Links
Related Service Page
Related reading
Frequently Asked Questions
If you’re curious about what happens 3d design in a consultation, bring photos, a short wish list, and any inspiration images. Rough room dimensions help too, along with notes on what must stay (windows, appliances, plumbing locations).
- Top 3 problems you want solved
- Must-have features and deal-breakers
- Your style direction (warm, cool, modern, traditional)
No. Rough dimensions help start the conversation. A site measure (when needed) confirms details before final drawings and material purchases.
It depends on scope and constraints. Many homeowners review a baseline plus one or two alternatives, then refine the best direction instead of comparing endless versions.
Yes. Small rooms benefit the most from seeing door swings, clearances, and storage in scale.
- Walk-in shower vs. tub layout
- Pocket door opportunities
- Drawer-heavy base cabinets for easier access
Cabinet door style and color, countertops, flooring, and tile typically show the biggest difference in a 3D view. Lighting temperature (warm vs. neutral) also changes how those materials read.
Permit needs vary by city and scope. Structural changes and many plumbing or electrical modifications often trigger permitting, so it helps to identify those items during planning.
If you’re hiring a contractor, verify licensing through the CSLB and confirm permit expectations with the local building department.
Licensed, insured & trusted local contractor
US Construction & Remodeling Corp.
9821 Business Park Dr, Sacramento, CA, 95827
Phone: +1 (916) 234-6696
CSLB License #: 1117562 Fully licensed and insured.
Start with the pillar guide
For a complete overview (scope, timeline, and planning tips), see our main page: 3D Visualization & Design Confidence.


