If you want a cleaner, taller-looking exterior, vertical siding can deliver a big visual change without changing your floor plan. This guide covers the practical choices California homeowners need to make: materials, water protection details, permits, and a timeline that won’t surprise you.
Quick checklist:
- Pick a siding material and finish that matches climate and maintenance goals.
- Confirm moisture management details (housewrap, flashing, caulking) in writing.
- Define the full scope (trim, soffit/fascia, paint, insulation upgrades).
- Confirm access/safety plan and how landscaping/property will be protected.
- Compare 2–3 itemized quotes and verify warranty coverage.
- Check permit requirements if altering exterior walls or doing structural repairs.
TL;DR: Pick the profile you like, then choose a material you can maintain for the long haul. Make sure the wall can shed water with the right barrier and flashing around openings. Book a planning call early so ordering and permit steps don’t push your schedule.
- Choose the look: board-and-batten, V-groove, or vertical panels.
- Confirm scope: remove old siding or install over it (if appropriate).
- Select material: fiber cement, engineered wood, vinyl, or metal.
- Plan water control: WRB, flashing, and proper clearances.
- Decide trim details: corners, window wraps, and base transitions.
- Confirm timeline: ordering, permits (if needed), and install window.
Planning, Permits, And Practical Decisions
| Decision | Why it matters | Quick check |
|---|---|---|
| Material choice | Durability and maintenance differ by material. | Compare fiber cement vs vinyl and verify warranties. |
| Moisture management | Water control prevents rot and mold. | Confirm housewrap and flashing details around openings. |
| Trim & transitions | Details control fit and long-term sealing. | Specify corners, soffit/fascia scope, and finish plan. |
| Access & protection | Staging affects speed, cost, and safety. | Plan scaffolding, landscaping protection, and cleanup. |
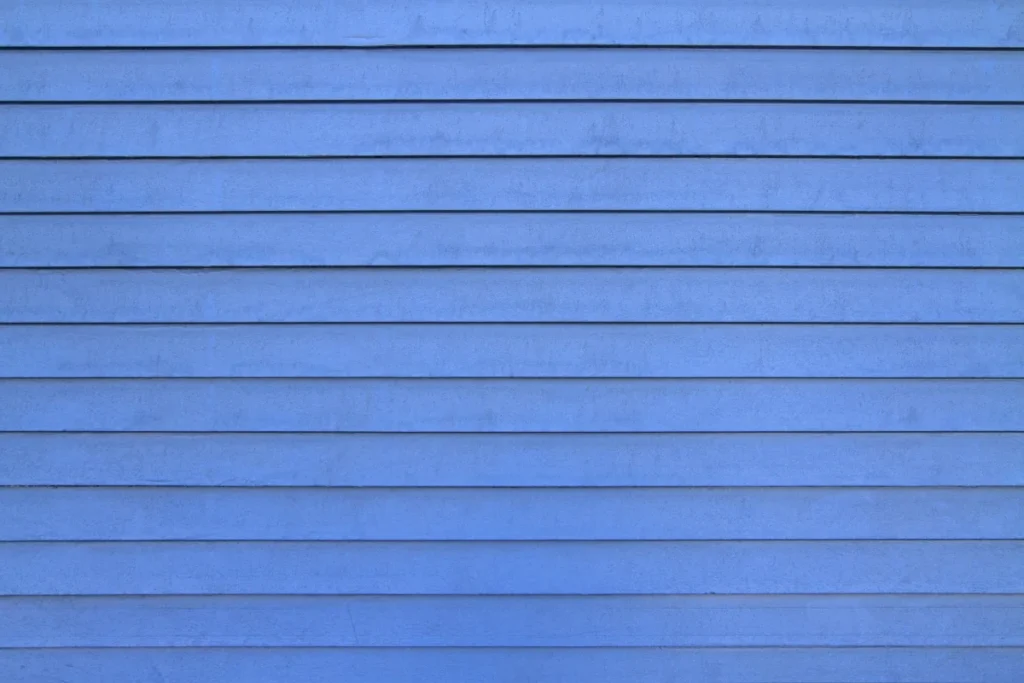
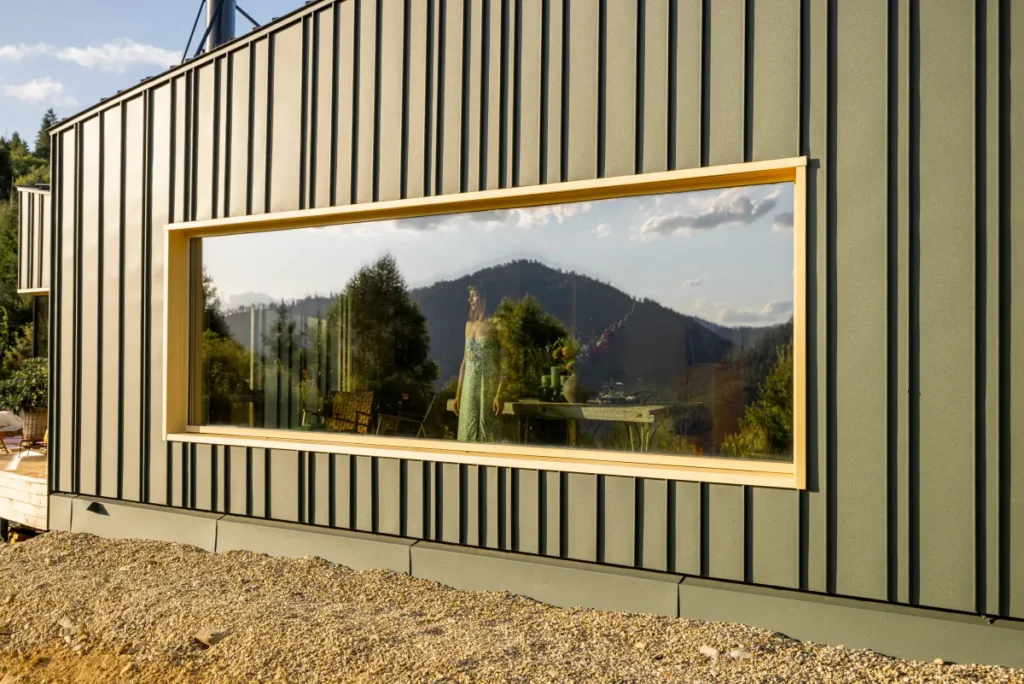
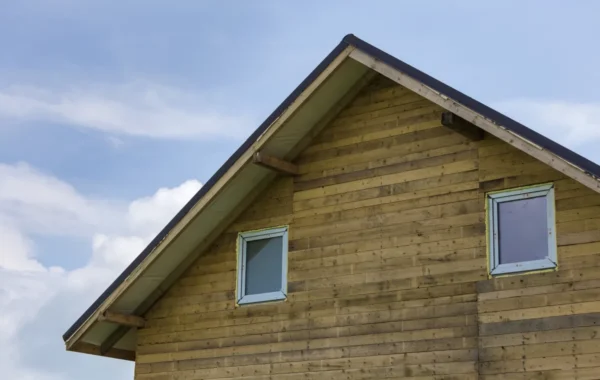
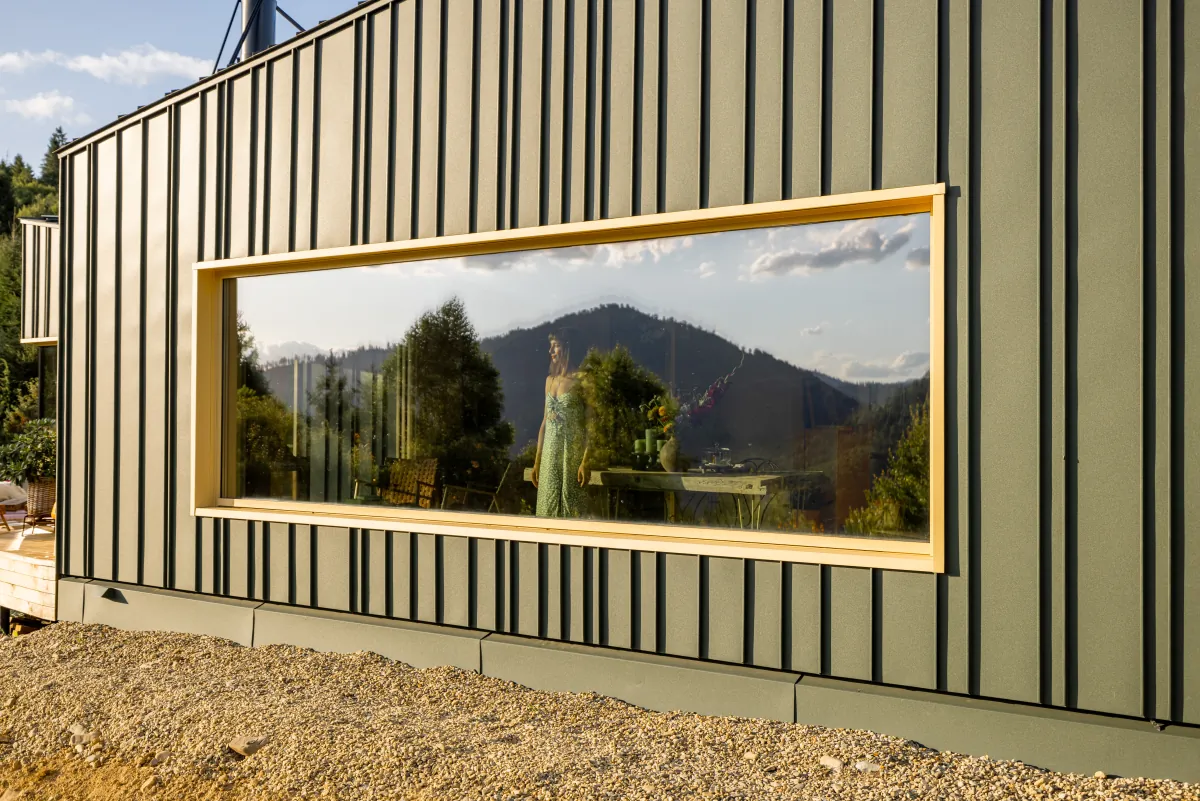
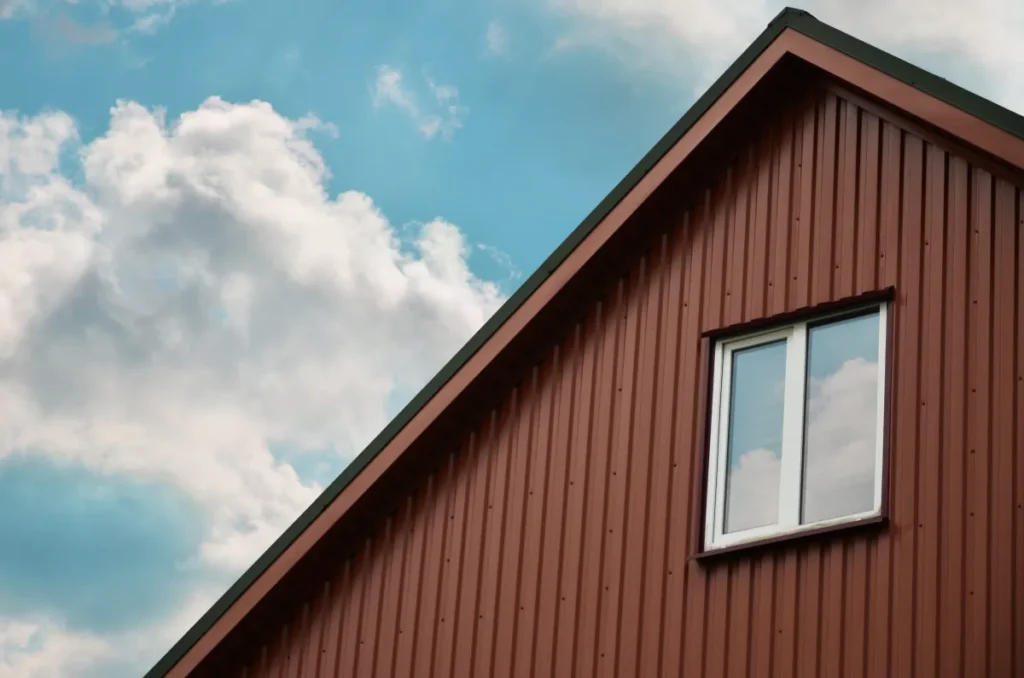
Vertical siding runs boards up-and-down instead of side-to-side. Additionally, It can make a home look taller and more modern, especially when you keep trim simple and spacing consistent. For example, The details matter because wind-driven rain will find any weak spot at windows, corners, and the bottom edge.
Design Decisions That Change The Look
- Profile: board-and-batten (wide boards + narrow strips) vs. V-groove vs. flat vertical panels.
- Board and batten sizes: width sets the “rhythm” of the wall.
- Texture: smooth vs. For example, wood-grain; it changes how the color reads in sunlight.
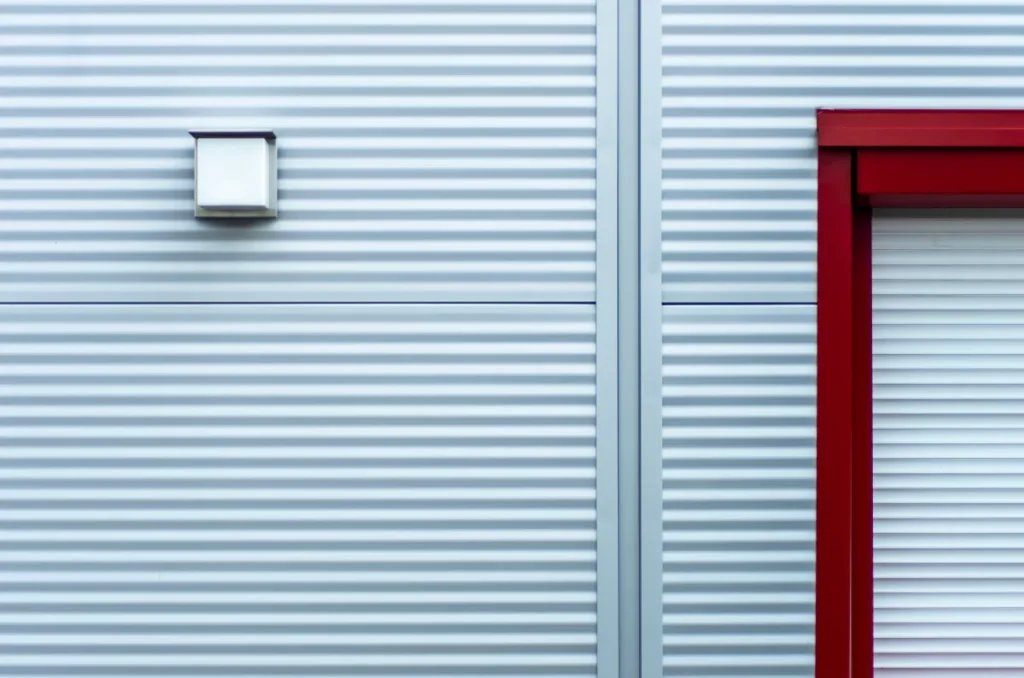
- Corner treatment: corner boards vs. metal corners vs. mitered corners.
- Window/door trim thickness: thicker casing looks more traditional; thinner looks more modern.
- Horizontal breaks: a skirt board or mid-wall trim can also reduce “tall wall” monotony.
- Color strategy: matching battens for a clean look or contrasting battens for definition.
- Mixing orientations: vertical accents paired with horizontal siding can work when it’s intentional.
Vertical Siding Layouts For Smaller Homes
On compact homes, narrow side yards, or ADUs, the layout can make the exterior feel bigger—or busier. For this reason, The goal is to keep the pattern calm and avoid awkward slivers at the edges.
- Use vertical siding on the front elevation or entry bump-out and keep the rest simple.
- Run vertical siding on gables or dormers to add height without redoing every wall.
- Choose a spacing plan that lands cleanly at corners and around windows.
- Keep trim widths consistent so the design feels intentional, not patchy.
Resale And Curb Appeal Priorities
Resale value is never guaranteed, but buyers do notice a straight, well-detailed exterior. As a result, Prioritize durable materials, clean trim lines, and water management details. Meanwhile, Hypothetical example: board-and-batten on an entry accent wall can highlight the front door without overwhelming a smaller facade.
Maintenance Tips That Matter
- Wash dust and pollen off once or twice a year with a gentle hose and soft brush.
- Keep sprinklers and soil away from the bottom edge; constant moisture shortens siding life.
- Inspect caulk at trim joints yearly and replace cracked sections before water gets in.
- Touch up paint quickly on scratches; raw edges can absorb water.
- Use kick-out flashing (a small diverter where a roof meets a wall) so water doesn’t dump behind siding.
Planning Checklist (Scope, Materials, Budget)
Siding projects go smoother when the scope is clear before materials arrive. Also, Most budget stress comes from hidden wall damage or from details that weren’t decided before ordering.
Scope Checklist (What’s Included)
- Are you removing existing siding or installing over it?
- How will rotten sheathing or framing be handled if it’s uncovered?
- What WRB (water-resistive barrier) will go behind the siding?
- How will flashing (metal or membrane that directs water out) be installed at windows, doors, and roof-to-wall areas?
- Will you include a rainscreen (a thin air gap) to help the wall dry out?
- How will vents, hose bibs, lights, and other penetrations be sealed and reinstalled?
- What trim is included (corners, window wraps, base board, transitions)?
- What finish is included (factory color, paint, or stain), and who maintains it?
Materials And Wall Build-Up Decisions
Material choice affects cost, maintenance, and the finished look. Meanwhile, Fiber cement is stable and paint-friendly, but it’s heavier and needs correct fasteners and clearances. Engineered wood can look like real wood and installs well, but it still needs good edge sealing and ongoing paint. Vinyl often costs less and doesn’t need paint, yet it expands with heat and can look wavy if installed too tight. Metal can look crisp and modern, though dents and noise can be concerns depending on the product.
Exterior Organization Upgrades To Plan Now
When siding comes off, you get a rare chance to add backing and plan placement for outdoor items so you don’t add random holes after the fact.
- Add blocking for hose reels, wall hooks, and small storage racks.
- Pre-plan mounting points for lights, house numbers, doorbells, and security cameras.
- Confirm vent locations (dryer, bath fan) and upgrade covers if needed.
- Plan downspout placement so water drains away from the wall base.
- Route any wiring or low-voltage lines before the wall gets closed back up.
Key Decisions At A Glance
| Decision | Common options | What affects cost/timeline |
|---|---|---|
| Material | Fiber cement, engineered wood, vinyl, metal | Lead times, cutting/fastening method, finishing steps |
| Wall prep | Minor repairs vs. rot replacement vs. added rainscreen | Hidden damage and drying details can add time |
| Trim package | Minimal modern trim vs. traditional wide casing | More corners/cuts/caulk = more labor |
| Finish | Factory color vs. field paint | Painting adds steps; factory finishes can simplify |
Related Exterior Work To Consider
Siding work overlaps with other exterior upgrades because crews already have access to the walls. Overall, If you’re considering window replacement, exterior painting, gutters, fascia repair, or insulation upgrades, it can be smart to plan them together. You can review service options at US Construction & Remodeling Corp..

Permits And Inspections (General)
US Construction & Remodeling Corp. In addition, helps homeowners plan vertical siding projects with a clear scope, the right wall details, and a realistic schedule. In the Sacramento area, we can also explain how permitting and inspections typically flow for your address and scope.
Book a planning call to map your timeline, material lead times, and any permit steps. Prefer the phone? Call +1 (916) 234-6696.
Permit needs vary across California by city/county and by what you’re changing. Meanwhile, A like-for-like replacement can be simpler in some areas, but the moment you change the wall assembly or do structural work, the rules often change.
- If you repair structural framing or change a shear wall (a wall that resists wind and earthquake forces), expect permitting to apply.
- If you add or enlarge window/door openings, plan for plan review.
- If you move electrical fixtures, vents, or gas piping, separate trade permits may apply.
- If you’re in an HOA, confirm architectural rules before ordering materials.
Inspections can also vary. Also, Some jurisdictions want to see the WRB and flashing before siding covers it. Your local building department has the final say, and a good contractor should help you confirm what applies before the schedule is locked.
Related reading
- Metal Roofing Panels: Planning Guide for California
- Wood Siding Homes: A California Guide
- Home Siding Options in California: Materials, Checks & Timeline
- Commercial Gutters (CA): Materials + Leak Prevention
- House Siding Cost in California: Ranges & Timeline
- How Do I Install Vinyl Siding? California Guide
Frequently Asked Questions
Timing depends on the size of the home, how much siding you’re replacing, and whether repairs are necessary under the old material. On-site work can take anywhere from several days to a couple of weeks for many homes, and planning (choices, ordering, permits when needed) can add more time.
The fastest path is clear decisions up front: profile, material, trim details, and how the wall will be protected from water.
It depends on the jurisdiction and what you’re changing. A like-for-like replacement can be simpler in some areas, but structural repairs, new openings, exterior insulation changes, or moving utilities can trigger permits and inspections.
Check with your local building department for your address. A contractor should help you confirm the requirements before dates and materials are locked.
“Best” depends on your priorities: look, maintenance, and budget.
- Fiber cement: stable and paint-friendly when installed to manufacturer specs.
- Engineered wood: wood look with planned sealing and paint maintenance.
- Vinyl: lower maintenance, but needs correct fastening for expansion.
- Metal: clean lines and low maintenance, with dent/noise considerations.
Cost is mostly about labor time and what’s hiding behind the existing exterior.
- Total wall area and height/access
- Tear-off vs. installing over existing siding (when appropriate)
- Rot repair and wall straightening
- Trim complexity (corners, window wraps, transitions)
- Material choice and finishing (factory vs. paint)
- Permit/inspection steps when applicable
Sometimes, but not always. Installing over existing siding can create a flatter surface in some cases, yet it can also hide damage or trap moisture if the wall assembly can’t dry properly. Manufacturer instructions and the condition of the existing siding matter.
A site visit should confirm whether tear-off is the safer option so the wall can be inspected and detailed correctly.
Ask questions that tie directly to durability and schedule.
- What WRB and flashing details will you use at windows/doors?
- Will you include a rainscreen or other drying strategy?
- Who handles permits and inspections if they apply?
- How will you document changes (written change orders)?
- What is the expected timeline, including ordering lead times?
- How do you protect landscaping and manage daily cleanup?