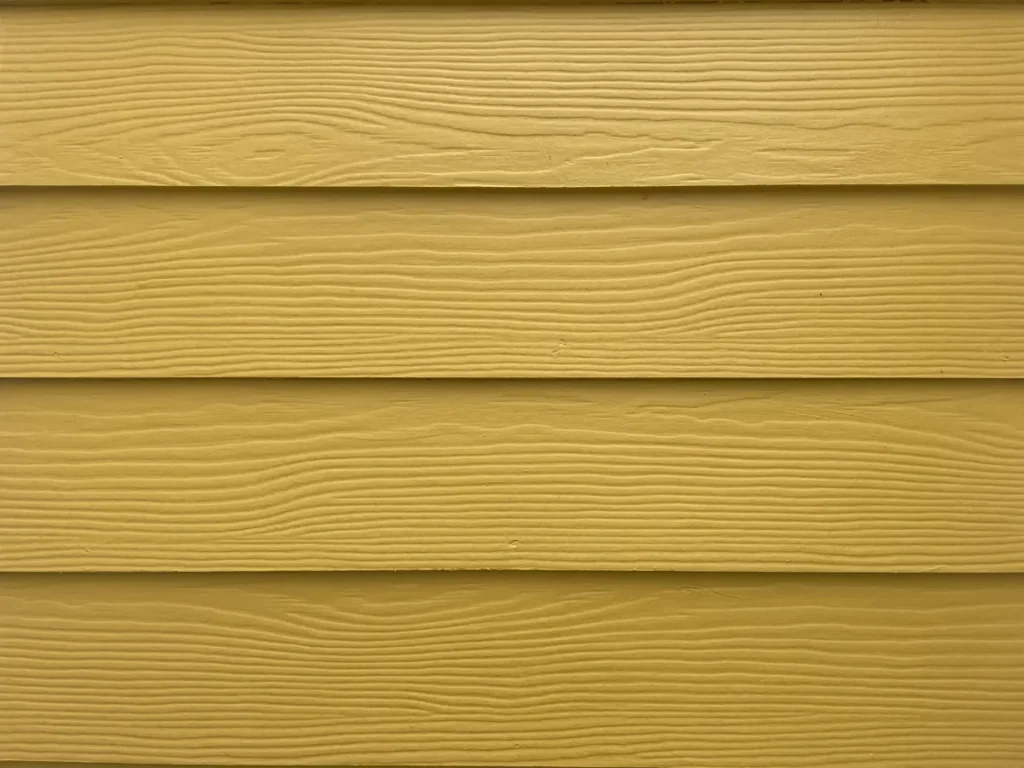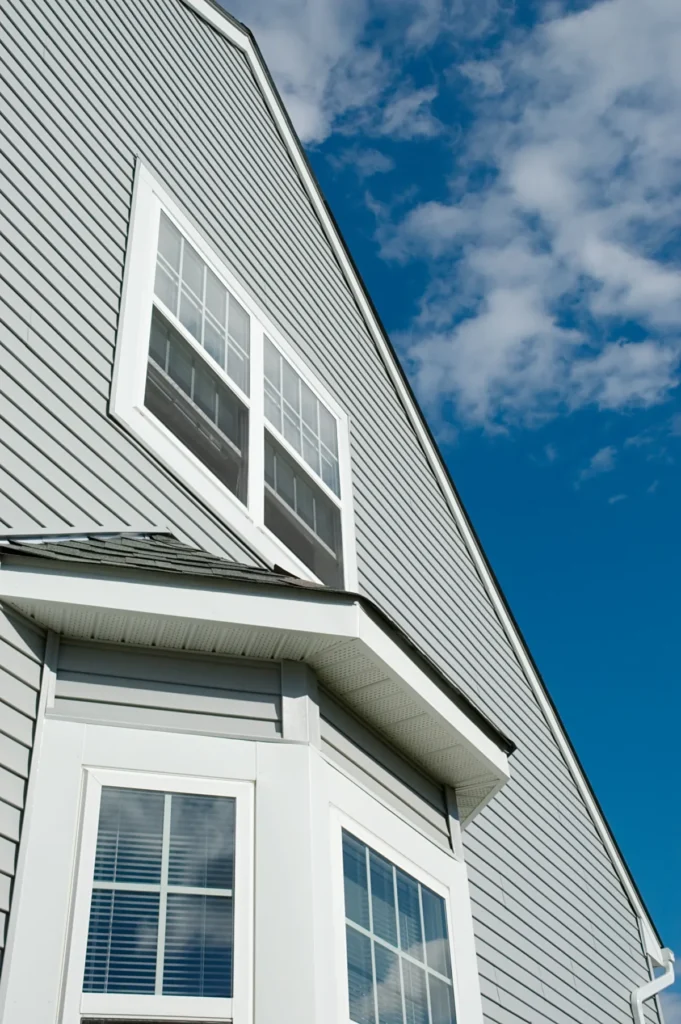
If your home’s exterior looks worn or you’re tired of constant repainting, it may be time to rethink your siding. Many homeowners consider engineered wood siding because it’s a wood-based cladding (the protective outer “skin” of a house) made for consistent strength and straighter lines.
This guide shows how to plan the project in California: what usually changes during an upgrade, how permits tend to work, and what maintenance looks like after install. US Construction & Remodeling Corp. can review your goals and recommend a practical scope based on what we can see on-site.
TL;DR: The boards matter, but the layers behind them matter more. Focus on flashing (the parts that direct water out) and a weather-resistive barrier, also called a WRB. When you plan trim, drainage, and finish up front, the install is smoother and easier to maintain.
Quick Checklist:
- Walk the exterior and note soft spots, open seams, and staining
- Decide on full tear-off vs. overlay (when allowed)
- Choose a profile: lap, board-and-batten, or panels
- Confirm window/door flashing details before demo
- Check permit needs with your local building department
- Pick your finish plan: factory-finished or field-painted
Want a straight answer on options and rough timing? Call +1 (916) 234-6696. Prefer online scheduling? Free estimate.
Signs It’s Time For Engineered Wood Siding
| Decision | Why it matters | Quick check |
|---|---|---|
| Material choice | Durability and maintenance differ by material. | Compare fiber cement vs vinyl and verify warranties. |
| Moisture management | Water control prevents rot and mold. | Confirm housewrap and flashing details around openings. |
| Trim & transitions | Details control fit and long-term sealing. | Specify corners, soffit/fascia scope, and finish plan. |
| Access & protection | Staging affects speed, cost, and safety. | Plan scaffolding, landscaping protection, and cleanup. |
- Paint peels again within a year, also even after scraping and priming
- Bottom edges look swollen or soft, which often points to trapped moisture
- Caulk lines at joints split open and you keep chasing leaks
- Stains show under windows or at roof-to-wall intersections after rain
- Boards are cupped, warped, or pulling away from the wall
- Patch repairs stand out, and the exterior looks uneven from the street
- You find ant trails or gaps where pests can enter behind siding
- You’re replacing windows or doors and want trim that ties in cleanly
- You want a wood look with more consistent board quality than old lumber
- You want a curb-appeal update without changing the home’s footprint
One issue might be a repair. Meanwhile, Several issues at once usually mean the wall needs a full plan, not another patch. For example, The goal is a tighter exterior that sheds water, stays straight, and is easier to repaint later.
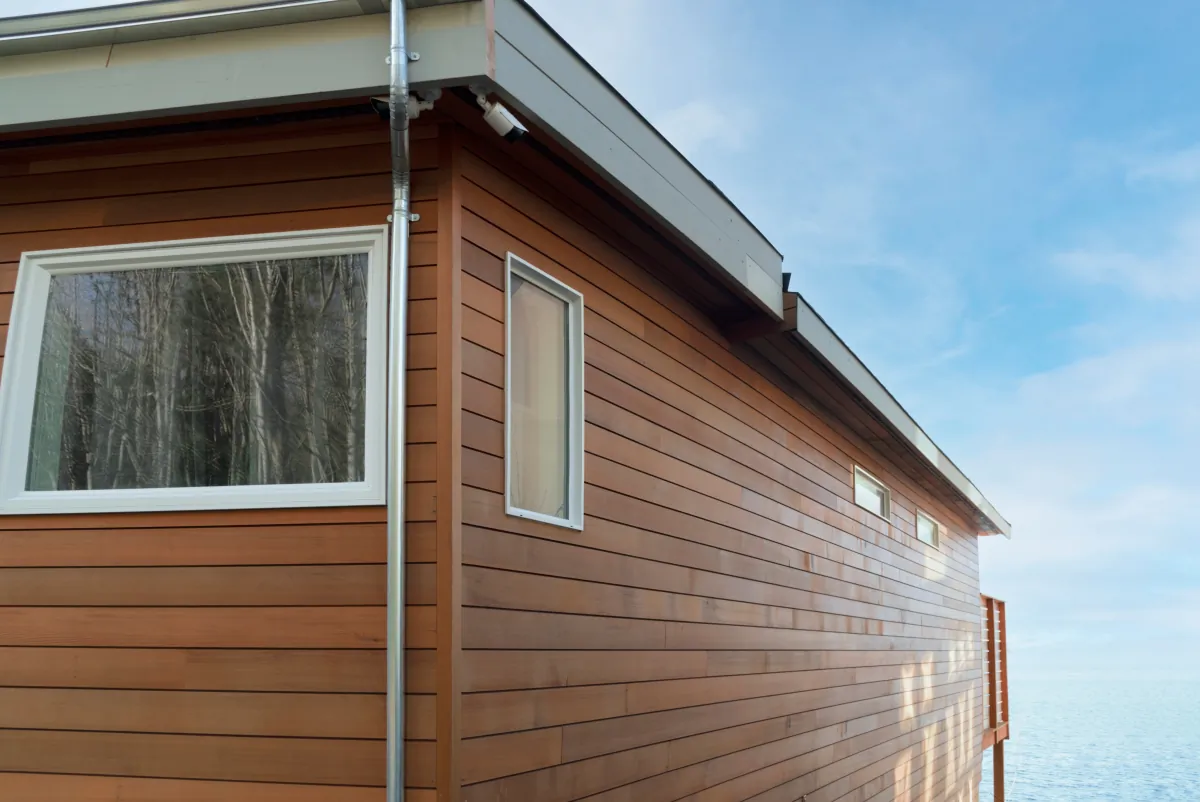
Engineered wood products can be a smart fit if you like the look of wood and you want predictable lines for trim, corners, and reveals. They also work well when you want to upgrade the wall layers behind the siding without changing the character of the home.
Hypothetical Before-And-After Snapshot
Hypothetical example: A homeowner notices swelling at the lower edges, cracked caulk at windows, and multiple mismatched patches from past repairs. As a result, During tear-off, the crew finds a few areas of damaged sheathing (the panel behind the siding) and replaces them.
After the repair, the wall gets a continuous weather-resistive barrier (WRB) and new flashing around openings. Additionally, The home is re-sided with horizontal lap boards, updated corner trim, and a finish plan that includes easy touch-ups.
Who This Upgrade Fits Best
This service is a good match if you want a cleaner exterior, fewer recurring repairs, and a wall assembly that manages water better than what you have now.
- Homeowners who plan to stay and want a durable exterior system
- Homes with recurring paint failure, swelling edges, or known leak points
- Projects that pair siding with new windows, doors, or updated trim
- Owners who want the wood look with practical maintenance
If you’re coordinating siding with broader exterior updates, our home remodeling services can help you plan the work in a logical order.
Common Upgrade Paths (What Changes Most)
Most siding projects land in a few common paths. Also, The right one depends on what’s behind the existing boards and how much you want to change the exterior look.
- Like-for-like re-siding: replace the cladding and trim where the wall is dry, flat, and sound
- Full tear-off: remove siding to the sheathing, make repairs, then rebuild the wall layers and re-side
- Design refresh: update corner boards, window trim, frieze boards, and accent areas (like gables)
- Performance upgrade: add a rainscreen gap and improved flashing details to help the wall dry
- Coordinated exterior: combine siding with soffit/fascia work, gutters, and exterior paint
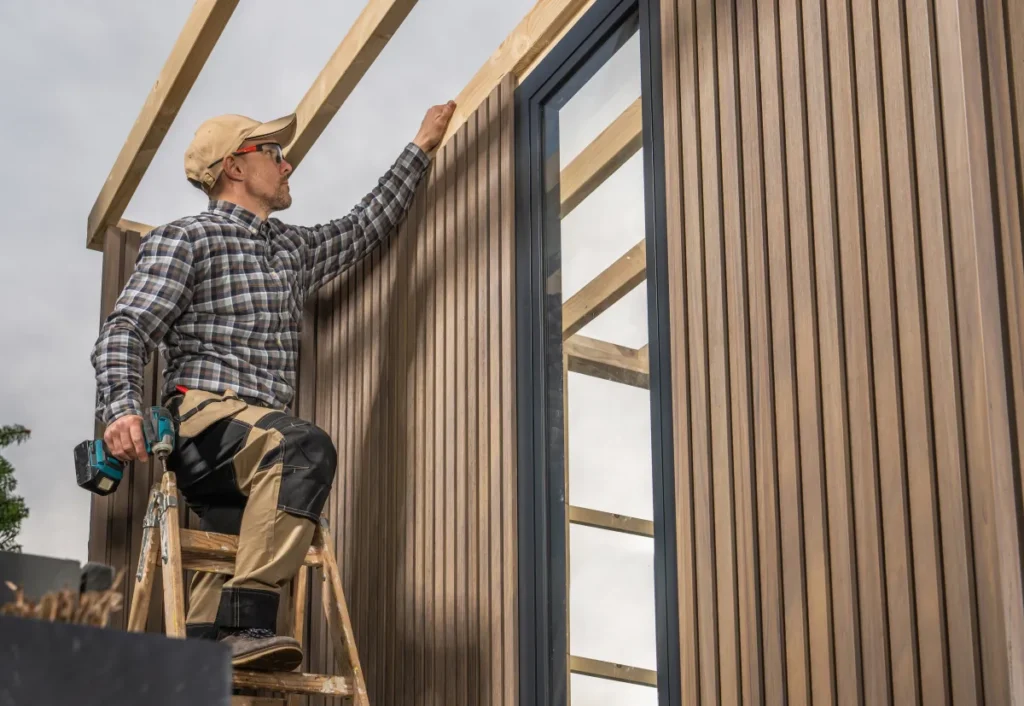
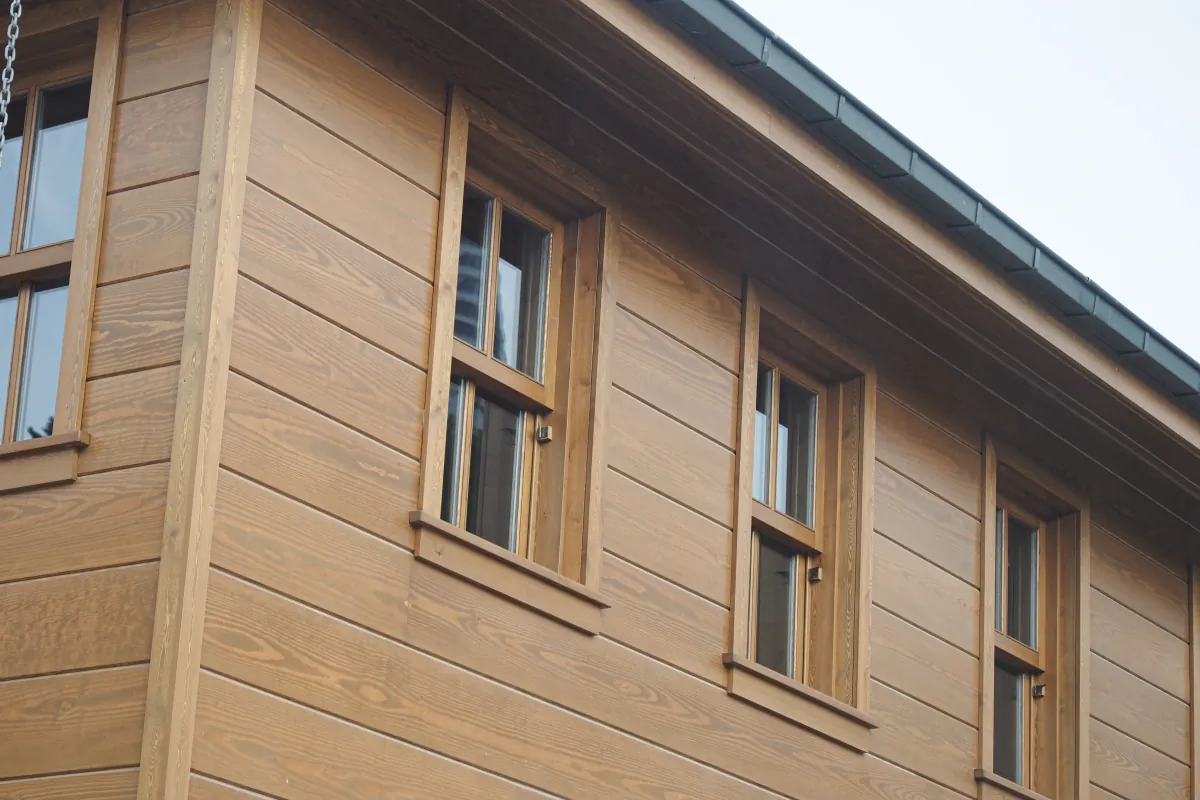
With engineered wood siding, you can keep a classic lap look, go vertical with board-and-batten, or combine profiles for a more modern elevation. For this reason, The best choice is the one that fits your home’s style and your maintenance comfort level.
Plan The Siding “Layout” Before Boards Arrive
Layout planning is simply deciding where boards start and stop so seams, trim, and reveals look intentional. Overall, The “reveal” is the visible height of each lap board after overlap.
- Pick a profile: lap (horizontal), board-and-batten (vertical), or panel accents
- Decide reveal size and where your horizontal lines land around windows
- Plan corner details (inside/outside corners, corner boards, or mitered corners)
- Set rules for seams so they don’t stack in a straight line up the wall
- Confirm trim thickness so siding sits flush and caulk lines stay clean
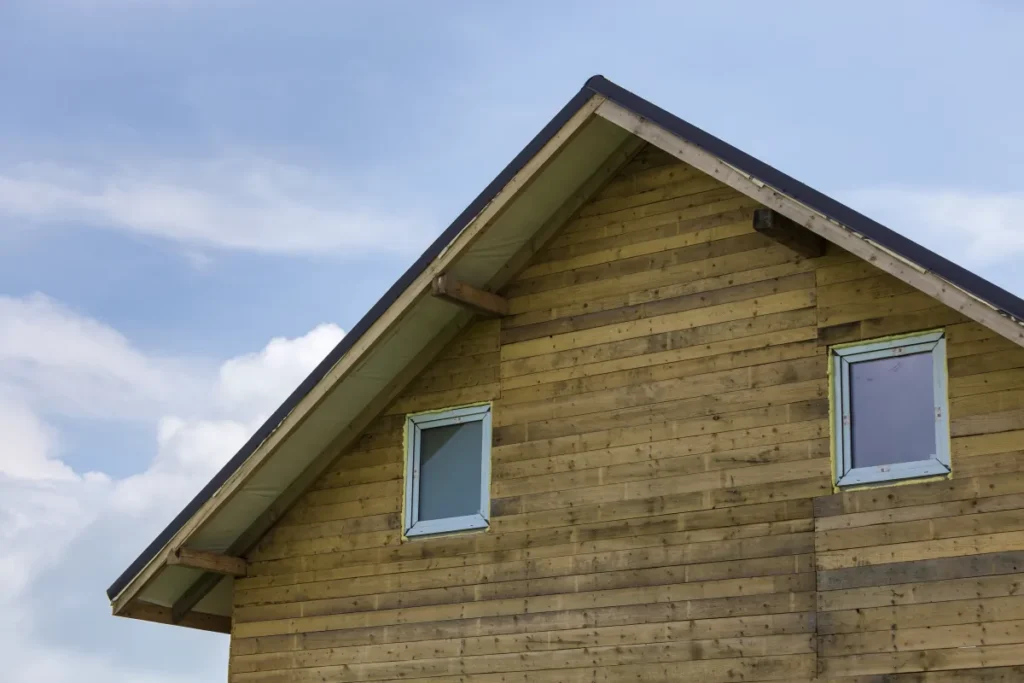
Moisture Details That Protect The Wall
Engineered wood performs best when it stays dry. In addition, That means managing the layers behind the boards and the transitions around openings.
- WRB: the weather-resistive barrier is the sheet layer that helps shed water behind siding
- Flashing: metal or membrane pieces that direct water away from windows, doors, and roof lines
- Clearances: keep siding above roofs, decks, and grade per manufacturer requirements
- Rainscreen gap: a thin air space that lets water drain and helps the wall dry
- Penetrations: vents, lights, and hose bibs need boots or flashing, not just caulk
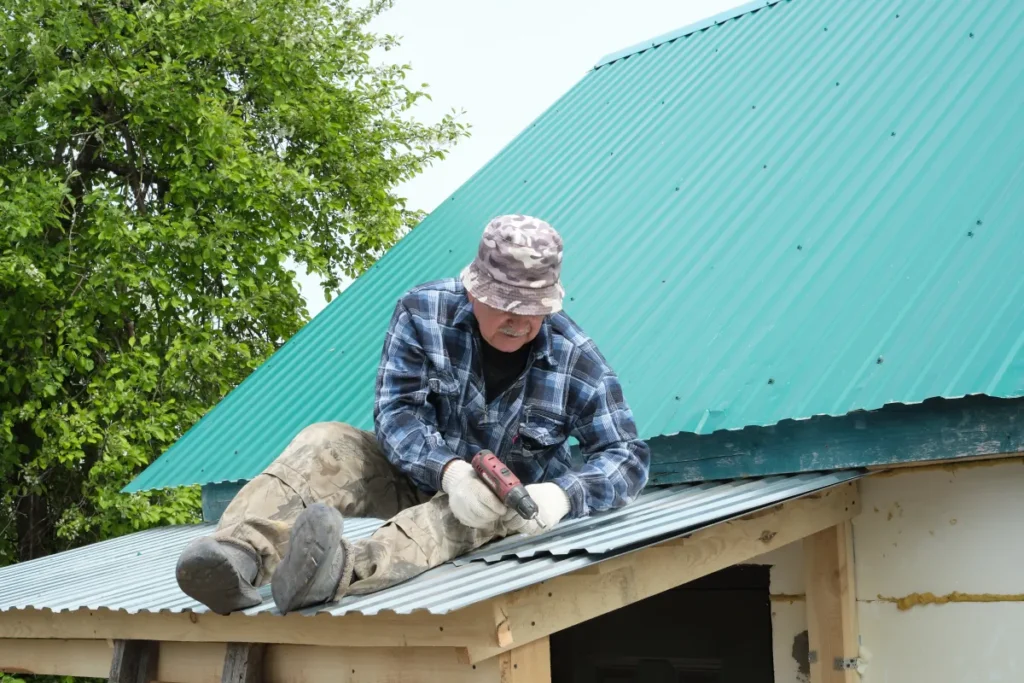
Working Around Tight Access (Small-Space Layouts)
Narrow side yards, short setbacks, and fences change how a crew stages ladders and materials. For example, Planning access early keeps the site safer and reduces downtime.
- Confirm access points and protect walk paths for your household
- Decide whether scaffolding is necessary for safer, steadier work
- Coordinate deliveries so material doesn’t block garages or driveways
- Plan for debris control and where the dumpster can sit
Keeping The Jobsite Organized
Organization prevents damaged boards and missed hardware. It also makes the project less disruptive day-to-day.
- Store boards flat, off the ground, and protected from water
- Label materials by elevation so the right pieces go to the right wall
- Keep fasteners, flashings, and sealants in a dedicated bin
- Set a daily clean-up standard to keep nails and scraps under control
Quick Decision Table
| Decision | Good fit when | Impact on cost/timeline |
|---|---|---|
| Tear-off vs. overlay | You need repairs, or you want full visibility of the wall layers | Tear-off adds labor but reduces unknowns |
| Trim package | You want cleaner lines around windows/doors and corners | More trim detail adds labor and paint time |
| Rainscreen gap | You want better drainage and drying behind cladding | Can add material and detailing time |
| Finish choice | You prefer factory-finished boards or a field-paint approach | Field paint can add days; factory finish may raise material cost |
| Repair allowance | Older exteriors or known leak areas | Repairs can shift budget once walls are opened |
Budget Ranges And Timeline (Typical)
Pricing varies because siding is labor-heavy and every home has different access, trim, and repair needs. Additionally, Use these ranges to set expectations, then get a site visit for real numbers.
Budget Ranges And Timeline (Typical)
- Spot repairs or one elevation: a few thousand to low five figures
- Whole-home re-siding: often mid five figures to six figures, depending on height and repairs
- On-site work time: roughly 1–2 weeks for small scopes; 2–6+ weeks for larger exteriors
- Permits, plan review, and inspections can add days or weeks, depending on jurisdiction
What Pushes The Budget Up Or Down
- How much siding must come off to reach sound sheathing
- Number of windows, doors, corners, and penetrations to detail
- Height and access (single-story vs. multi-story work areas)
- Trim complexity and whether you change soffit/fascia at the same time
- Finish plan (factory finish vs. on-site paint and touch-up schedule)
If you want a realistic ballpark for your home, a quick call is often faster than guessing from photos. For this reason, Reach us at +1 (916) 234-6696.
Permits And Scheduling Notes
California permit rules vary by city and county. In addition, Depending on scope, replacing siding may require a building permit, especially if you’re removing sheathing, making structural repairs, or changing windows and doors.
A contractor should confirm requirements for your address and spell out who handles permits and inspection scheduling when required. As a result, Build that lead time into the plan so the exterior isn’t left open longer than necessary.
Planning To Closeout
- Walk the exterior and document damage, soft spots, and leak-prone transitions
- Choose the siding profile, reveal, trim style, and finish approach
- Confirm permit needs and whether drawings or product specs are necessary
- Order materials and plan staging so boards stay dry and flat
- Protect landscaping and set up access (ladders or scaffolding)
- Remove existing siding and inspect sheathing and framing
- Complete repairs, then install WRB and flashing details
- Install siding, trim, and sealants per manufacturer instructions
- Complete paint/finish work, then handle punch list items
- Close out with any required inspections and a homeowner walk-through
Maintenance Tips For Long-Term Performance
Engineered wood lasts longer when you keep water away from the boards and stay ahead of small touch-ups.
- Keep gutters and downspouts working so water doesn’t sheet down the wall
- Maintain caulk at trim joints and re-seal when it cracks
- Touch up chips in paint or factory finish promptly
- Keep soil and mulch from piling against the bottom edge of siding
- Avoid sprinklers spraying directly onto walls
- Do a quick visual check after major storms
Serving Sacramento Homeowners
US Construction & Remodeling Corp. As a result, helps Sacramento homeowners plan and install engineered wood siding with clear scope, careful moisture detailing, and a clean closeout. Overall, We’ll walk the exterior with you, explain what’s repairable versus what should be replaced, and outline options that match your budget and maintenance comfort level.
Call +1 (916) 234-6696 to talk through your project. Overall, If you’d rather book online, use our Free estimate.
Sacramento Permitting Note (When It Applies)
If your home is within Sacramento city limits, permitting and plan review typically run through the City of Sacramento Community Development portal (Accela Citizen Access). As a result, Applications, payments, and status tracking are handled online.
Homes outside the city can fall under different jurisdictions, so the right first step is always confirming requirements for the exact address and scope.
Trust And Verification Checklist
- Licensing and insurance: ask for current documentation and verify it before work starts
- Permit responsibility: confirm who submits, pays, and schedules inspections when required
- Written scope: require WRB, flashing, trim, and finish details in writing
- Communication: set a point of contact and a simple method for approving changes
- Workmanship review: walk the exterior before final payment and keep photos of hidden layers
US Construction & Remodeling Corp. • +1 (916) 234-6696 • US Construction & Remodeling Corp.
Helpful Links
Frequently Asked Questions
How long does engineered wood siding last?
Lifespan depends less on the label and more on moisture control and maintenance. When the wall layers manage water well, clearances are correct, and the finish is maintained, engineered wood products can perform for many years.
- Keep bottom edges clear of soil and standing water
- Maintain caulk and touch up paint/finish when it chips
- Fix gutter or roof drainage issues quickly so walls stay dry
For any specific product, the most reliable reference is the manufacturer’s installation instructions and warranty.
What’s the difference between engineered wood and fiber cement siding?
They’re different materials. Engineered wood is wood-based and typically lighter, while fiber cement uses cement and cellulose fibers and is usually heavier and more brittle to cut. Both can look great when installed correctly.
- Handling and cutting: fiber cement often needs specialized cutting methods and dust control
- Moisture detailing: both rely on WRB and flashing done correctly
- Finish: either can be factory-finished or painted, depending on the product line
Do I need a permit to replace siding in California?
Sometimes. Requirements vary by city and county and by the scope of work. Many jurisdictions are more likely to require permits when the project includes structural repair, sheathing replacement, or window/door changes.
A contractor should confirm the rules for your address and explain who will handle the permit and inspection scheduling if it’s required.
Can engineered wood siding be installed over existing siding?
In some cases, but it’s not always the best approach. Installing over existing siding can hide damage, create uneven walls, and make flashing details harder to execute. It also needs to align with manufacturer instructions and local requirements.
If you’re considering an overlay, ask how the contractor will confirm the wall is dry, flat, and sound before covering it.
What drives the cost of an engineered wood siding job?
Access and detailing drive most pricing. Siding also exposes hidden conditions, so repairs can change the final number after demolition.
- Height, access, and whether scaffolding is necessary
- Number of windows, doors, corners, and penetrations to flash
- Extent of sheathing or framing repairs once the wall is opened
- Trim complexity and whether soffit/fascia work is included
- Finish approach (factory finish vs. paint on site)
How should I compare bids for a siding project?
Compare scopes, not just totals. Two bids can look similar while covering very different wall layers and details.
- Does the price include tear-off and disposal, or partial removal?
- What WRB, flashing method, and sealants are specified?
- How are repairs handled if damaged sheathing is found?
- Is the trim package defined (corners, window trim, fascia transitions)?
- Who handles permits and inspection scheduling when required?
verify the contractor’s license and insurance and make sure the payment schedule matches real milestones, not just calendar dates.
Licensed, insured & trusted local contractor
US Construction & Remodeling Corp.
4424 Freeport Blvd, Sacramento, CA, 95822
Phone: +1 (916) 234-6696
CSLB License #: 1117562 Fully licensed and insured.
View our Google Business Profile
Related articles
- Kitchen Remodel Permits in El Dorado Hills: Checklist + Timeline
- Kitchen Remodeling
- Kitchen Remodeling Contractor in Roseville: Timeline + Checklist
Lifespan depends less on the label and more on moisture control and maintenance. When the wall layers manage water well, clearances are correct, and the finish is maintained, engineered wood products can perform for many years. For any specific product, the most reliable reference is the manufacturer’s installation instructions and warranty. They’re different materials. Engineered wood is wood-based and typically lighter, while fiber cement uses cement and cellulose fibers and is usually heavier and more brittle to cut. Both can look great when installed correctly. Sometimes. Requirements vary by city and county and by the scope of work. Many jurisdictions are more likely to require permits when the project includes structural repair, sheathing replacement, or window/door changes. A contractor should confirm the rules for your address and explain who will handle the permit and inspection scheduling if it’s required. In some cases, but it’s not always the best approach. Installing over existing siding can hide damage, create uneven walls, and make flashing details harder to execute. It also needs to align with manufacturer instructions and local requirements. If you’re considering an overlay, ask how the contractor will confirm the wall is dry, flat, and sound before covering it. Access and detailing drive most pricing. Siding also exposes hidden conditions, so repairs can change the final number after demolition. Compare scopes, not just totals. Two bids can look similar while covering very different wall layers and details. verify the contractor’s license and insurance and make sure the payment schedule matches real milestones, not just calendar dates.Frequently Asked Questions