If you’re researching aluminum siding for your home, you’re likely balancing curb appeal, durability, and how disruptive the work will feel. This guide gives California homeowners a practical way to compare options and plan the job.
TL;DR: The best results come from a clear scope, smart seam and trim planning, and solid water-management details behind the panels. For quick answers, call +1 (916) 234-6696.
Quick Checklist:
- Decide: repair a few areas or replace full elevations.
- Ask what’s included for weather barrier and flashing at windows and doors.
- Choose a panel profile and finish that fit your climate and style.
- Plan trim, soffit, and fascia so the whole exterior matches.
- Flag access constraints (tight side yards, decks, landscaping, second story).
- Clarify debris disposal, daily cleanup, and who handles permit questions.
What Changes The Experience The Most For Aluminum Siding
| Decision | Why it matters | Quick check |
|---|---|---|
| Material choice | Durability and maintenance differ by material. | Compare fiber cement vs vinyl and verify warranties. |
| Moisture management | Water control prevents rot and mold. | Confirm housewrap and flashing details around openings. |
| Trim & transitions | Details control fit and long-term sealing. | Specify corners, soffit/fascia scope, and finish plan. |
| Access & protection | Staging affects speed, cost, and safety. | Plan scaffolding, landscaping protection, and cleanup. |
Most siding headaches come from details that get decided late. As a result, When you compare aluminum siding options, focus on the few decisions that affect both durability and appearance so the job moves faster and the finish looks intentional.
- Profile choice: Horizontal lap reads classic; vertical panels feel more modern.
- Seam placement: Thoughtful joint layout keeps the façade from looking “patchy.”
- Trim package: Corners, also window/door trim, and belly bands add definition.
- Finish type: Factory finishes and field-painted panels behave differently over time.
- Thickness (gauge): Thicker panels generally resist dents better.
- Behind-the-siding prep: Housewrap, flashing tape, and drip edges protect the wall.
- Insulation strategy: Foam wrap or targeted air sealing can improve comfort.
- Penetrations: Hose bibs, lights, vents, and outlets need clean blocks and seals.
- Soffit/fascia coordination: Matching these details makes the exterior look finished.
- Touch-up plan: Plan for minor dings and paint chips before they happen.
Staging Materials Without Clutter
A re-side brings pallets, ladders, and debris. For this reason, A simple staging plan keeps access safe and prevents “stuff everywhere” stress.
- Pick one landing zone for materials and keep walkways and gates clear.
- Protect driveways and patios where tools and cut stations sit.
- Ask for daily pickup and a nail sweep where people and pets walk.
- Set expectations for where a debris bin can park and how long it will stay.
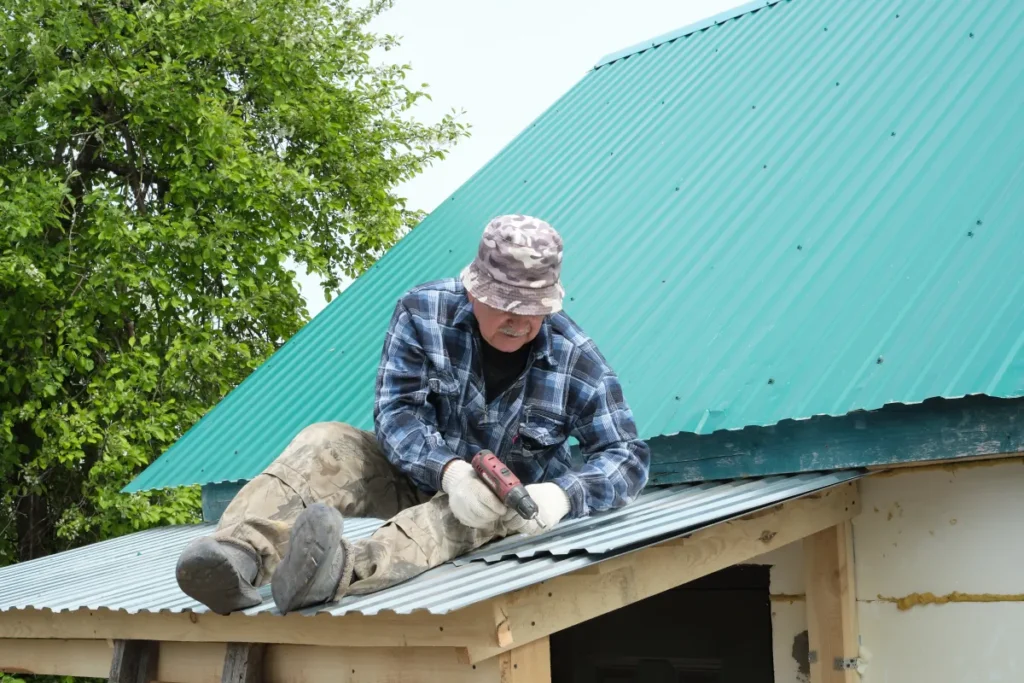
When The Side Yard Is Tight
Narrow setbacks and fences can slow the job if nobody plans for them. Meanwhile, Good crews measure access early and choose the right setup for each elevation.
- Measure clearance for ladders or compact scaffolding before scheduling.
- Mark sprinklers, drip lines, and delicate plants so they don’t get damaged.
- Decide how the team will move waste out without dragging it through landscaping.
- If neighbors are close, plan work hours and noise expectations up front.
Layout And Function Improvements
New panels change the look, but the bigger win often comes from how well the wall manages water and air. Overall, Use the project to clean up details around windows, doors, and transitions so the exterior performs better year-round.
Planning Seams, Corners, And Transitions
Good layout planning makes the finished siding look intentional instead of “assembled.” It also helps avoid surprise cuts around fixtures and rooflines.
- Align seams and trim lines with natural break points (corners, downspouts, or inside returns).
- Plan clean transitions where siding meets stucco, brick, or stone veneer.
- Decide how you want to handle gables, eaves, and belly bands before installation starts.
- Confirm where vents and exterior lights will land so blocks and seals look tidy.
Function Upgrades That Fit The Scope
Depending on what’s behind the existing cladding, you may have an opportunity to improve comfort and durability without turning the job into a full rebuild. Additionally, Even small upgrades can pay off, especially around openings and penetrations.
- Water management: prioritize flashing details at openings and roof-to-wall intersections.
- Weather barrier: verify what wrap and tapes are included, and how they tie into existing conditions.
- Air sealing: seal obvious gaps around penetrations while walls are open.
- Ventilation and moisture: keep soffit and wall venting clear; don’t trap moisture behind new panels.
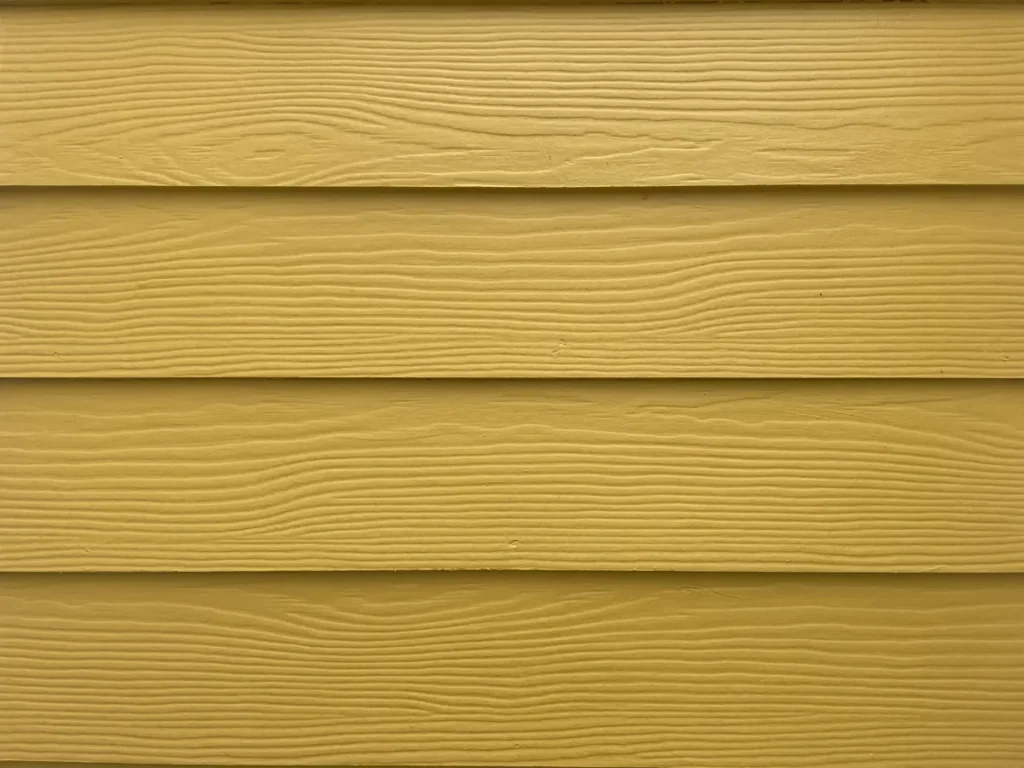
Materials And Finish Options
Aluminum is lightweight and doesn’t rot, which makes it attractive for many homes. In addition, For aluminum siding, the gauge and finish usually matter more than a small price difference because they influence dent resistance, fading, and touch-ups.
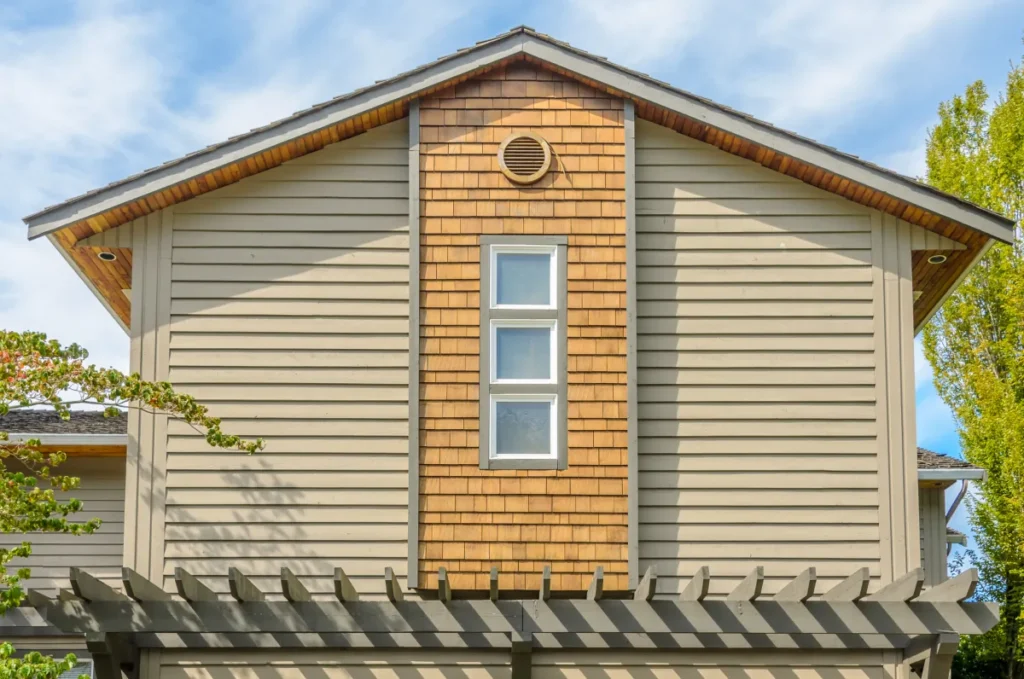
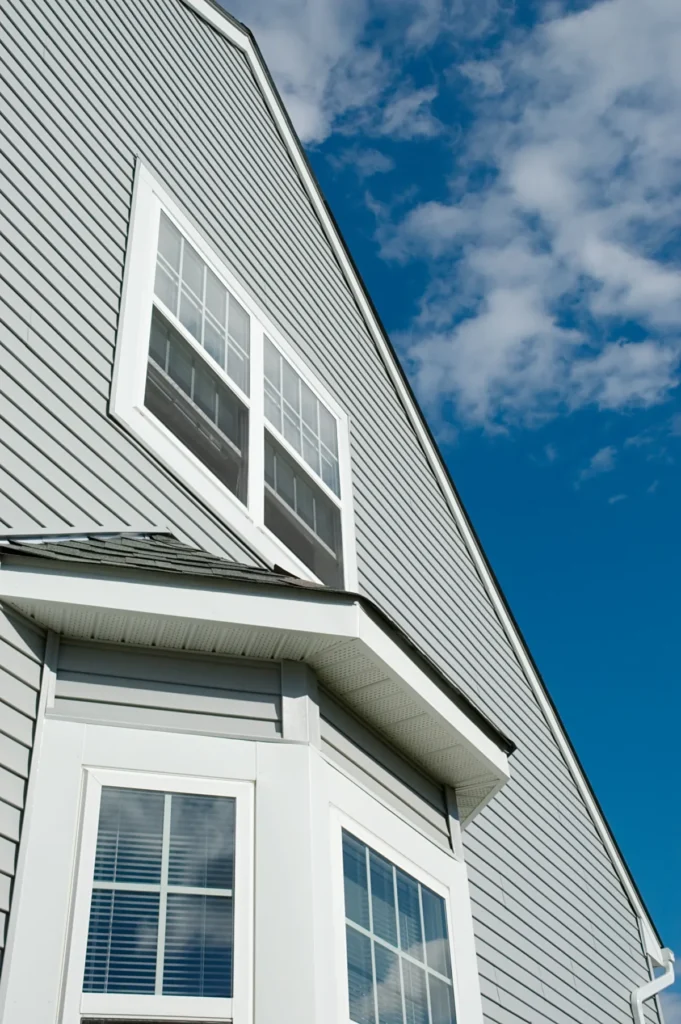
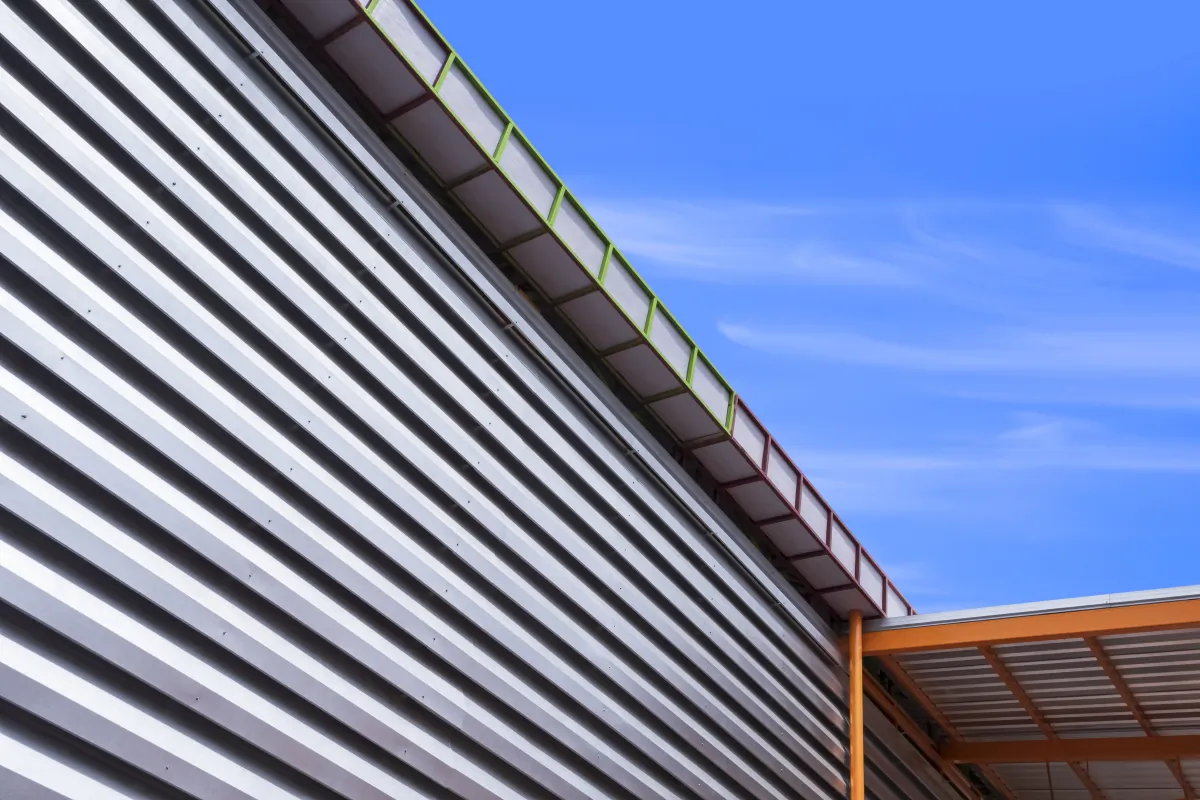
Profiles And Panel Details
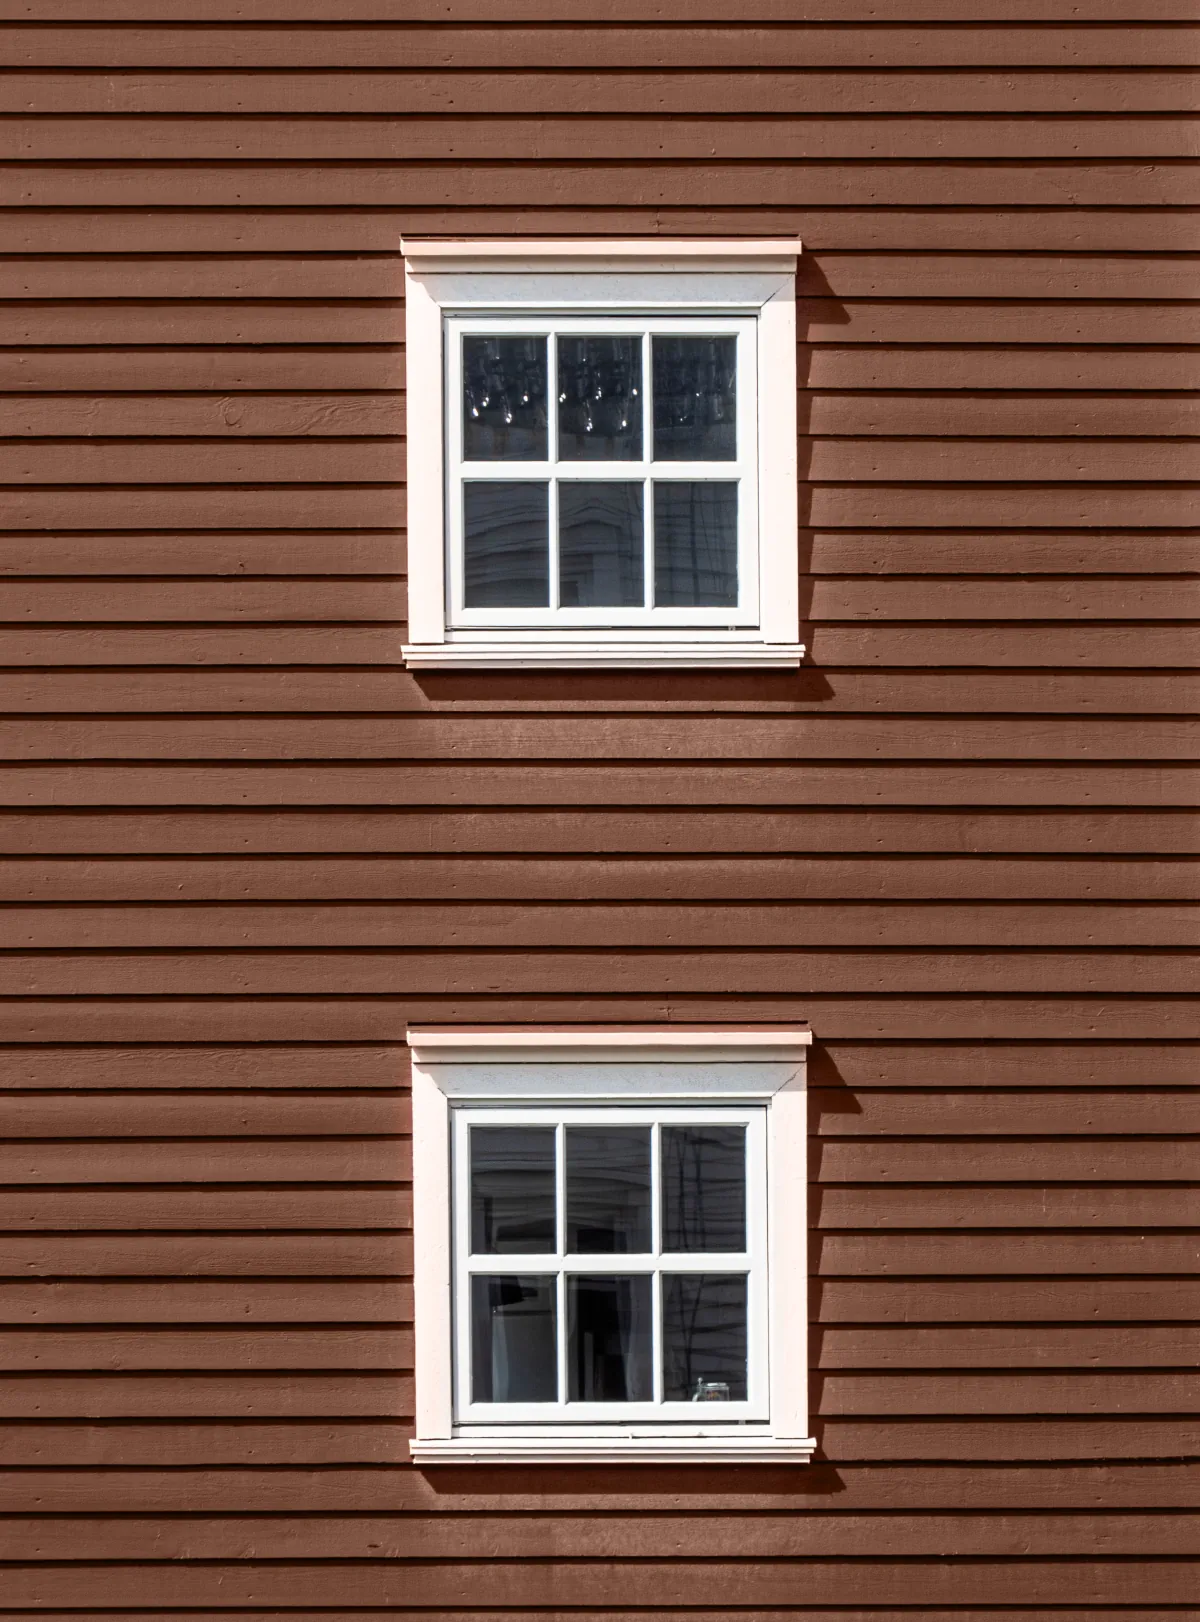
- Traditional lap: a familiar look that pairs well with many trim styles.
- Vertical panels: strong lines for modern exteriors or accent walls.
- Textured vs. Also, smooth: texture can hide minor waves; smooth reads crisp but shows defects.
- Soffit panels: coordinate vented and solid soffit where needed.
Finish And Color Choices
Finish decisions affect maintenance and long-term appearance. For example, In sunny areas, lighter colors can reduce heat buildup, while darker colors can look sharp but may show chalking or touch-ups sooner.
- Ask whether the finish is factory-applied, field-painted, or a mix.
- Review color samples outdoors, not just under indoor lighting.
- Confirm how the crew handles cut edges, touch-up paint, and fastener visibility.
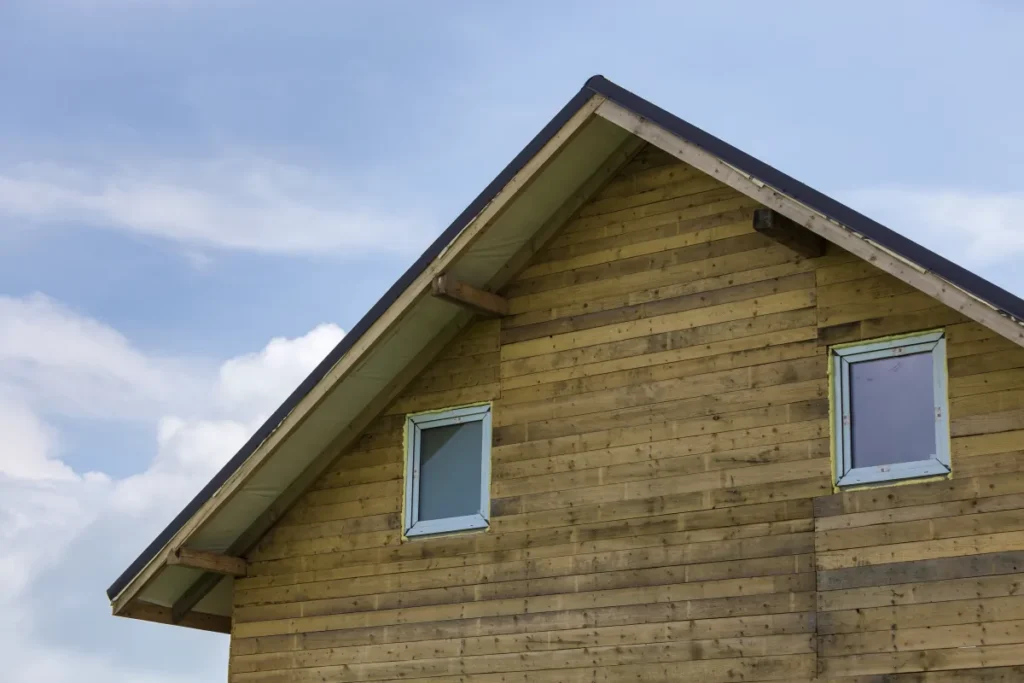
Trim, Fascia, And Accessory Decisions
Trim is where siding projects look “high-end” or rushed. As a result, Spend time on corners, window/door returns, and how gutters and downspouts tie in.
- Corner posts, J-channel, and drip edges: confirm the exact trim package.
- Soffit and fascia condition: decide what gets repaired, replaced, or repainted.
- Penetrations: specify blocks for hose bibs, lights, and vents so seals stay clean.
Related Exterior Upgrades To Bundle
Many homeowners pair siding replacement with other exterior work so crews can address details once. As a result, Even if you phase the work, it helps to plan these items together: window replacement, exterior paint, fascia and soffit repair, gutters and downspouts, and entry door upgrades.
Cost Drivers + Timeline (Typical)
Price and schedule move with scope, access, and what you discover after removing old panels. Costs for aluminum siding projects also swing when trim and flashing scope changes, so ask for a clear written scope before ordering materials.
| Decision | What it changes | What to confirm |
|---|---|---|
| Tear-off vs. install over existing | Labor, disposal, and the ability to inspect the wall | Moisture risk, flatness, and manufacturer guidance |
| Sheathing and framing repairs | Budget and schedule swings | How repairs get documented and approved |
| Weather barrier and flashing scope | Long-term durability | Wrap type, tapes, and window/door flashing details |
| Trim complexity | Detail time and visual finish | Corner style, window trim, and transition details |
| Height and access | Setup time and safety needs | Scaffolding, tight side yards, and landscaping protection |
Budget Ranges And Timeline (Typical)
- Material lead time: certain profiles and colors can take longer to arrive, especially for special orders.
- On-site work: small repair scopes may take a few days; full replacements often run one to three weeks depending on size, access, and repairs.
- Repairs found during removal: sheathing or flashing fixes can add time, but they usually protect the investment.
- Weather and inspections: rain days and required inspections can shift the finish date.
How The Project Typically Runs
- Phone consult: you share goals, photos, and any known problem areas.
- Site visit: measurements, access check, and a look at trim, soffits, and penetrations.
- Scope and selections: confirm profile, finish, trim package, and what happens if hidden damage appears.
- Ordering: materials get ordered and delivery is scheduled around access and storage.
- Prep and protection: landscaping, windows, and hardscape get covered; staging areas get set.
- Removal and installation: crews work elevation-by-elevation, sealing penetrations and installing trim as they go.
- Walkthrough: punch list, cleanup, and a quick maintenance handoff.
What Buyers Notice
Exterior cladding can influence resale because it shapes the first impression and signals upkeep. For example, If ROI matters, prioritize details that look intentional and reduce future maintenance.
- Choose a timeless color and a trim scheme that matches the home’s architecture.
- Fix water-entry points (window and door flashing, roof-to-wall transitions) before new panels go on.
- Keep lines straight: consistent reveals, clean corners, and tidy penetrations stand out in photos.
- Document repairs and materials so you can explain what was updated later.
How To Prepare Your Home
Prep work doesn’t have to be complicated, but it does need to be intentional. Overall, A few steps before day one can keep the job moving and protect your property.
Before The Crew Arrives
- Clear the work zone: move patio furniture, grills, and planters away from the walls.
- Protect vehicles and access: plan where crews can park and where deliveries can land.
- Secure pets and let kids know the boundaries around ladders and tools.
- Remove fragile wall décor inside if crews will be working near those walls.
- If your home was built before 1978, ask what lead-safe precautions apply for painted surfaces.
Questions To Settle Before Materials Are Ordered
- Will the job include full tear-off, or does any area stay in place?
- What happens if the team finds damaged sheathing, flashing, or framing?
- Which trim pieces are replaced vs. For this reason, reused, and how will colors match?
- How will vents, lights, hose bibs, and outlets be handled and sealed?
- Who owns permit checks and scheduling if your local jurisdiction requires it?
Maintenance That Keeps It Looking Sharp
Aluminum holds up well with simple, regular care. A quick wash also helps aluminum siding keep its color, while routine inspections catch small issues before they spread.
- Rinse and wash gently once or twice a year; avoid aggressive pressure near seams.
- Inspect caulk and seals around penetrations and trim, especially after storms.
- Keep gutters and downspouts working so water doesn’t back up behind panels.
- Touch up chips promptly to reduce the chance of corrosion at exposed edges.
Next Steps For Sacramento
US Construction & Remodeling Corp. For example, helps Sacramento-area homeowners plan aluminum siding projects with clear scope, realistic scheduling, and clean on-site habits. Additionally, Call +1 (916) 234-6696 for a quick consult.
Free estimate when you’re ready to schedule a site visit.
Sacramento-Specific Permit Note
Permit rules vary across California and by project scope. In addition, In Sacramento, homeowners typically track permitting and plan review through the City of Sacramento Community Development portal (Accela Citizen Access) when a permit applies, and the city can confirm what your address needs.
Get A Quick Siding Consult
To make the first call productive, have a few details ready. Additionally, That way we can talk in specifics instead of guessing.
- Your address and whether the home is one or two stories
- Photos of each elevation and any damaged areas
- Notes on tight access points (side yard width, fences, decks, landscaping)
- Any recent window/door work that affects flashing details
Trust Checklist (Licenses, Insurance, Permits)
Keep contractor selection simple and verifiable. Also, You can confirm the basics up front and avoid unpleasant surprises later.
- Ask for a written scope that lists siding, trim, prep, cleanup, and disposal.
- Confirm insurance coverage and who handles permit coordination if needed.
- Verify a California contractor license with the state, not a third-party directory.
- Set communication expectations: start date, end-of-day cleanup, and schedule updates.
- Review workmanship details on-site (corners, seams, penetrations) before final payment.
Contact Details
+1 (916) 234-6696Website: Https://Usconstructioncali.Com/Estimate Request: Https://Usconstructioncali.Com/Free-Estimate/
Common Aluminum Siding Questions
The FAQ below covers permits, materials, cost drivers, and what to ask before you hire.
Helpful Links
Frequently Asked Questions
How long does aluminum siding installation take?
Timing depends on how much wall area you’re covering and whether you’re doing a full tear-off. Many repair scopes finish in a few days, while full replacements often take one to three weeks of on-site work once materials arrive.
Build in extra time for special-order materials, weather delays, and any sheathing or flashing repairs discovered during removal.
What drives the cost of aluminum siding the most?
The biggest cost drivers usually come down to scope and access.
- Total wall area and number of stories
- Tear-off and disposal vs. installing over existing
- Hidden repairs (sheathing, flashing, framing)
- Trim complexity around windows, doors, and corners
- Insulation wrap and weather-barrier upgrades
Do I need a permit to replace siding in California?
It depends on your jurisdiction and the scope. Some areas treat like-for-like siding replacement differently than work that changes the wall assembly, insulation, structural elements, or fire/weather details.
Check with your local building department for your address, and make sure your contract clearly states who handles permit coordination if a permit applies.
Can aluminum siding be installed over existing siding?
Sometimes, but it’s not always the best choice. Installing over existing material can hide moisture problems, create uneven surfaces, and make it harder to correct flashing details.
If you’re considering an overlay, confirm flatness, moisture risk, and manufacturer requirements, and make sure the plan addresses penetrations and trim details cleanly.
How do I choose the right gauge and finish?
Ask to compare options side-by-side. Gauge often affects dent resistance, while finish affects fade, chalking, and how touch-ups will look.
- Review outdoor samples in sun and shade
- Ask how cut edges and fasteners get handled
- Discuss your climate (heat, fog, coastal air) and maintenance preferences
How can I vet a siding contractor in California?
Stick to checks you can verify quickly.
- Confirm the contractor’s CSLB license status and classification
- Ask for proof of current insurance
- Get a written scope (materials, prep, flashing, cleanup, disposal)
- Ask to see photos of recent work and review seams, corners, and penetrations in detail
- Clarify payment schedule, change orders, and warranty coverage
Licensed, insured & trusted local contractor
US Construction & Remodeling Corp.
4424 Freeport Blvd, Sacramento, CA, 95822
Phone: +1 (916) 234-6696
CSLB License #: 1117562 Fully licensed and insured.
View our Google Business Profile
Related articles
- Kitchen Remodeling
- Kitchen Remodel Permits in San Mateo: Checklist, Timeline & FAQs
- Kitchen Remodel Permits in El Dorado Hills: Checklist + Timeline
Timing depends on how much wall area you’re covering and whether you’re doing a full tear-off. Many repair scopes finish in a few days, while full replacements often take one to three weeks of on-site work once materials arrive. Build in extra time for special-order materials, weather delays, and any sheathing or flashing repairs discovered during removal. The biggest cost drivers usually come down to scope and access. It depends on your jurisdiction and the scope. Some areas treat like-for-like siding replacement differently than work that changes the wall assembly, insulation, structural elements, or fire/weather details. Check with your local building department for your address, and make sure your contract clearly states who handles permit coordination if a permit applies. Sometimes, but it’s not always the best choice. Installing over existing material can hide moisture problems, create uneven surfaces, and make it harder to correct flashing details. If you’re considering an overlay, confirm flatness, moisture risk, and manufacturer requirements, and make sure the plan addresses penetrations and trim details cleanly. Ask to compare options side-by-side. Gauge often affects dent resistance, while finish affects fade, chalking, and how touch-ups will look. Stick to checks you can verify quickly.Frequently Asked Questions