
The finish is the surface you use
Tile and grout provide the finished appearance and wearing surface. Their joints and openings are part of the design, but the shower’s water-management layer is planned beneath or behind that finish.
Free 3D design for any room in your home, siding or roof, before you sign10% off for veterans and seniorsFree 3D design10% off for veterans and seniors
Bathroom planning · Sacramento
Plan what protects the room before choosing what finishes it.
Tile, a waterproof floor product and a shower membrane do different jobs. Connect the base, drain, walls and openings into one planned assembly, then check the work before tile covers it.
Finish, barrier, support
The tile you see and the water barrier behind it have separate roles.
Tile and grout provide the finished appearance and wearing surface. Their joints and openings are part of the design, but the shower’s water-management layer is planned beneath or behind that finish.
Choose a complete method for the base, walls, drain and transitions. A surface sheet membrane, a liquid membrane, a waterproof board system and a traditional lined receptor each have their own connection details. Schluter: waterproofing membranes and connections describes the components and connections for its membrane system.
Framing, subfloor and substrate condition affect the assembly. Water-durable cement board is a tile substrate; waterproof construction also requires the specified barrier. USG: cement board system guide explains this distinction. Repairs, fastening and preparation are settled before finishes cover the work.
Details that connect
A large waterproofed surface is only part of the work. Review the points where that surface joins something else.
Joints and fasteners receive the treatment specified by the chosen system. For liquid products, application and coverage are checked against that product’s instructions.
Wall-to-wall and wall-to-floor changes need a continuous connection using the system’s band, corner pieces, reinforcement or sealant detail.
The water barrier connects to the drain method. A surface bonding flange and a traditional clamping drain use different receptor details.
Openings for controls, shower arms and other penetrations are coordinated with compatible collars or the manufacturer’s sealing method.
The bottom and surrounding connections are planned to shed water back toward the shower. Corners and edges receive the selected waterproofing detail.
Horizontal surfaces and their adjoining walls are included in the water-management plan. Support and attachment locations are coordinated before closure.
Water needs a route
The drain is a connection between the receptor and the waste line, not just the grate visible after tiling.
In the illustrated surface-applied method, the membrane follows the prepared slope and connects to a compatible drain flange. The tile is installed above that water-management layer.
A traditional liner-and-clamping-drain receptor has a different build-up, including its drainage details. Identify the drain and waterproofing method together before purchasing components.
The plan also coordinates drain position, finished floor height, the shower entry and glass. A curb-free entry needs a defined wet area and a workable transition to the rest of the bathroom.
Schluter: waterproofing membranes and connections provides the matching details for its membrane assemblies.
From demolition to finish
Each stage should leave the next trade with a prepared surface and an agreed detail.
Before the finish stage
The prepared receptor holds water so its water-management connections can be checked before tile hides them.
Curing time and test duration are separate. Schluter recommends waiting at least 24 hours after setting KERDI before water testing under normal curing conditions. Schluter: shower water testing explains the procedure. LATICRETE: waterproofing and cure times lists different cure requirements for its products and conditions.
Confirm the plug is holding, establish the test level, and record the start time and water level. A curb-free shower needs a planned temporary water-retaining detail for the test.
Check the result at the end of the specified period. If the water level changes, investigate the plug, test conditions and assembly. Resolve the cause and repeat the test as needed before tile work proceeds.
Ask for the product name, cure period, test start and finish times, level observations, photographs and any repair or repeat-test record in your project documents. Include the inspection stage required by the building department serving the property. City of Sacramento: building inspections provides the local scheduling information.
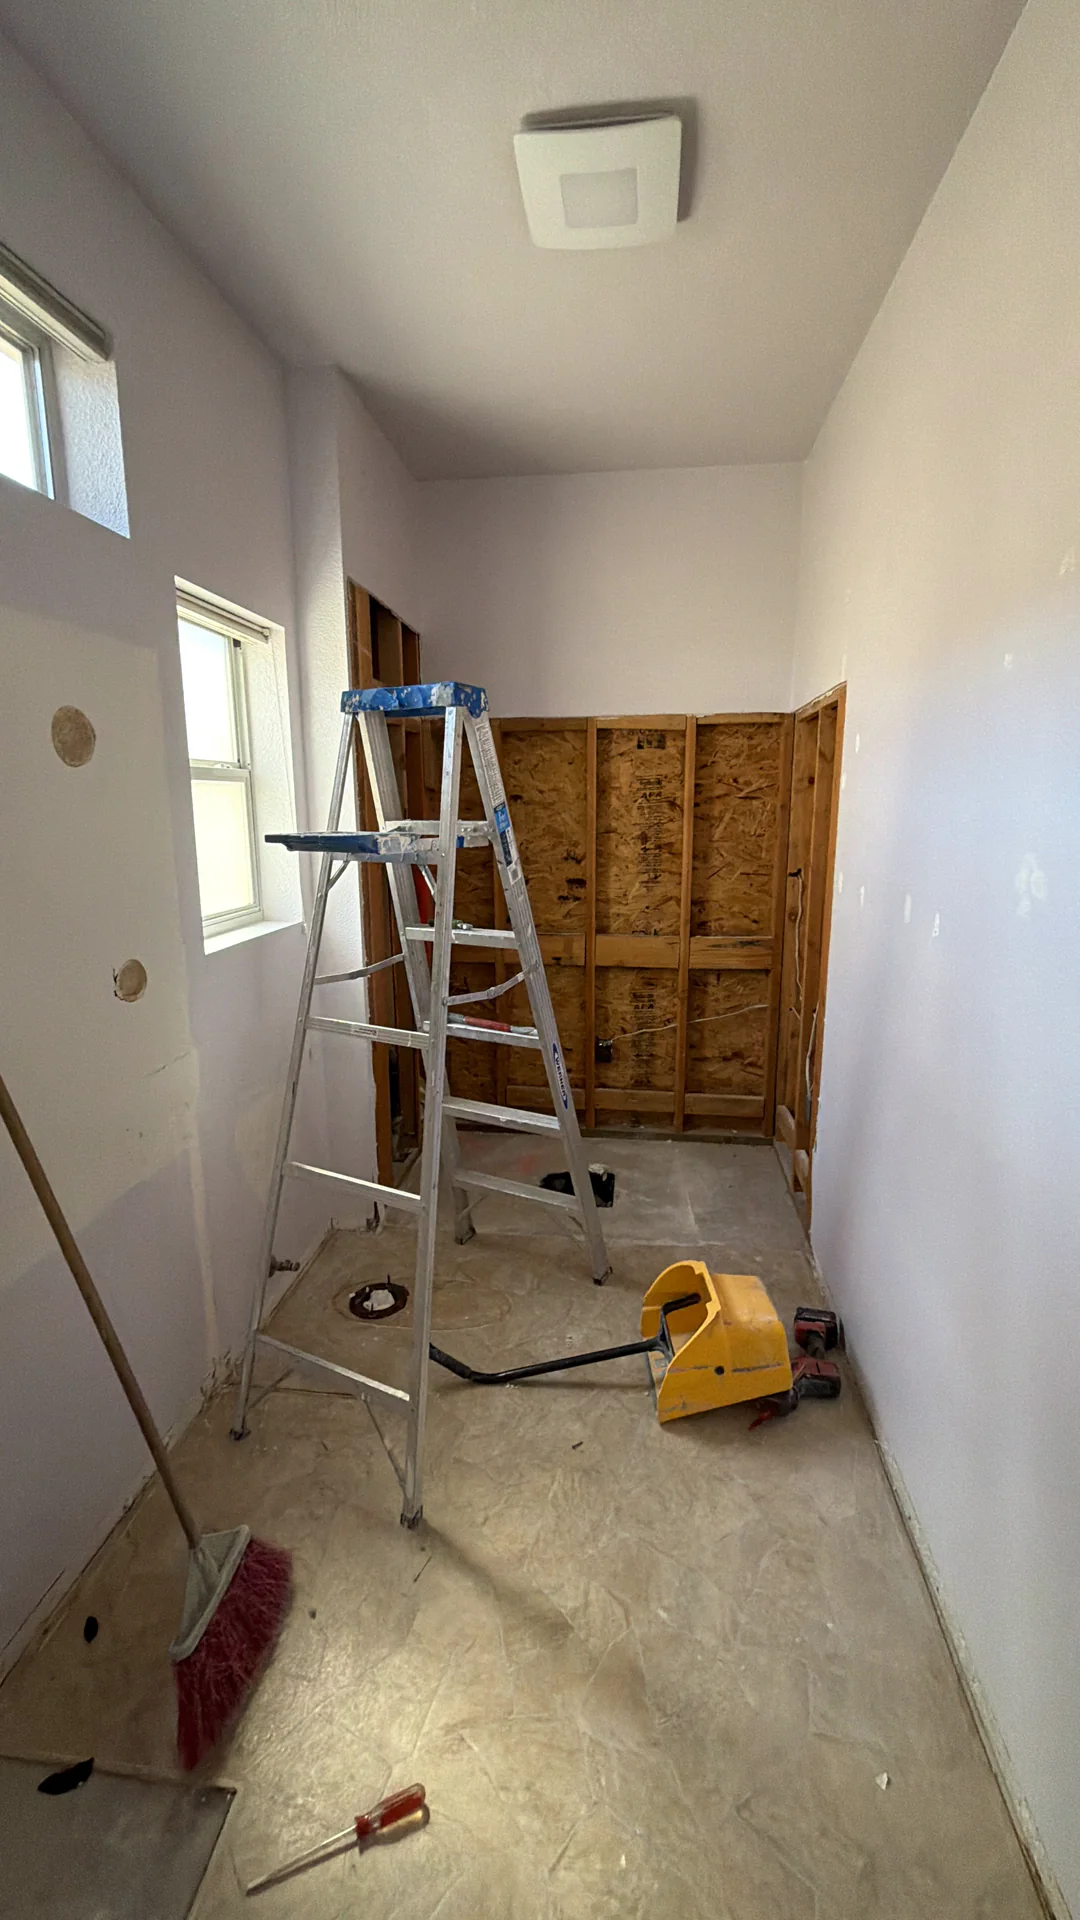
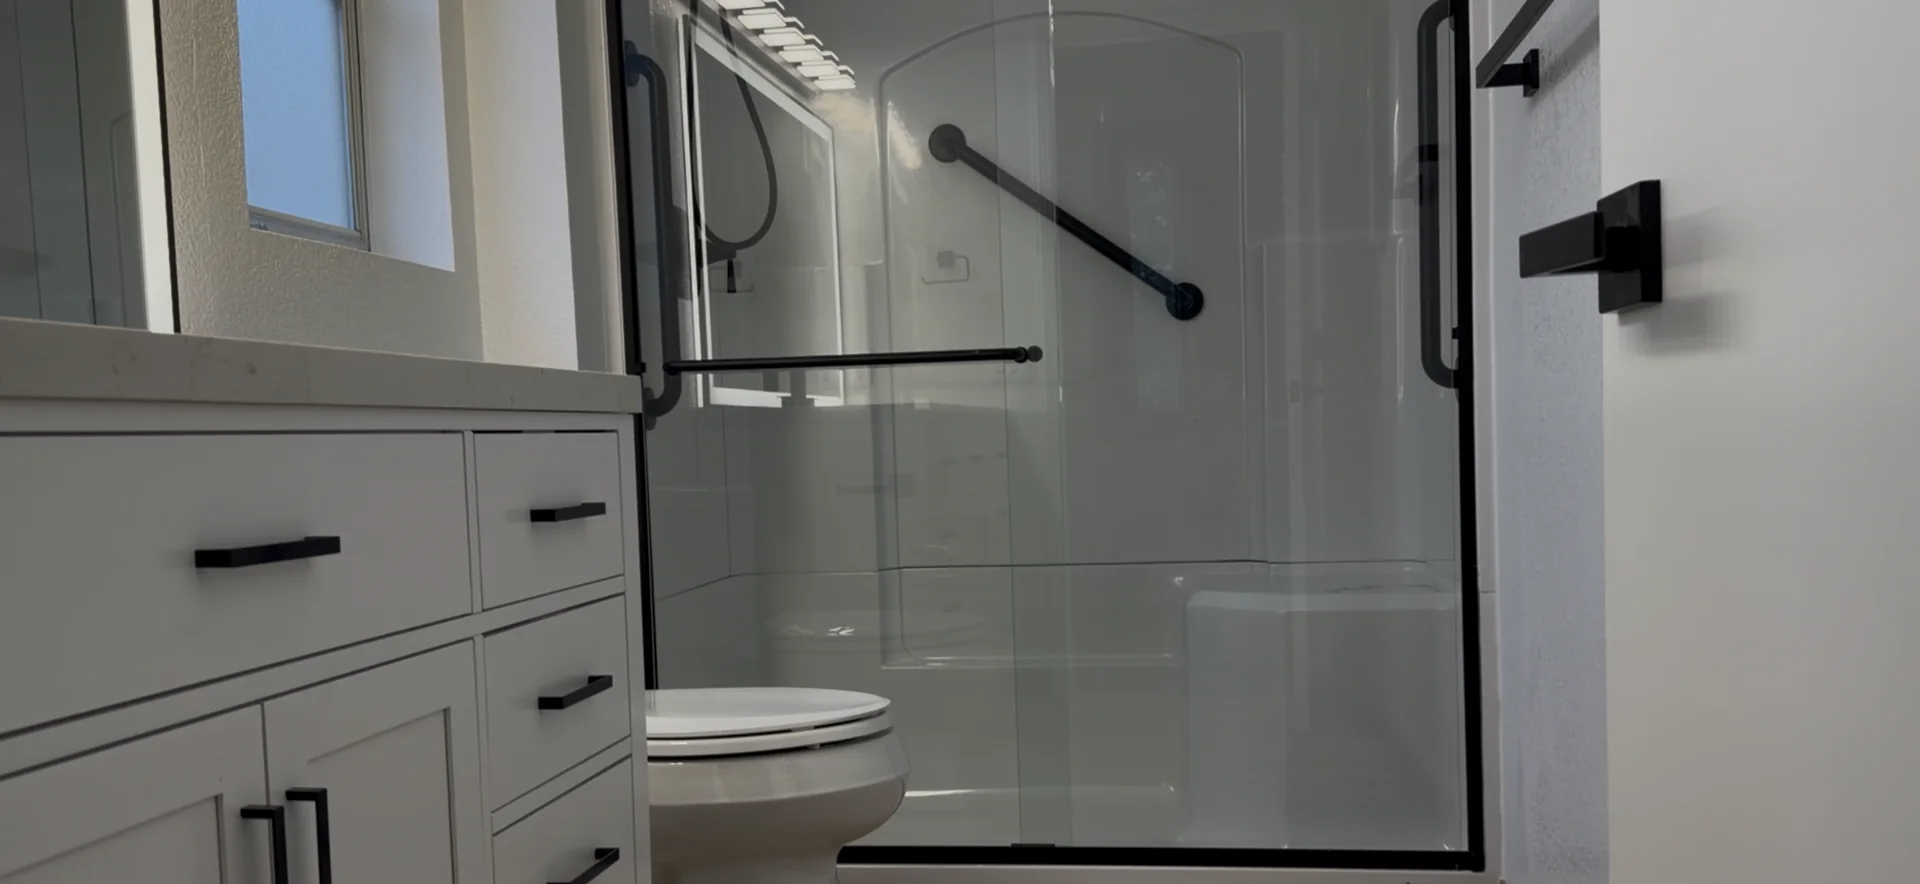
Our Roseville bathroom work
Construction decisions come first. The finished layout then brings the shower, fixtures, storage and support features together.
Outside the shower
A finish-floor product and a shower waterproofing assembly solve different problems.
Select flooring for the water exposure, maintenance and appearance you want, then review the installation details. Shaw Floors: vinyl installation guidance requires product-specific preparation and expansion space for its vinyl floors. The selected floor instructions govern its perimeter treatment.
For a wet-room or curb-free layout, define which areas receive waterproofing and how it connects at the walls, shower entry and door transition. Plan ventilation to manage humidity alongside the water-management work.
| Floor choice | What to coordinate | Where it fits |
|---|---|---|
| Tile | Choose the substrate, setting materials and water-management scope together. Plan floor height, movement joints and transitions. | Bathroom floor, with the shower assembly specified separately. |
| Bathroom-rated vinyl | Follow the actual product instructions for the subfloor, expansion space, perimeter and transitions. | Finish flooring outside the shower in the locations allowed for that product. |
| Sheet vinyl | Review substrate preparation, seams, edges and fixture interfaces for the selected product. | A floor finish where its approved installation and maintenance fit the room. |
| Heated tile floor | Coordinate heating, membrane compatibility, floor build-up and electrical work before ordering. | A comfort upgrade planned as part of the floor assembly. |
Plan the complete job
Compare the work and components being proposed, including the items that affect the price and schedule.
Identify demolition, disposal, existing-condition review and any agreed framing, subfloor or plumbing repair. State how newly discovered work will be discussed and approved.
List the waterproofing product, substrate, receptor, drain, seams, corners, niches, seats and openings. Identify where waterproofing ends and how adjoining finishes connect.
Include curing, water testing, inspection scheduling, photographs and follow-up checks. Then identify tile, movement joints, fixtures, glass measurements and care information.
Your price depends on the room, repairs, assembly and finish scope. For broader budgeting, see our Sacramento bathroom remodeling cost guide.
US Construction Remodeling Corp. designs and builds the drain, waterproofing, tile, fixtures and glass as one job. Send photos of the room, the changes you want and any leak symptoms you have noticed.
Get my free estimateProduct and local guidance
Use the instructions for the exact product and assembly selected for your bathroom.
Plan the enclosure too
Glass layout and final field measurements follow the finished opening and selected enclosure. Use our shower glass estimator to compare early options.
Bathroom waterproofing questions
Clarify the assembly, checks and finish scope before ordering materials.
Grout belongs to the tile finish. The shower needs a complete water-management assembly with a suitable base, wall protection, drain connection and treatment at joints and openings. Plan that assembly before selecting the final grout.
Cement board provides a water-durable tile substrate. A shower assembly also needs the water barrier specified for that construction method. Some proprietary boards are part of waterproof systems, but their seams, fasteners and connections still need the specified treatment.
Both can work in an appropriate assembly. Compare substrate suitability, drain compatibility, corner and pipe details, application requirements and cure time. The proposal should identify the actual product and complete installation method.
Find the source of the leak first. A pipe connection, damaged base, failed membrane or enclosure problem calls for a different repair. The repair scope should address that cause and the condition of the supporting materials before new finishes are installed.
The schedule includes curing before the test and the test itself. Those are separate periods. Follow the selected product instructions and the inspection requirements for your project. The test record should show the starting level, start and finish times, observations and any repair or repeat test.
Bathroom-rated vinyl is a finish-floor choice for the areas covered by its product instructions. It does not replace a shower receptor, compatible drain or wall waterproofing assembly. Plan its substrate, perimeter and transitions separately from the shower.
The floor heights, slope, drain, spray containment and extent of waterproofing need to work together. Review how water stays within the planned wet area and how the shower meets the bathroom floor. Include the water-test setup in that plan.
We review the plumbing, electrical and structural work included in the project with the building department serving the property. The work sequence then includes the applicable inspections before concealed work and finishes are covered.
Start with your room
Show us your bathroom and the changes you want. We can discuss the shower, floor and repair scope as one coordinated project.