Skip links

Kitchen Lighting Concept: Sacramento Remodel Guide

Good lighting changes how a kitchen feels day to day, and a solid kitchen lighting concept makes every finish look better. For Sacramento homeowners planning a remodel or targeted upgrade, this guide covers design choices, wiring realities, and permit basics so you can pick fixtures with confidence.

Quick checklist:

  • List the tasks at each zone (prep, cooking, cleanup, seating).
  • Choose layers: ambient, task, and accent—then put them on separate controls.
  • Pick a consistent color temperature and high-CRI LEDs for natural-looking finishes.
  • Confirm dimmer compatibility and switch locations before walls/ceilings close.
  • Plan fixture placement to reduce shadows and glare on counters and the sink.
  • If new circuits or new wiring routes are needed, confirm permit/inspection requirements.

TL;DR: Define your daily tasks first, then layer ambient, task, and accent lighting on separate dimmers. Next, match fixture types to your layout and confirm whether any new wiring will require permits and inspections.

  • List the tasks at each surface (prep, cooking, cleanup, seating)
  • Choose lighting layers: ambient, task, and accent
  • Pick a consistent color temperature and high-CRI LEDs
  • Plan switch locations, dimmers, and lighting zones
  • Confirm ceiling access and whether you need new circuits
  • Select fixtures that fit your cabinet and countertop finishes

Kitchen Lighting Concept: Planning, Permits, And Practical Decisions

DecisionWhy it mattersQuick check
Lighting layersLayering reduces shadows and lets you create scenes.Separate controls for ceiling, under-cabinet, and pendants.
Color temp & CRIKeeps finishes consistent and food looks natural.Aim for ~2700K–3000K and CRI 90+.
Controls & dimmersAvoid flicker and buzzing while improving comfort.Confirm dimmer/driver compatibility before buying.
PlacementGood placement prevents glare and dark counters.Align recessed lights with work zones, not room center.
  • Zone your lights with separate controls for ceiling, also island, and under-cabinet fixtures.
  • Place recessed lights based on work surfaces so you reduce counter shadows.
  • Add continuous under-cabinet LEDs for bright, also glare-controlled prep lighting.
  • Use pendants over an island or peninsula to anchor the seating area and add focused light.
  • Keep bulb color temperature consistent (often 2700K to 3000K) so the room feels cohesive.
  • Choose high color rendering (CRI) LEDs so food and finishes look natural.
  • Balance reflective and matte finishes to control glare on countertops and backsplash tile.
  • Include low-level toe-kick or cabinet accent lighting for safe night navigation.
  • Match fixture and hardware finishes so lighting looks intentional, also not random.
  • Light the sink, also pantry, and range areas as dedicated work zones, not afterthoughts.

A buildable kitchen lighting concept starts with function: you want shadow-free task light at the counters, comfortable ambient light across the room, and a bit of accent where you want the eye to land. For this reason, At the same time, you need fixture specs that match your ceiling conditions and electrical capacity so the plan actually installs cleanly.

This guide is also a fit if you cook frequently, if your kitchen feels dim even with new bulbs, or if you are remodeling cabinets and want the lighting to look finished on day one. It also helps if you want a design-forward upgrade without turning the project into a full gut renovation.

Related Upgrades That Affect Lighting

Lighting decisions connect to other choices like cabinet door style, countertop finish, backsplash tile reflectivity, and flooring sheen. Additionally, If you are already considering broader kitchen remodeling, plan these items together so switch locations, outlets, and fixture mounting points line up with the final layout.

High-end kitchen renovation project showcasing premium materials and expert craftsmanship

Kitchen Lighting Concept: Planning Checklist (Scope, Materials, Budget)

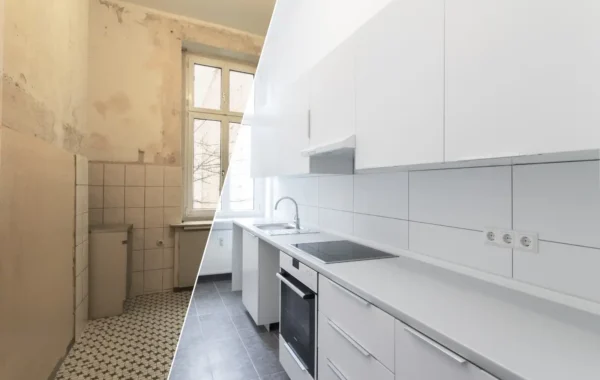
Start by defining scope: are you swapping fixtures on existing wiring, adding new recessed lights, or redesigning controls and circuits as part of a remodel? Meanwhile, Once your kitchen lighting concept is clear, you can price the work accurately and avoid last-minute compromises on fixture placement or switch locations.

Layout First: Map The Work Zones

Lighting works best when it follows how you move through the kitchen. Overall, In practice, the same fixture plan will not work equally well in a galley versus an island-centered layout, so sketch the work triangle and the task surfaces before you shop.

  • Galley: Run even ceiling lighting down both sides, also then rely on under-cabinet task lighting to keep counters bright without over-lighting the walkway.
  • L-shape: Cover the corner run with recessed lights placed toward the counter edge, also and add targeted light at the sink and range.
  • U-shape: Use multiple smaller zones so you do not end up with one overly bright center and dark perimeter work areas.
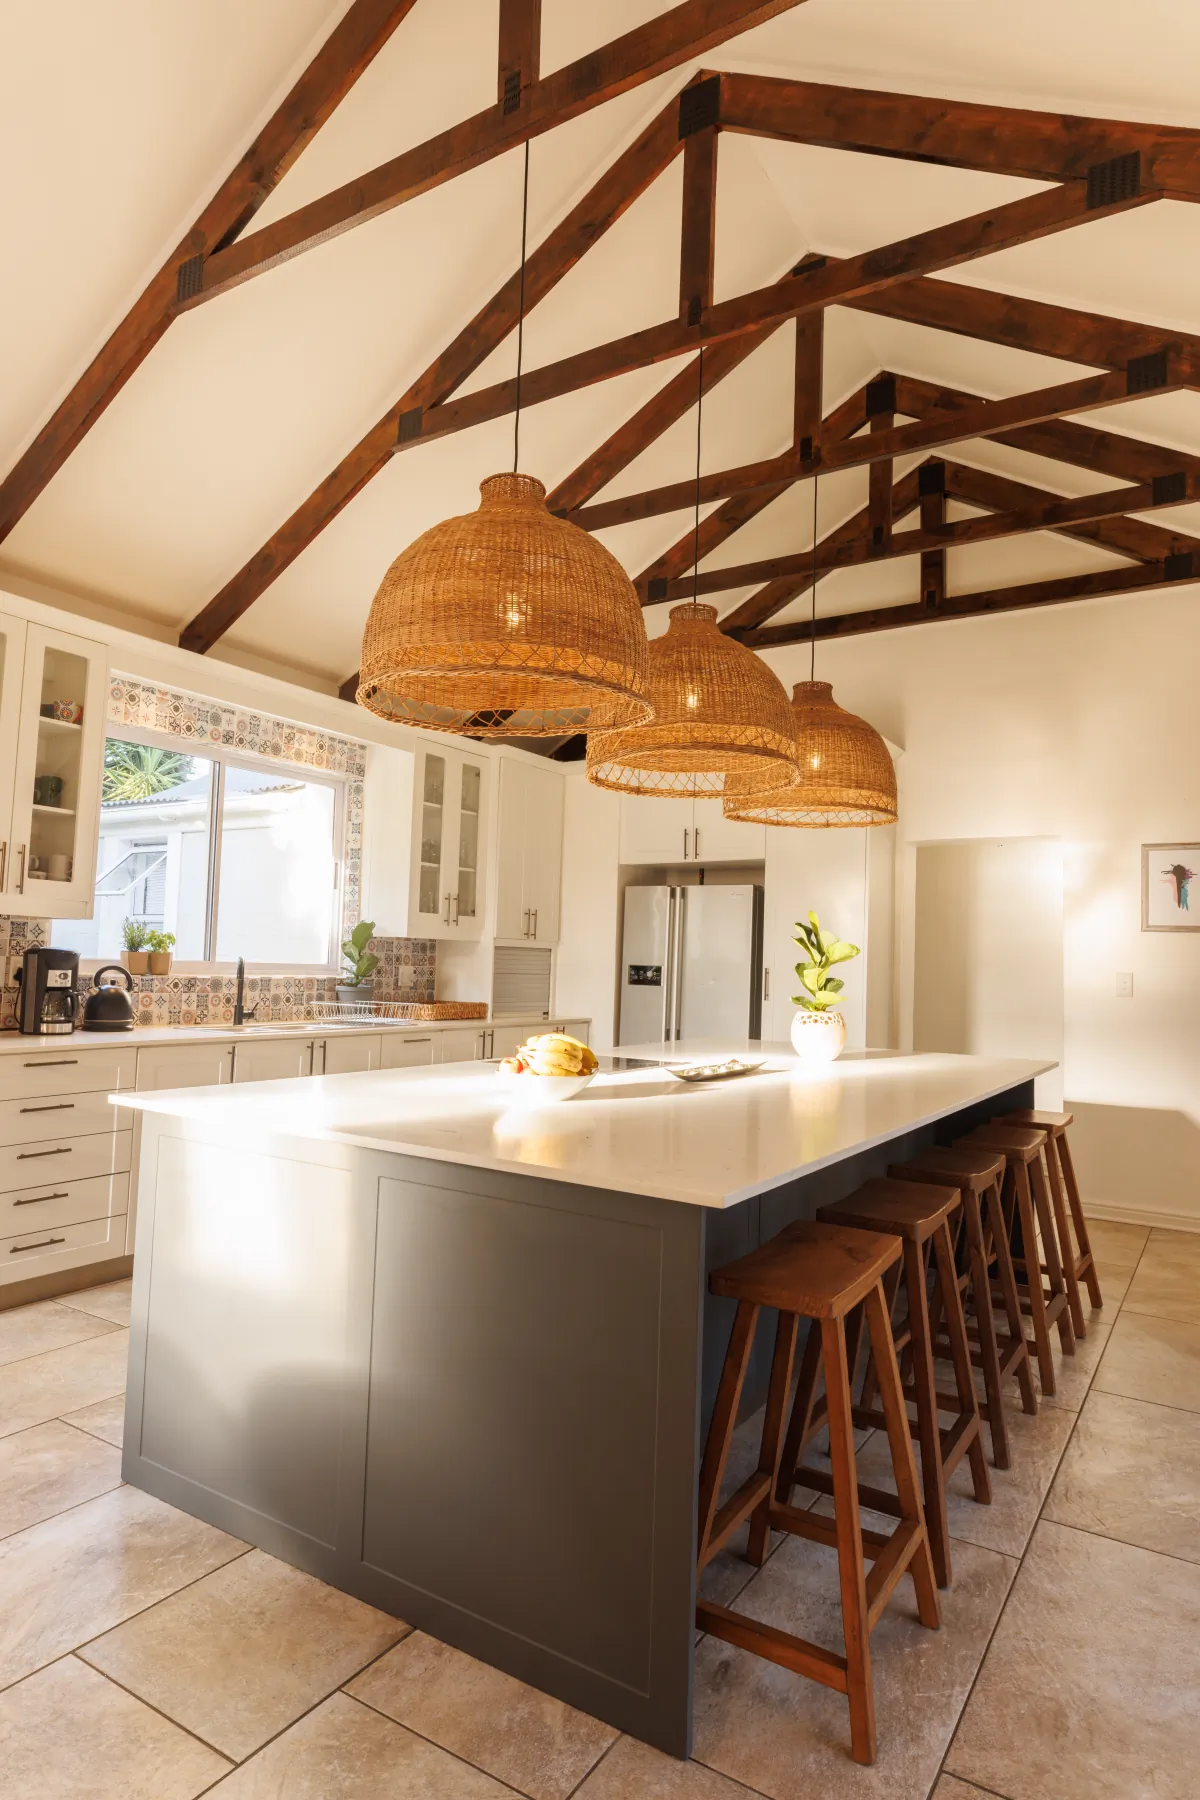
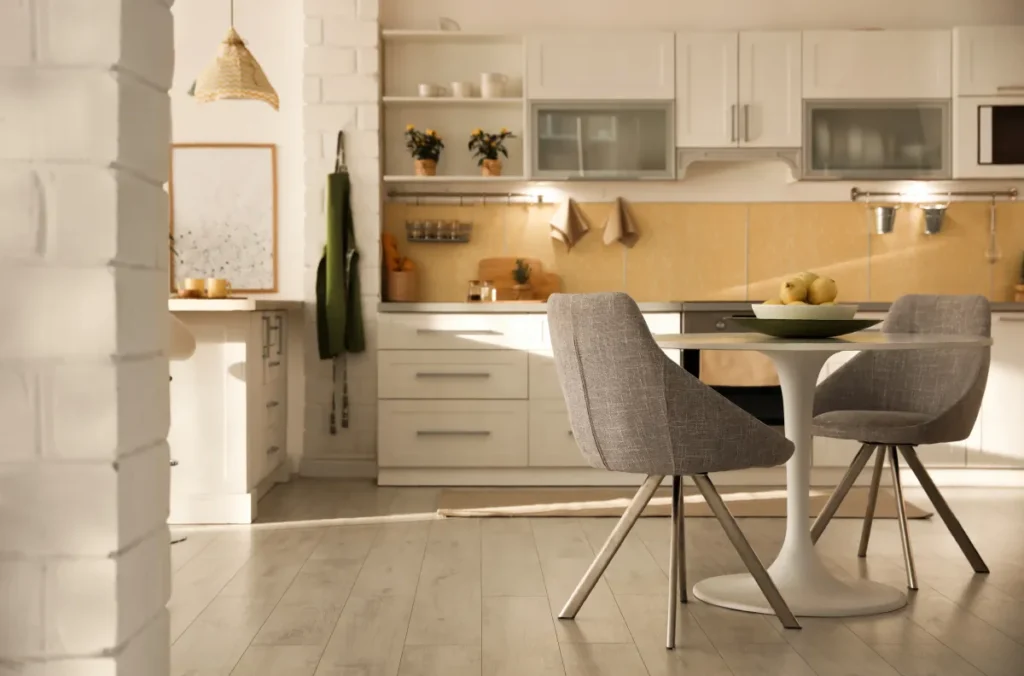
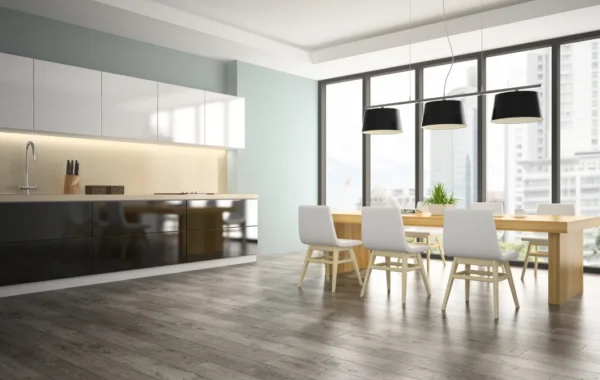
  • Island-centered: Combine pendants for the island with recessed ambient lighting around it so shadows do not form at the perimeter counters.

Layered Lighting: Ambient, Task, Accent

Think in layers, then control those layers separately. As a result, you can also cook under bright task light, entertain under softer ambient light, and still add accents that make the kitchen feel higher-end.

  • Ambient: Recessed, also surface-mount, or a low-profile ceiling fixture to provide overall brightness.
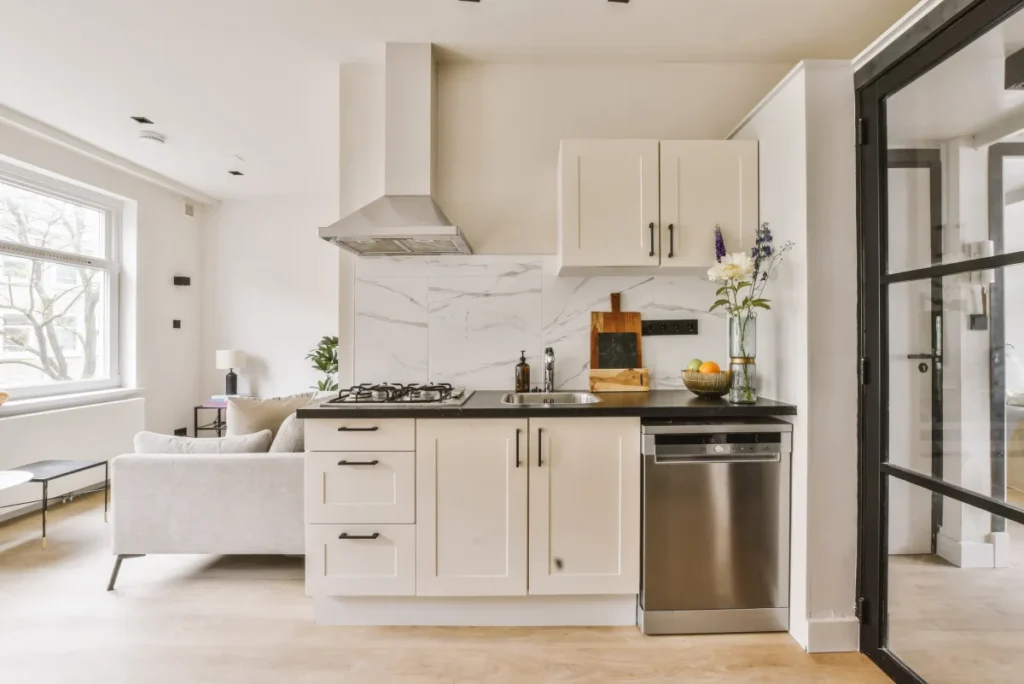
  • Task: Under-cabinet lighting, also sink lighting, and focused fixtures that put light on counters and the cooktop.
  • Accent: Toe-kick, also glass-cabinet, or niche lighting for depth and nighttime wayfinding.

Choose dimmers that match your LED fixtures, and keep each zone on its own switch where possible. Also, That way, you avoid flicker and you can dial in the room for different times of day.

Materials That Change The Look Of Light

Material choices do more than set the style; they change how light bounces, where glare shows up, and what stays easy to clean. In addition, If you pick finishes intentionally, you can often use fewer fixtures while still making the room feel bright.

  • Cabinets: Painted shaker doors diffuse light and hide minor smudges, while glossy slab doors reflect more light but can show fingerprints. As a result, Raised-panel styles add shadow lines that look great with accent lighting.
  • Countertops: Quartz offers consistent color and low maintenance; granite adds natural movement but can also look darker in some patterns; laminate keeps costs down; butcher block feels warm but needs regular sealing.
  • Backsplash tile: Glossy ceramic or glass reflects light and can also brighten a small kitchen, while matte porcelain softens glare and hides water spots better.
  • Flooring: Luxury vinyl plank resists water and feels warmer underfoot; porcelain tile handles heavy wear; engineered wood can look premium but needs the right finish for kitchens.
  • Fixtures: Recessed trims control glare, pendants add focal points, and under-cabinet LED tape gives the most usable task light for the least visual clutter.
DecisionWhat it affectsWhat to watch for
Recessed light placementShadows at counters and sinkPosition lights toward work surfaces, not the room center
Pendant selectionIsland usability and sightlinesScale, spacing, and glare control at seated eye level
Under-cabinet lighting typeTask brightness and uniformityDiffusers, color consistency, and dimmer compatibility
Controls and zoningComfort and flexibilitySeparate switches for ambient, task, and accent lighting
New wiring or circuitsSchedule and budgetAccess, drywall repair, and inspection requirements

Small Kitchens: Brighter Without Clutter

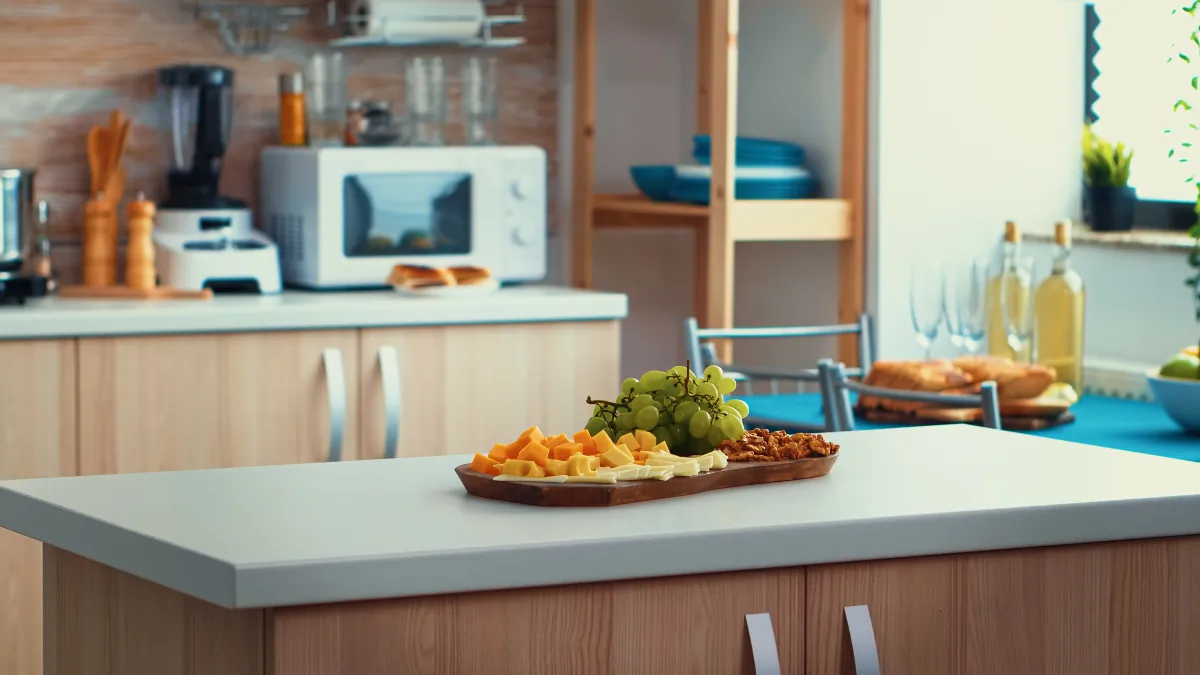
In a smaller kitchen, too many fixtures can feel busy while still leaving shadows at the counters. Instead, focus on even coverage and strong task lighting, then add a single visual feature like a small pendant or a statement flush-mount.

  • Use continuous under-cabinet LEDs rather than multiple puck lights for smoother coverage.
  • Keep pendant numbers low and choose slimmer profiles to protect sightlines.
  • Pick lighter cabinet finishes and a backsplash that helps bounce light.
  • Use a dimmable ceiling zone so the room stays comfortable at night.
  • Prioritize the sink and prep areas where poor lighting causes daily frustration.

Resale Impact: Where Lighting Pays Off

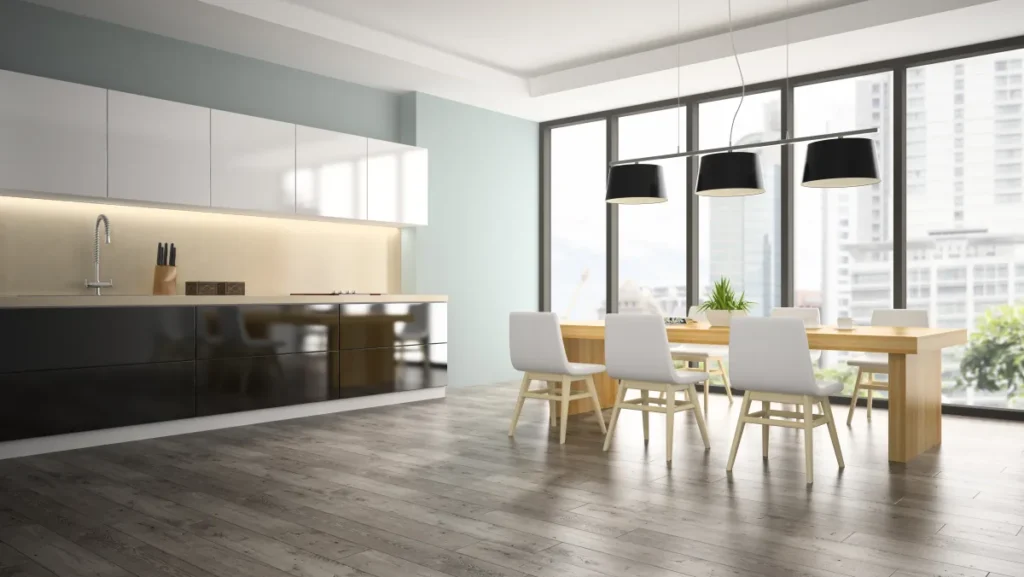
Good lighting makes a kitchen feel larger and cleaner, which buyers notice immediately. Therefore, prioritize decisions that look intentional and work reliably instead of chasing trendy fixtures that do not dim well or feel out of scale.

  • Keep color temperature consistent across the room so photos and showings look natural.
  • Add under-cabinet lighting; it reads as a premium feature and improves daily use.
  • Use classic finishes and clean fixture lines that match cabinet hardware.
  • Invest in controls (zoning and dimming) because it improves the space without a major visual change.

Maintenance: Keep It Bright For Years

After installation, a few simple habits keep the lighting looking sharp and working as designed. In addition, small maintenance steps can prevent nuisance issues like flicker or uneven color later on.

  • Clean diffusers, pendants, and recessed trims periodically to prevent light loss from dust and grease.
  • Use the manufacturer-recommended dimmers or drivers for integrated LED fixtures.
  • Store extra trim rings or lenses so future replacements match.
  • Replace bulbs as a set when possible so color stays consistent across the room.
  • Test GFCI and lighting controls after any electrical service work in the home.

Permits And Inspections (General)

Permit needs depend on scope and jurisdiction, but lighting projects often require an electrical permit when you add circuits, relocate wiring, or modify the service equipment. On the other hand, a like-for-like fixture replacement on existing wiring may not trigger the same review. Either way, plan for required inspections so the work stays safe and documented.

What To Confirm Before Demo

  • Whether the project includes new wiring, new circuits, or panel changes
  • Who pulls permits and schedules inspections (homeowner or contractor)
  • Whether any drywall repair and painting is included after electrical work
  • Which fixtures require specific dimmers or drivers
  • How the team will protect cabinets and countertops during installation

Timeline: Key Milestones

Lighting stays on schedule when you lock in fixture types and control zones early. However, specialty pendants, custom cabinets, and backordered trims can slow the job, so it helps to choose acceptable alternates before ordering.

Budget And Timeline (Typical)

  • Budget drivers: number of fixtures, quality level, new wiring or circuits, ceiling access, and control complexity (zoning and dimming).
  • Fixture swaps: often a short visit once materials arrive, especially if you keep locations the same.
  • Adding new lighting and wiring: commonly takes several days when you include wiring, patching, and finish work.
  • Full remodel integration: plan for multiple weeks because lighting ties into cabinets, drywall, inspections, and lead times.

Milestones You Can Plan Around

  1. Site walk and lighting plan (fixture locations, switching, and dimming zones)
  2. Fixture selection and spec review (color temperature, trim style, and compatibility)
  3. Electrical rough-in (wiring, boxes, and any needed circuit work)
  4. Inspection (when required) before closing walls and ceilings
  5. Finish install (fixtures, trims, under-cabinet lighting, and final aiming)
  6. Final testing (dimming, flicker check, and zone-by-zone walkthrough)

Common Mistakes To Avoid

Most lighting regrets come from poor placement or mismatched controls. Because reworking electrical and drywall later costs more, it pays to catch these issues while you still have flexibility.

Lighting Mistakes We See In The Field

  • Centering recessed lights in the room instead of placing them to light work surfaces
  • Mixing different color temperatures across fixtures, which makes the kitchen feel patchy
  • Skipping under-cabinet lighting and relying on ceiling lights that cast prep shadows
  • Choosing LEDs that do not dim smoothly with the selected dimmer
  • Overusing high-output fixtures, which creates glare on countertops and shiny tile
  • Forgetting dedicated light at the sink, pantry, or range areas
Custom cabinet installation during kitchen remodeling process by professional contractor

Next Step In Sacramento

US Construction & Remodeling Corp. helps Sacramento homeowners (and nearby Elk Grove, Arden, Rancho Cordova, Folsom, and Roseville) turn a kitchen lighting concept into a clear, build-ready scope: fixture layout, switch and dimmer planning, and coordination with electricians when new wiring is involved. Call +1 (916) 234-6696 for a quick consult and a straight answer on what your kitchen needs.

If you're planning kitchen lighting concept, Request a free estimate to schedule a site visit and review fixture options, placement, and permit considerations.

Local Note: Sacramento Permit Portals

For many Sacramento projects, permitting and plan review typically run through the City of Sacramento Community Development portal (Accela Citizen Access), where applications, payments, and status tracking happen online. Since requirements vary by address and scope, we recommend confirming permit needs early when the plan includes new wiring, new circuits, or changes to walls and ceilings.

Trust And Accountability

You should expect straightforward documentation and clean communication on any remodeling job, especially when electrical work is part of the scope. In addition to good workmanship, the basics matter: clear responsibility for permits, daily protection of finished surfaces, and a final walkthrough that verifies every light and control works as intended.

  • Licensing and insurance: Work with a properly licensed and insured contractor for remodeling and trade coordination.
  • Permits when needed: Confirm who pulls permits, who meets inspectors, and what is included in the scope.
  • Clear scope: Get fixtures, locations, switching, and dimming zones in writing before ordering materials.
  • Workmanship checks: Test each zone for flicker-free dimming, consistent color, and even coverage at the counters.

Contact: US Construction & Remodeling Corp. (Sacramento) | +1 (916) 234-6696 | https://usconstructioncali.com/

Helpful Links

Frequently Asked Questions

It depends on the electrical scope. If the work adds new wiring, new circuits, or changes to service equipment, an electrical permit and inspection often apply; simple like-for-like fixture swaps may not. Because rules vary by address and project details, confirm requirements with the local building department before work begins.

Most homeowners prefer a warm-neutral range so food looks natural and the room stays comfortable at night. Choose one temperature across ceiling, under-cabinet, and pendants (commonly 2700K to 3000K), and prioritize high-CRI LEDs for better color accuracy.

Costs move mainly with scope and access. The biggest drivers usually include:

  • How many fixtures you add or relocate
  • Whether you need new circuits or panel work
  • Ceiling height and access for running new wiring
  • Drywall patching, texture, and paint after electrical work
  • Fixture quality, trims, and smart controls

There is no one-size number. Focus on placement over quantity: position lights to illuminate counters and key work zones, then use under-cabinet lighting to eliminate shadows. A contractor can map fixtures to your layout and ceiling height so the room feels even without glare.

For most kitchens, LED tape in a channel with a diffuser creates the most even, modern task light. Puck lights can work in specific spots, but they often create bright pools and darker gaps. Whichever you choose, put under-cabinet lighting on its own dimmer so you can tune brightness.

Timelines depend on whether you keep existing locations or add new wiring. Fixture swaps can be quick once materials arrive; adding recessed lights, under-cabinet wiring, or new circuits takes longer because it may require opening and repairing drywall and scheduling inspections when required. Build in lead time for specialty pendants and integrated LEDs so the job does not stall waiting on parts.

Ask for specifics, not slogans. A solid proposal should spell out fixture locations, switching and dimming zones, the exact fixture types or specs, and who handles permits and inspections when wiring changes. Also confirm how the team will protect cabinets and countertops during the install, and how final testing will be handled.

Licensed, insured & trusted local contractor

US Construction & Remodeling Corp.
9821 Business Park Dr, Sacramento, CA, 95827
Phone: +1 (916) 234-6696

CSLB License #: 1117562 Fully licensed and insured.

View our Google Business Profile

Service Info For Sacramento

For the complete overview of process and planning in Sacramento, visit Kitchen Remodeling.

Leave a comment

  1. Siding Contractor Fair Oaks Checklist | US Construction
    Permalink
  2. Remodel Cost: Window Replacement In Elk Grove
    Permalink
This website uses cookies to improve your web experience.
Explore
Drag